Next.js is a full-stack framework based on React and its ecosystem.
All the mentioned code is stored in the Next.js screenshots example GitHub repository.
Your runtime matters
There are many ways to deploy and run Next.js, starting from a standalone application with Node.js runtime and ending with serverless on Vercel, Cloudflare, or similar platforms.
That means, for example, that you can not use Puppeteer easily on serverless platforms, because it will launch headless Chrome/Chromium, and highly likely it will miss dependencies and won’t just work.
Let’s quickly consider a few ways how to render website screenshots with Next.js depending on how you deploy it and run, it and your requirements.
An example application
I have built a simple Next.js application that demonstrates and compares approaches. It is just a simple form that asks for the URL of a website and then returns backs a screenshot.
"use client";
import { FormEvent, useState } from "react";
export default function Home() { const [screenshotUrl, setScreenshotUrl] = useState<string | null>(null);
async function onSubmit(event: FormEvent<HTMLFormElement>) { // ... render screenshots }
return ( <main className="flex min-h-screen flex-col items-center gap-24 p-24"> <h1 className="text-7xl font-semibold tracking-tighter"> Render Screenshots </h1> <div> <form onSubmit={onSubmit}> <div className="flex gap-2"> <input type="url" name="url" placeholder="https://example.com" className="ring-1 text-lg rounded-md p-4 w-96" /> <button type="submit" className="bg-red-500 text-white inline-flex items-center justify-center whitespace-nowrap rounded-md text-lg font-medium transition-colors focus-visible:outline-none focus-visible:ring-1 focus-visible:ring-ring disabled:pointer-events-none disabled:opacity-50 p-4" > Render </button> </div> </form> </div> <div>{screenshotUrl && <img src={screenshotUrl} />}</div> </main> );}The form submit handler:
export default function Home() { const [screenshotUrl, setScreenshotUrl] = useState<string | null>(null);
async function onSubmit(event: FormEvent<HTMLFormElement>) { event.preventDefault();
const formData = new FormData(event.currentTarget); const response = await fetch("/api/screenshot", { method: "POST", body: JSON.stringify({ url: formData.get("url")?.toString() }), });
if (response.ok) { const encoded = Buffer.from(await response.arrayBuffer()).toString( "base64" ); setScreenshotUrl(`data:image/jpeg;base64,${encoded}`); } }
return <main>// ...</main>;}The resulting application looks like:
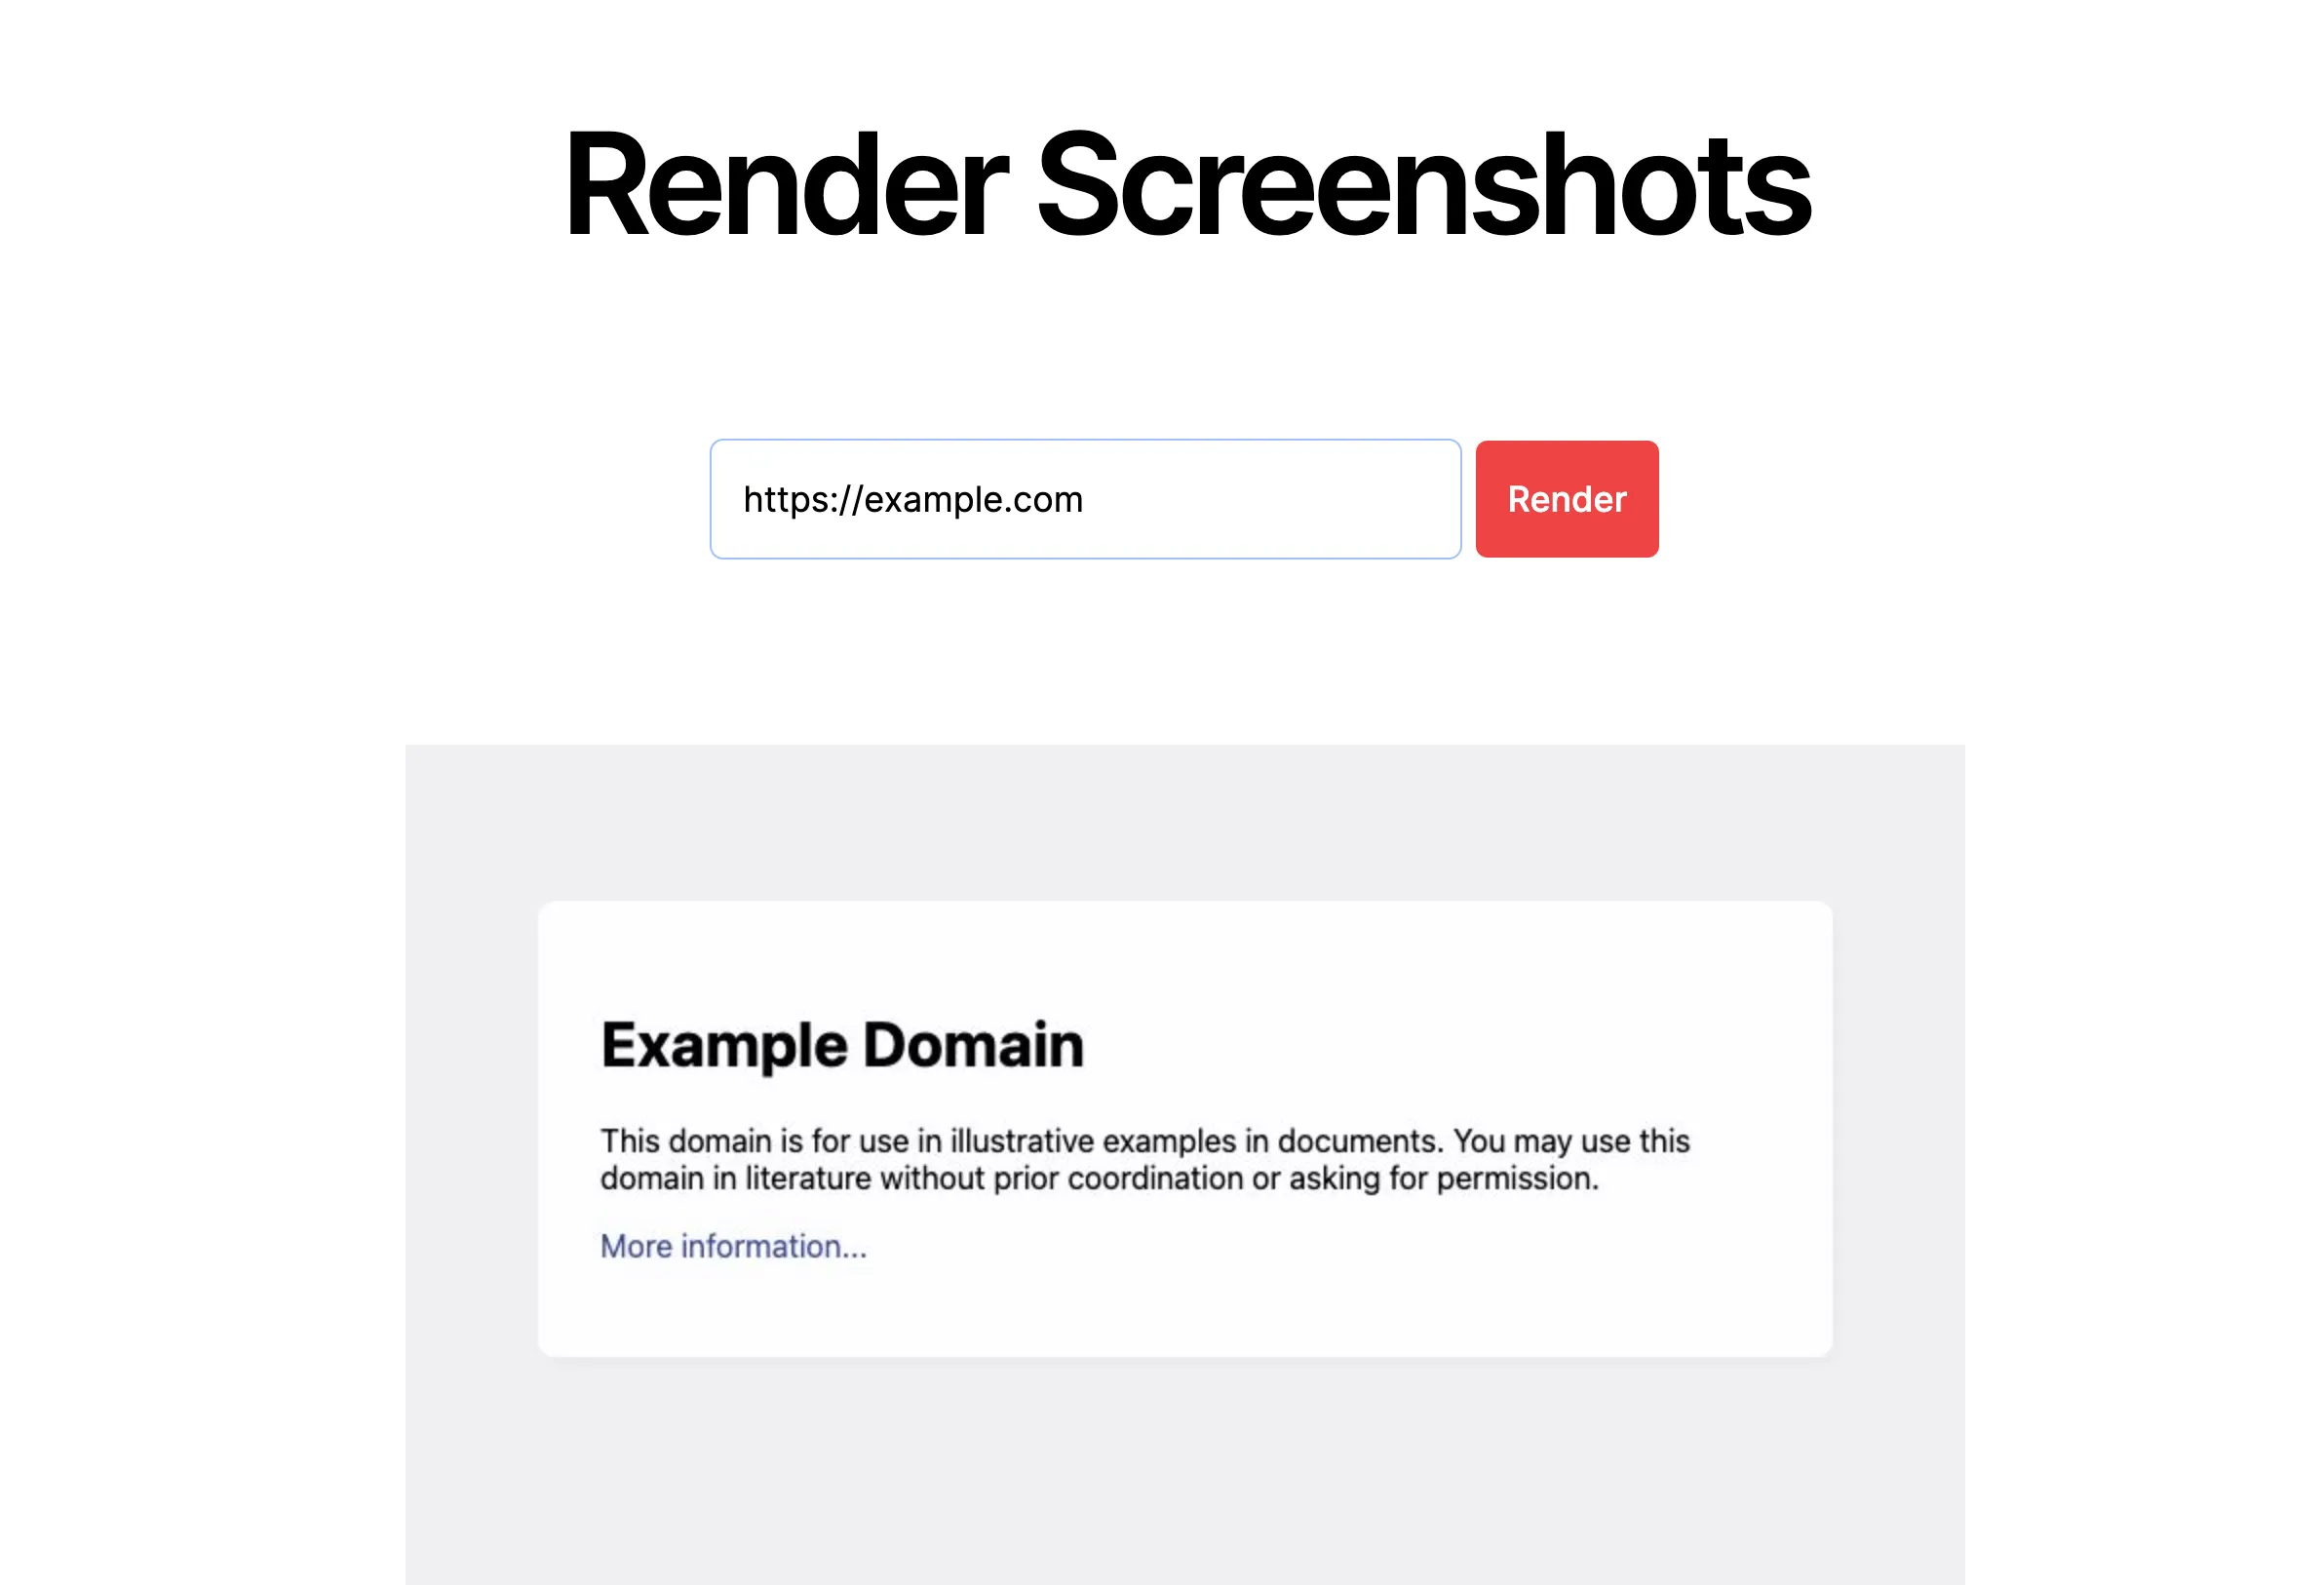
Now, let’s try different approaches to rendering screenshots in Next.js and see what fits the best.
Puppeteer
Puppeteer is the most popular library in the Node.js ecosystem working with headless browsers. Another alternative can be Playwright, but Playwright is more about testing than a standalone browser automation library.
Next.js, Node.js and headless browsers
If you plan to deploy your Next.js application on a VPS with Linux or containerize with Docker and can run headless browsers, then it is pretty straightforward to implement.
Let’s install Puppeteer first:
npm i puppeteerNow, let’s write a simple function to render screenshots with the Puppeteer library. We will create an HTTP POST route handler in the app/api/screenshot/route.ts file:
import { renderScreenshotWithPuppeteer } from "@/app/lib/puppeteer";import { unstable_noStore } from "next/cache";
export default async function POST(request: Request) { // do not cache unstable_noStore();
// parse request and get the website URL to render const data = (await request.json()) as { url: string };
// get the screenshot const screenshot = await renderScreenshotWithPuppeteer(data.url);
// return the image return new Response(screenshot, { headers: { "content-type": "image/jpeg" }, });}And then we will implement the Puppeteer rendering function in the lib/puppeteer.ts file:
import puppeteer from "puppeteer";
export async function renderScreenshotWithPuppeteer(url: string) { const browser = await puppeteer.launch();
const page = await browser.newPage(); await page.goto(url); const screenshot = await page.screenshot({ encoding: "binary", type: "jpeg", });
await browser.close();
return screenshot;}That’s it!
And don’t forget to add all the necessary Puppeteer dependencies to your Docker image.
The real problem arises when you want to run that on serverless, be it Cloudflare Workers or Vercel Edge functions. Then you can’t run Chrome/Chromium headless. You might solve some of the problems, but then you will memory limits and there is no end to that. But there is a way out—hosting and running headless browsers outside of your application or using a screenshot API.
Next.js, serverless and browsers in the cloud
In case you host Next.js on Vercel, or Cloudflare Workers or similar platform, there is a better solution. Either you can run headless browsers on a separate VPS and connect to them or you can use services like Browserless which run browsers for you.
The idea is simple. Since you can run headless browsers remotely either by yourself or using Browserless, you can connect to them via a simple WebSockets endpoint, and that’s the only thing you need to change in the code, except using the puppeteer-code instead of puppeteer, since you don’t need to download browsers anymore.
const browserWSEndpoint = "...";const browser = await puppeteer.connect({ browserWSEndpoint });Cloudflare, by the way, has their own solution which you can use—Browser Rendering.
Using a screenshot API
But you don’t need to work with Puppeteer, headless browsers, and be worried about your runtime at all if… you choose to use a screenshot API.
The problem of rendering screenshots at scale while covering all the potential issues was solved a long time ago by screenshot APIs. As an example, I will use ScreenshotOne, but you can consider any other of the best screenshot APIs that also might fit you.
Let’s first integrate the API (lib/api.ts):
if (!process.env.SCREENSHOTONE_ACCESS_KEY) { throw new Error("SCREENSHOTONE_ACCESS_KEY is required");}
const accessKey = process.env.SCREENSHOTONE_ACCESS_KEY;
export async function renderScreenshotWithScreenshotAPI(url: string) { const params = new URLSearchParams({ access_key: accessKey, url: url, });
const response = await fetch( "https://api.screenshotone.com/take?" + params.toString() ); if (response.ok) { return await response.arrayBuffer(); }
throw new Error( `Failed to render screenshot: response status code is ${response.status}` );}Then update the route handler (app/api/screenshot/route.ts):
import { renderScreenshotWithScreenshotAPI } from "@/app/lib/api";import { unstable_noStore } from "next/cache";
export async function POST(request: Request) { unstable_noStore();
const data = (await request.json()) as { url: string };
const screenshot = await renderScreenshotWithScreenshotAPI(data.url);
return new Response(screenshot, { headers: { "content-type": "image/jpeg" }, });}That’s how simple it is when all that complexity is outsourced to an external application that cares of it for you.
The result is:
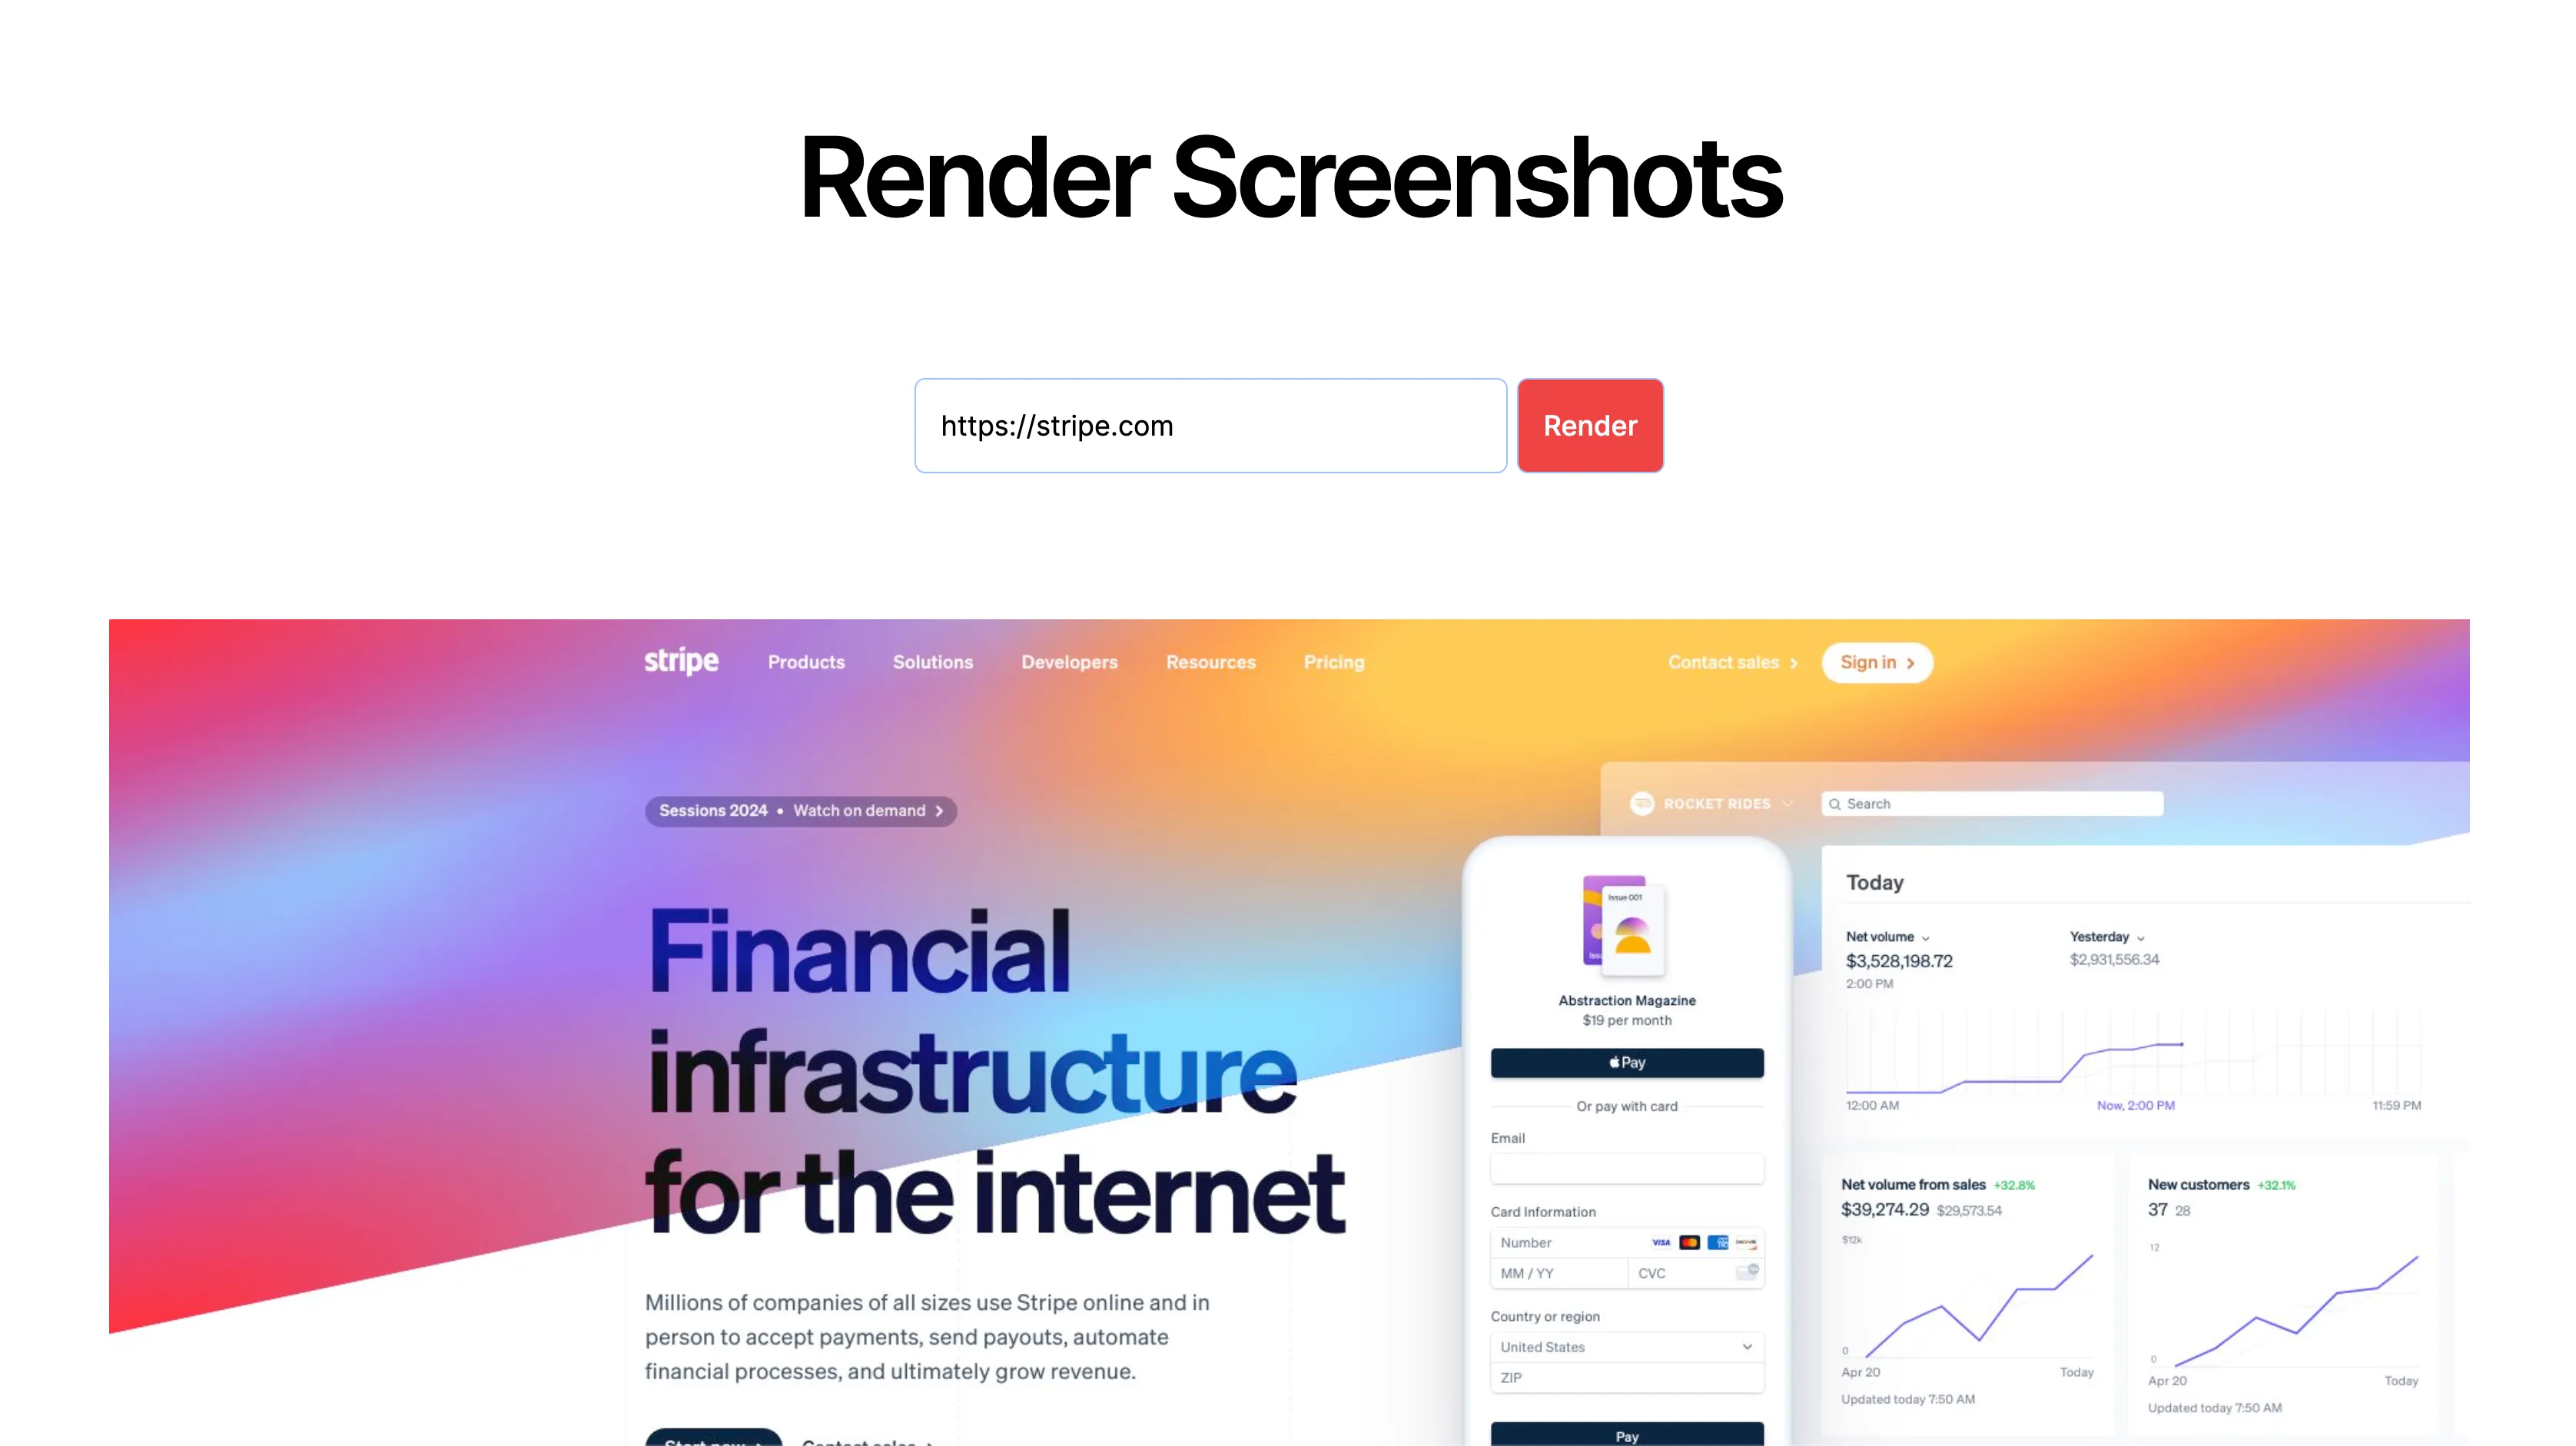
It is a bit different from the Puppeteer integration since ScreenshotOne uses the most popular viewport size 1920x1080 compared to the Puppeteer defaults.
By the way, a few bonuses you get when you use screenshot APIs instead of building your own solution:
- Blocking of cookie banners, ads, and other pop-ups.
- Custom fixes for different websites.
- Predictable pricing, not based on CPU and memory usage.
- Usually, screenshot APIs have support teams available for you and fix any issues you encounter.
- GPU rendering, videos if needed, lazy loading images for full pages, and many other features.
If you are curious, check out ScreenshotOne.
Summary
Choose whatever method suits you best. If you deploy Next.js with Node.js runtime, can run headless browsers, and don’t need to render a lot of screenshots, consider using classic Puppeteer.
But if you encounter issues, plan to scale, or don’t want to spend time on boring screenshot automation, you can go with a screenshot API like ScreenshotOne or choose one from the best screenshot APIs.