You can do it in 3 simple steps:
- Sign up to ScreenshotOne and get an access key to a website screenshot API.
- Prepare a screenshot URL template.
- Render site screenshots in Google Sheets.
That will be our final result:

You can copy and modify the sheet for you needs.
Let’s quickly go through each step and its nuances in achieving the result.
Get an access key to the website screenshot API
To render screenshots, you need to get an access key to the ScreenshotOne API.
The API is free to start with 100 monthly screenshots to ensure you are satisfied with the quality before subscribing and paying.
You also might consider using other screenshot APIs. It is up to you. Most of the APIs have more or less the same format so that you can apply the tutorial for them too.
Once you have an access key, we can move to the next step and prepare a website screenshot URL template that we will use to fetch images.
Prepare a screenshot URL template
Before rendering screenshots, we need to set up an API URL template for requests. Without any advanced options, it might look like this:
https://api.screenshotone.com/take?access_key=<your access key>&url=It is important the URL is the last one and is empty because we are going to set it for each cell. If you need more parameters, add them in between, like:
https://api.screenshotone.com/take?access_key=<your access key>&delay=5&full_page=true&url=Put the template in a separate cell or page—choose what works best for you.

And let’s render screenshots.
Render website screenshots
If you plan to share or expose links of the screenshots, use signed links to don’t allow using your API key even if exposed. And require singing for every request (in the “dashboard” app).
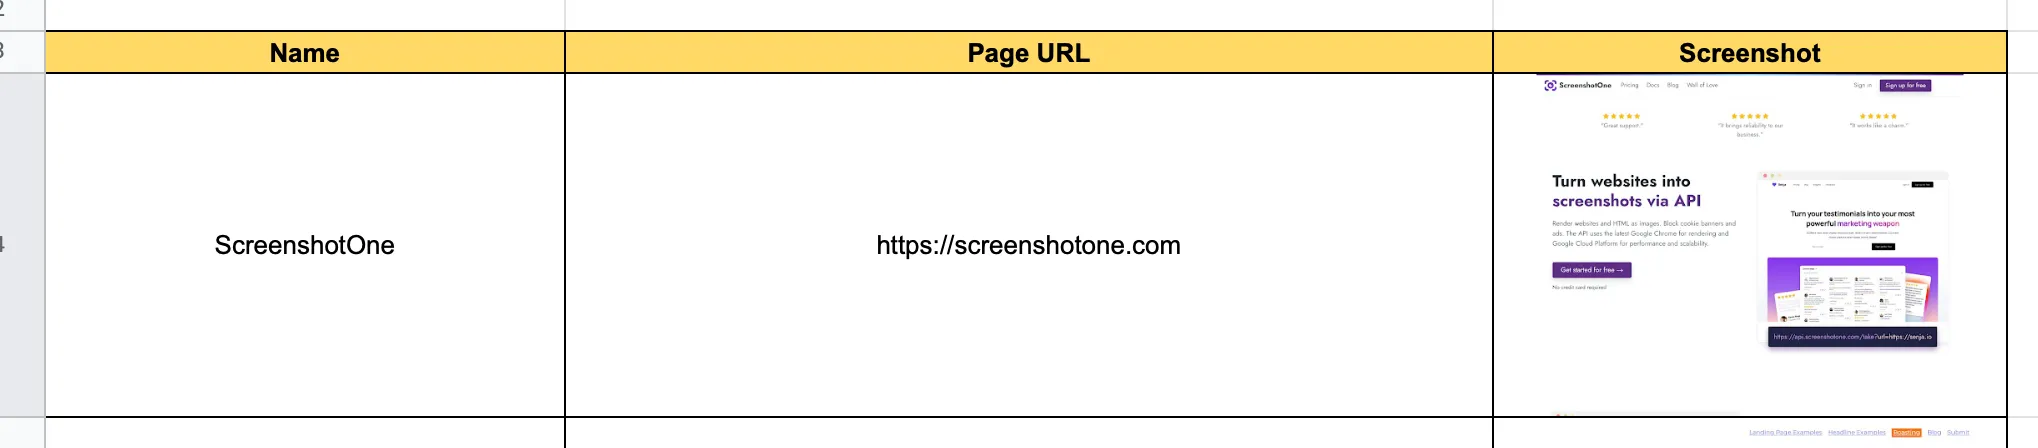
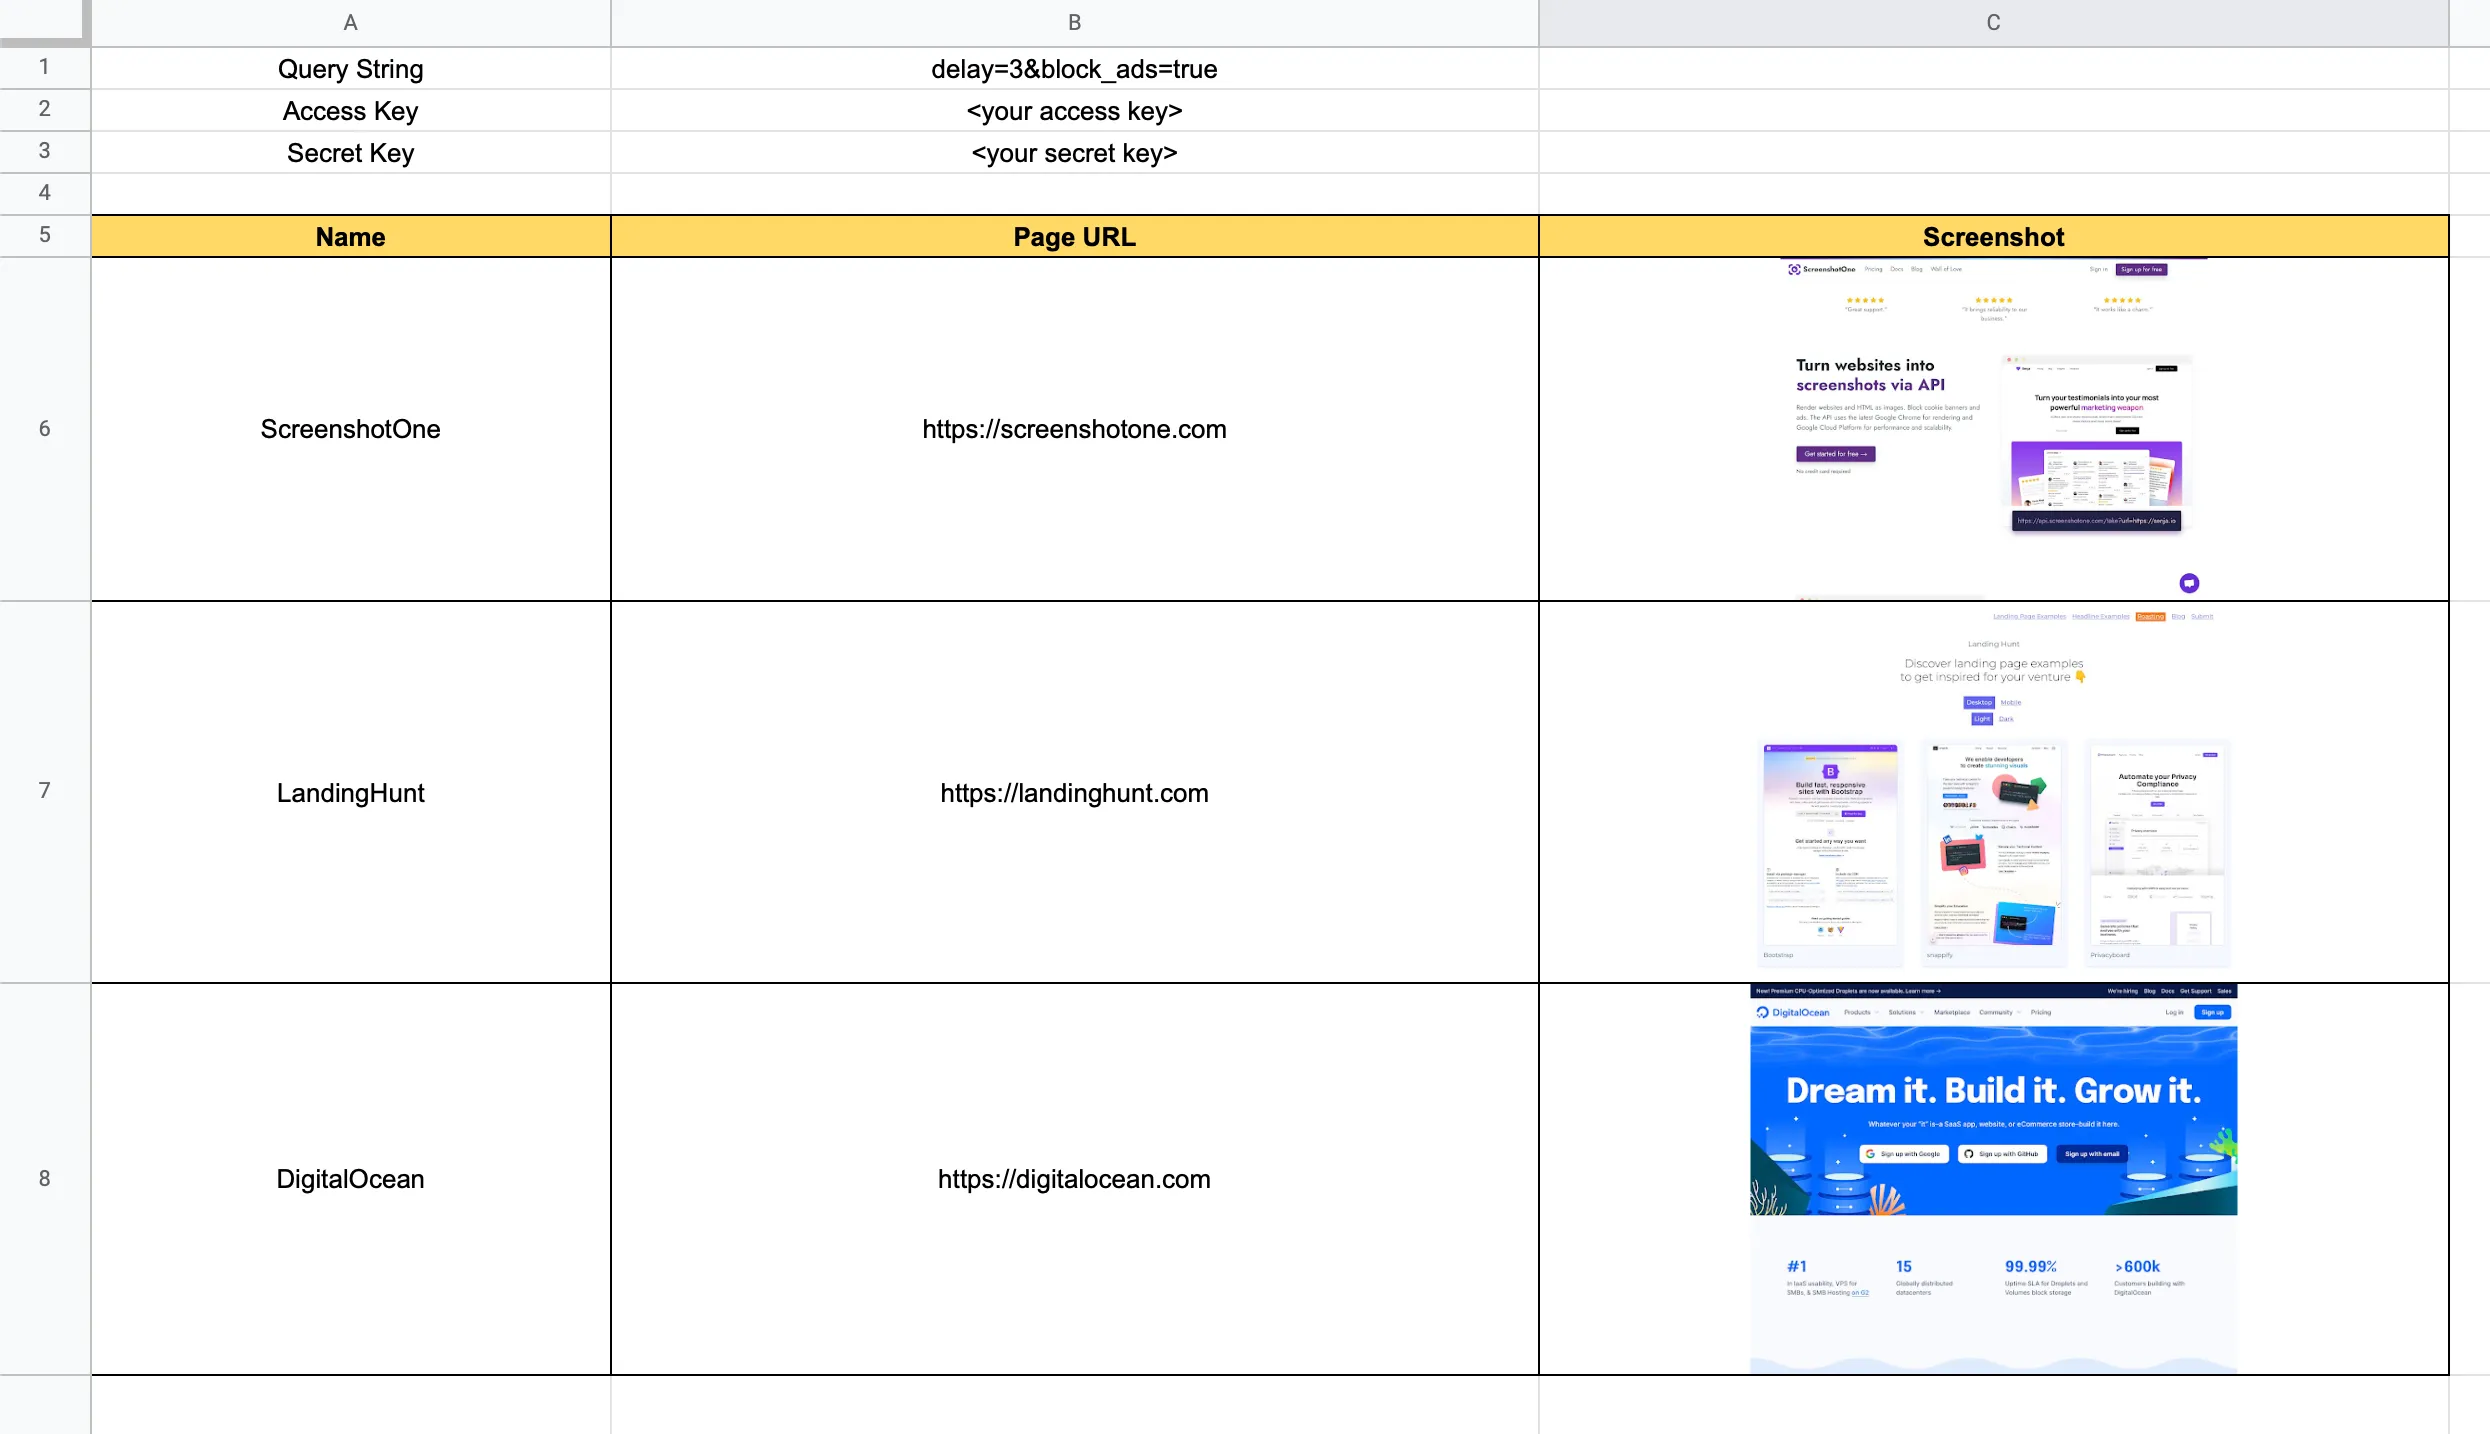
For example I created 3 columns table with a readable name of the site, site URL, and screenshot:
Let’s use the CONCAT and the IMAGE functions to render screenshots.
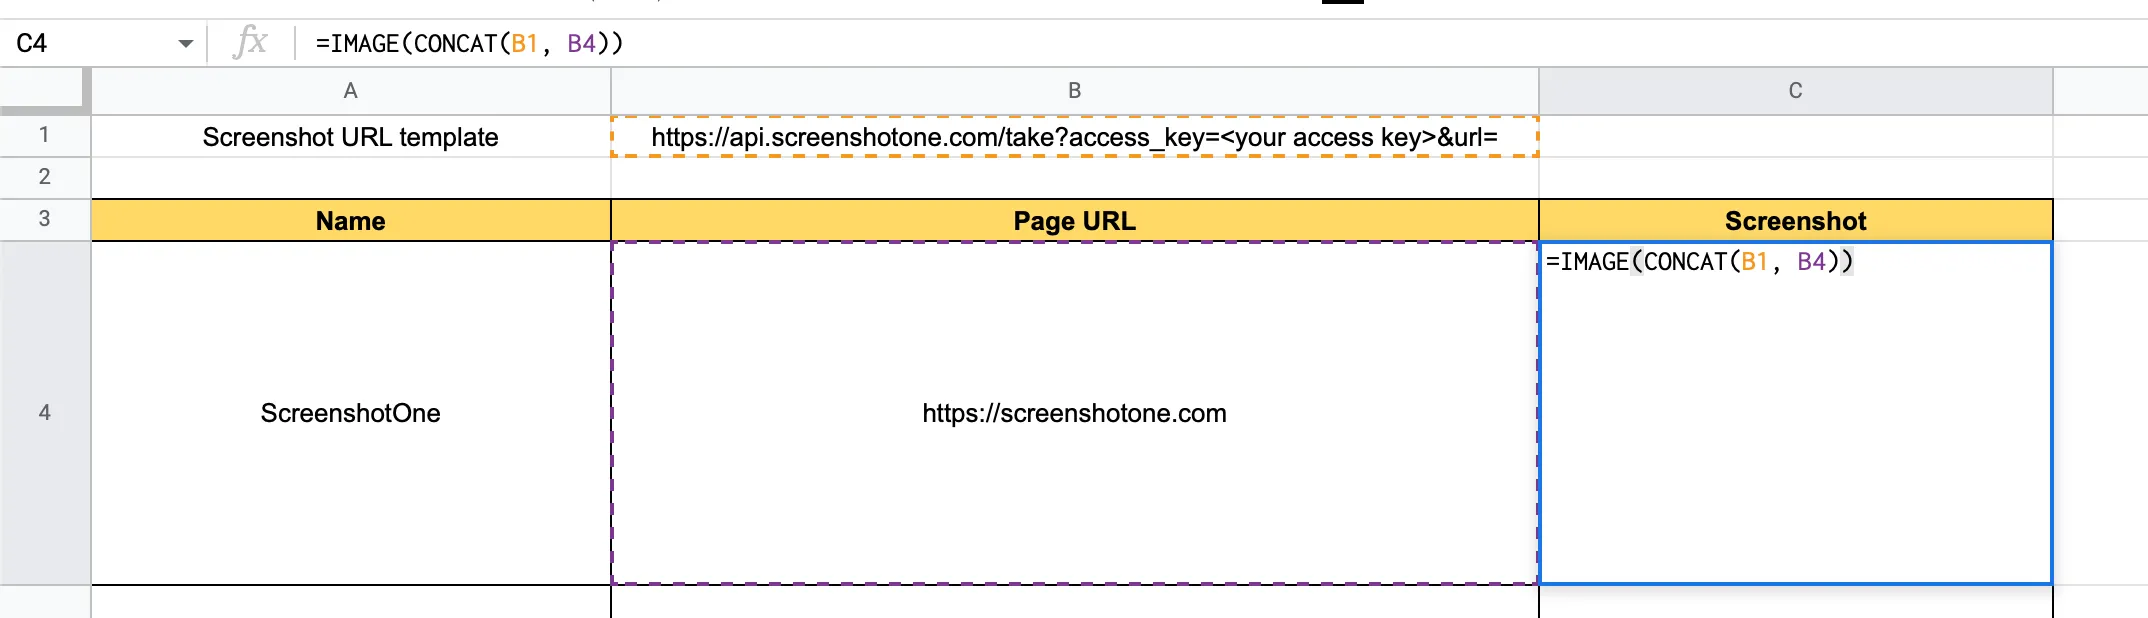
The CONCAT function concatenates strings, so by joining the URL template and the site URL, we will receive the actual URL of the screenshot, and by applying the IMAGE function, we can render it. You can copy the formula:
=IMAGE(CONCAT(B1, B4))Applying the formula to each row will result in what we wanted to achieve:
Google Sheets don’t render screenshots immediately. It might take some time until you see them.
You can copy and modify the sheet for you needs.
Signed Links
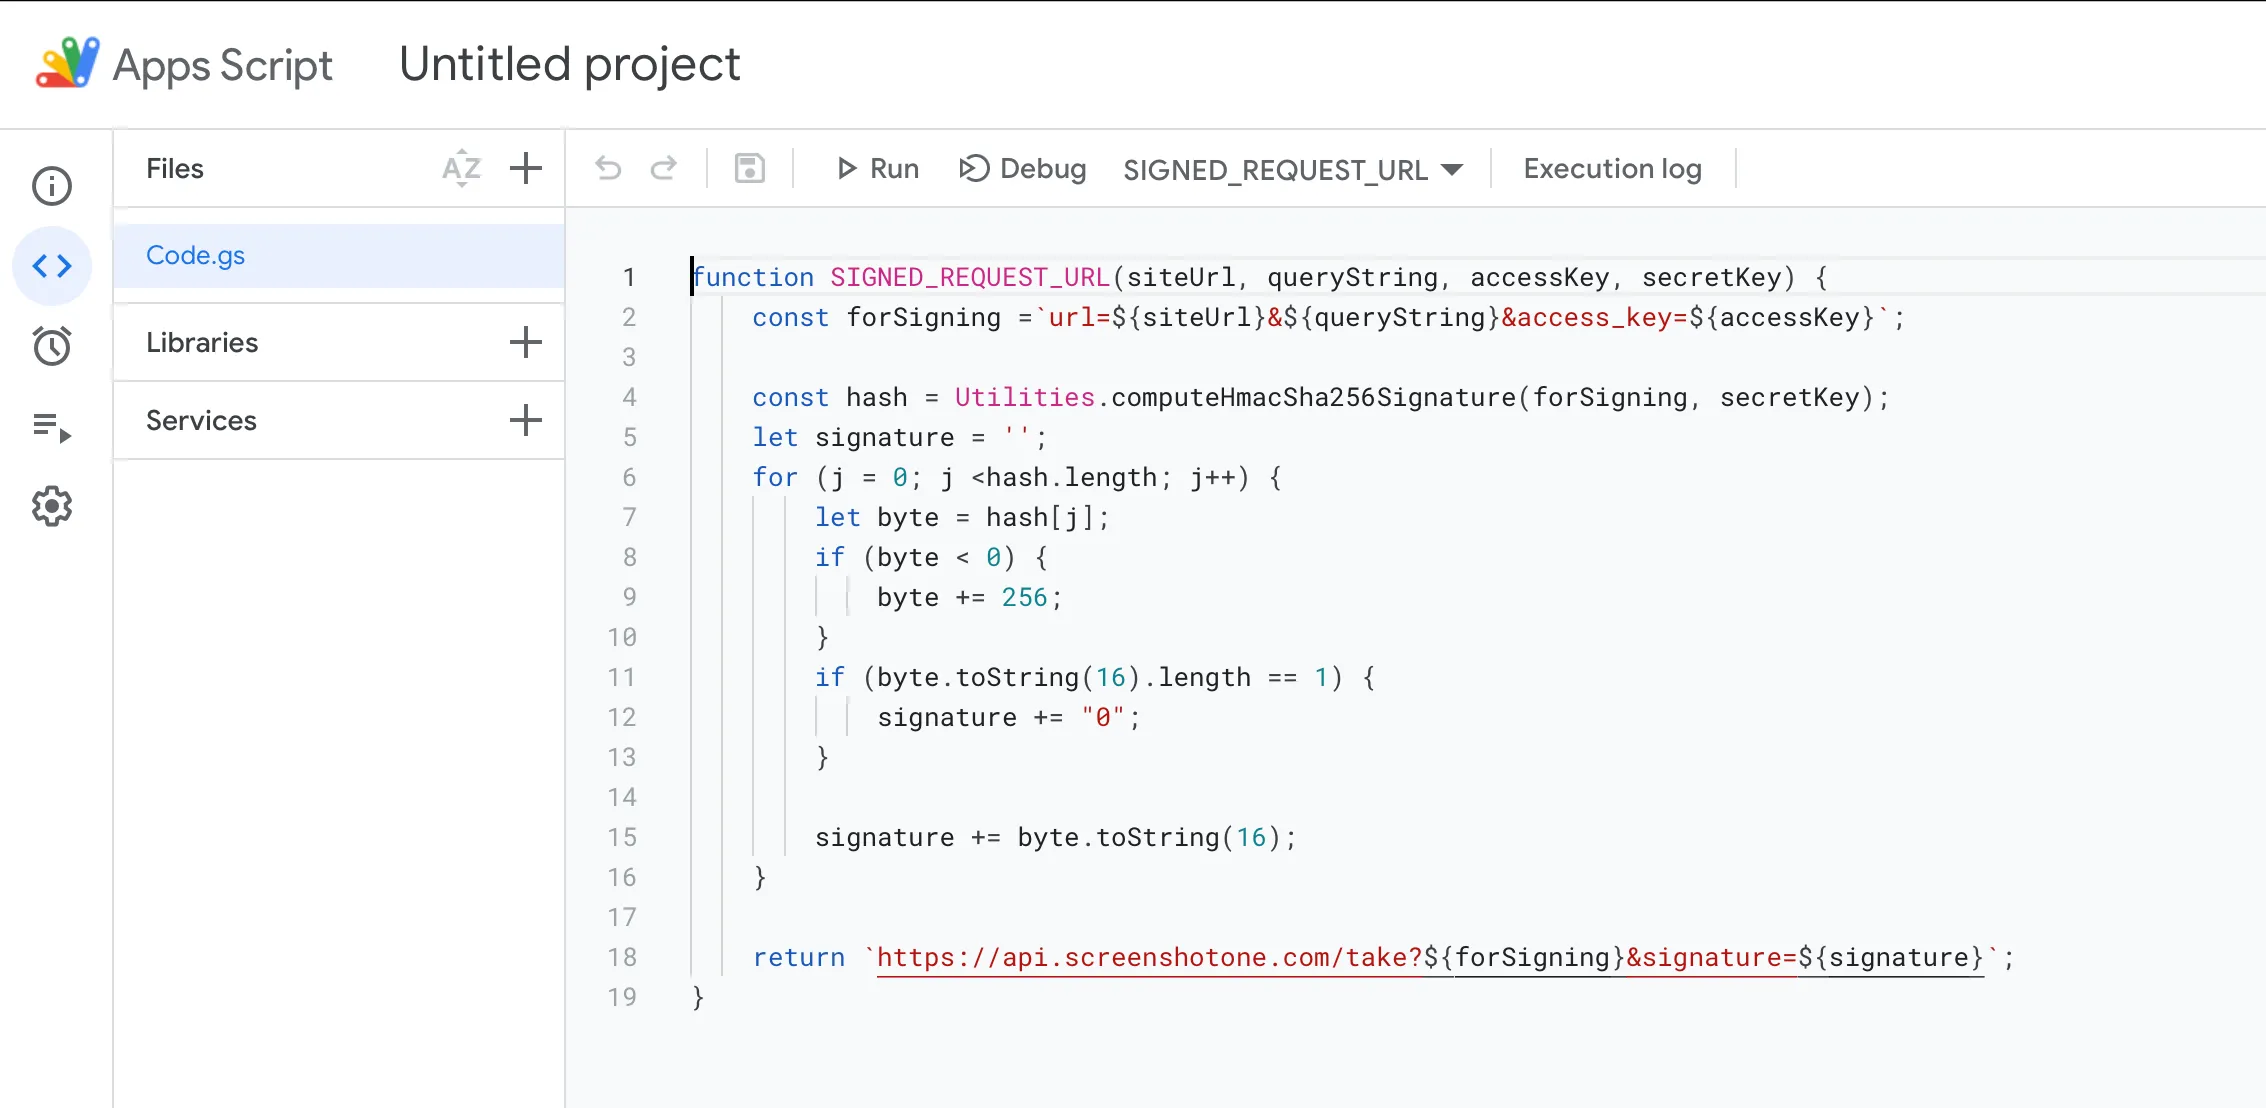
We need to make a few changes to use signed links instead of regular links. Let’s add the function allowing us to sign the query string for every request and return the signed screenshot URL.
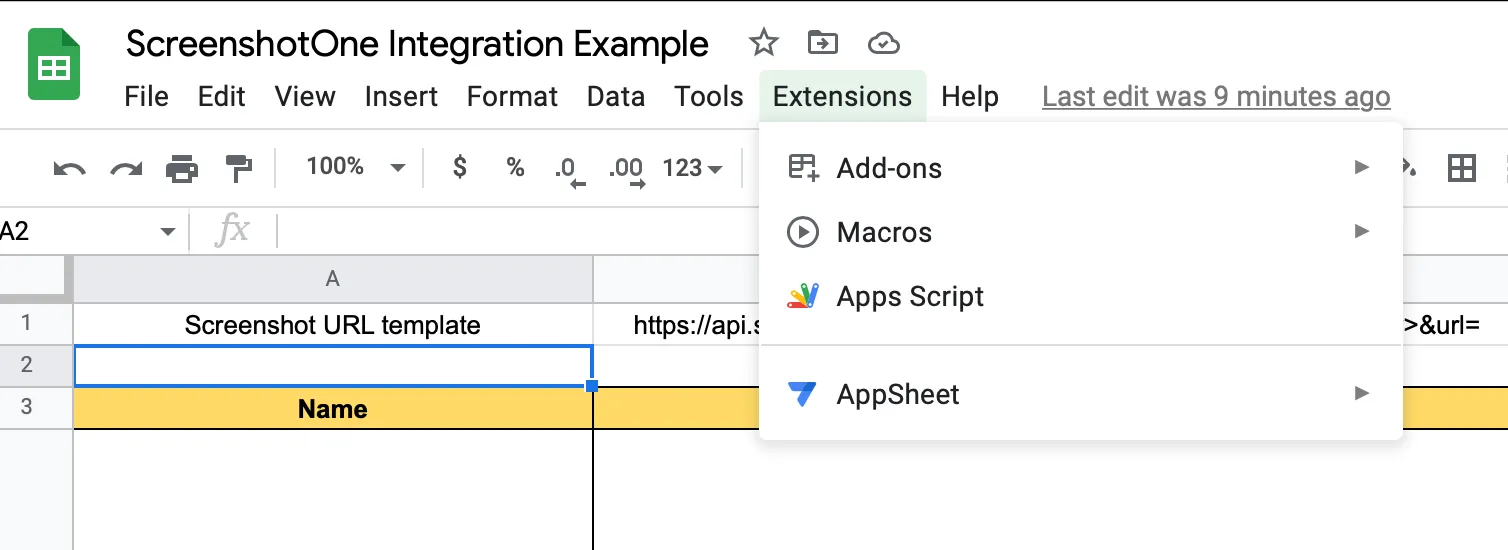
Open the “Apps Script” editor:
Copy and paste the following function:
function SIGNED_REQUEST_URL(siteUrl, queryString, accessKey, secretKey) { const forSigning =`url=${siteUrl}&${queryString}&access_key=${accessKey}`;
const hash = Utilities.computeHmacSha256Signature(forSigning, secretKey); let signature = ''; for (j = 0; j <hash.length; j++) { let byte = hash[j]; if (byte < 0) { byte += 256; } if (byte.toString(16).length == 1) { signature += "0"; }
signature += byte.toString(16); }
return `https://api.screenshotone.com/take?${forSigning}&signature=${signature}`;}Then save it:
Once the function is saved, let’s edit the formula:
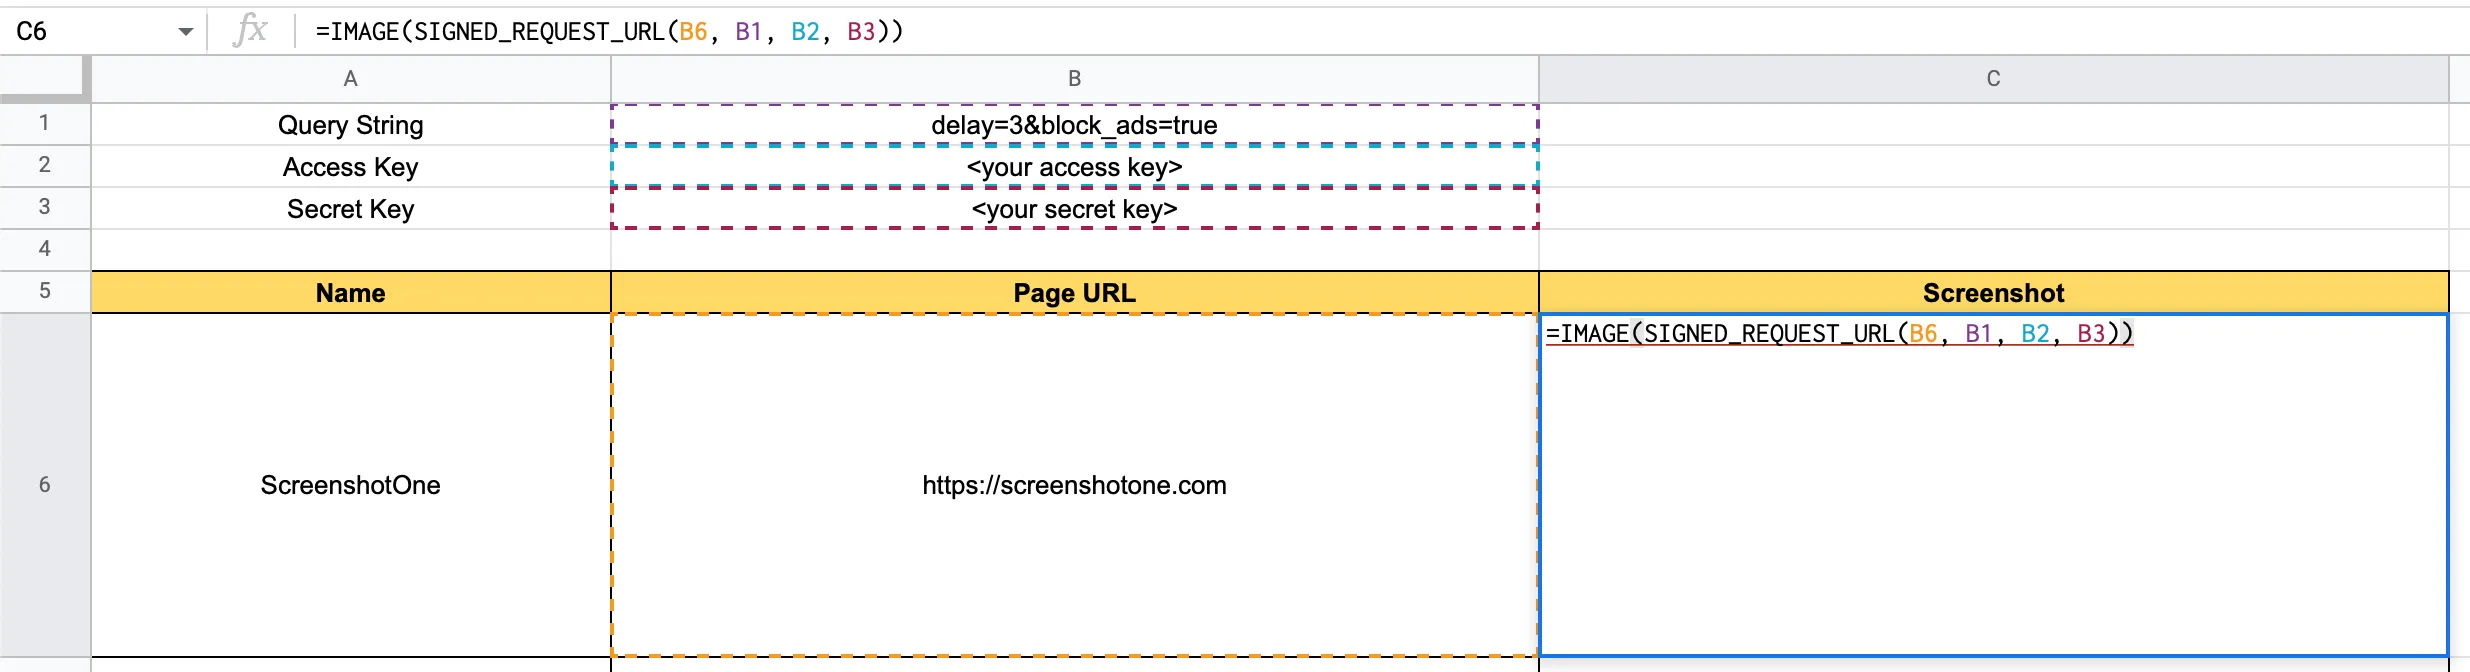
And now we have rendered “signed “screenshots:
Feel free to reach the support
That’s it. That’s how simple it was. If you have any questions and decide to go with ScreenshotOne, feel free to ask any questions related to the topic at support@screenshotone.com.