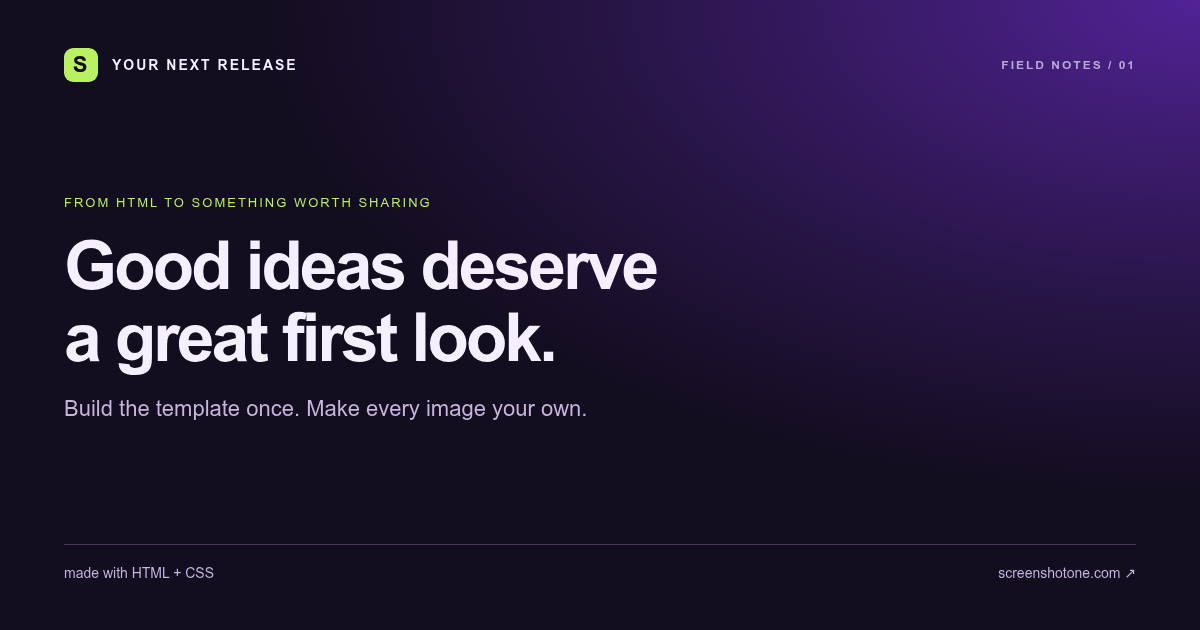
Social card
A 1200 × 630 card for your next article or release.
Try in the playground →HTML + CSS → IMAGE
Turn HTML and CSS into PNG, JPEG, or WebP with one API request. Generate social cards, receipts, and badges without running your own browser fleet.
01 / Your HTML template
<main class="card"> <div class="top"><span class="mark">S</span> YOUR NEXT RELEASE <span class="edition">FIELD NOTES / 01</span></div> <div class="content"><p class="eyebrow">FROM HTML TO SOMETHING WORTH SHARING</p> <h1>Good ideas deserve<br>a great first look.</h1> <p class="subtitle">Build the template once. Make every image your own.</p> </div> <footer><span>made with HTML + CSS</span><span>screenshotone.com ↗</span></footer></main>Style it with regular CSS. Copy the complete request below.
02 / Your rendered image
Use a JSON POST for HTML templates so you do not have to squeeze markup into a URL. Keep the access key on your server. The response below is a PNG file, ready to save or serve from your application.
# Save the JSON below as request.json.# Set SCREENSHOTONE_ACCESS_KEY on your server.curl --fail --silent --show-error 'https://api.screenshotone.com/take' \ --header "X-Access-Key: $SCREENSHOTONE_ACCESS_KEY" \ --header 'Content-Type: application/json' \ --data-binary @request.json \ --output social-card.png{ "html": "<main class=\"card\">\n <div class=\"top\"><span class=\"mark\">S</span> YOUR NEXT RELEASE <span class=\"edition\">FIELD NOTES / 01</span></div>\n <div class=\"content\"><p class=\"eyebrow\">FROM HTML TO SOMETHING WORTH SHARING</p>\n <h1>Good ideas deserve<br>a great first look.</h1>\n <p class=\"subtitle\">Build the template once. Make every image your own.</p>\n </div>\n <footer><span>made with HTML + CSS</span><span>screenshotone.com ↗</span></footer>\n</main>", "styles": "* { box-sizing: border-box; }\nbody { margin: 0; font-family: Arial, sans-serif; }\n.card { width: 1200px; height: 630px; padding: 48px 64px; color: #f7f3ff; background: radial-gradient(ellipse at 100% 0%, #6539a6 0%, transparent 55%), #19112b; display: flex; flex-direction: column; }\n.top { display: flex; align-items: center; gap: 14px; font-size: 14px; font-weight: bold; letter-spacing: 2px; }\n.mark { display: grid; place-items: center; width: 34px; height: 34px; background: #c4f075; border-radius: 9px; color: #19112b; font-size: 22px; }\n.edition { margin-left: auto; color: #c6b8df; font-size: 12px; }\n.content { margin: auto 0; }\n.eyebrow { color: #c4f075; font-size: 13px; letter-spacing: 2px; }\nh1 { margin: 20px 0; font-size: 68px; line-height: 1.06; letter-spacing: -3px; }\n.subtitle { color: #d1c4e3; font-size: 22px; }\nfooter { display: flex; justify-content: space-between; border-top: 1px solid #5a476e; padding-top: 20px; font-size: 14px; color: #d1c4e3; }", "format": "png", "viewport_width": 1200, "viewport_height": 630, "device_scale_factor": 1, "omit_background": false, "wait_until": [ "load" ]}The html field supplies the markup, and styles adds CSS. Set viewport_width, viewport_height, and device_scale_factor for predictable output dimensions. See the HTML options or follow the complete Python guide.
A 1200 × 630 card for your next article or release.
Try in the playground →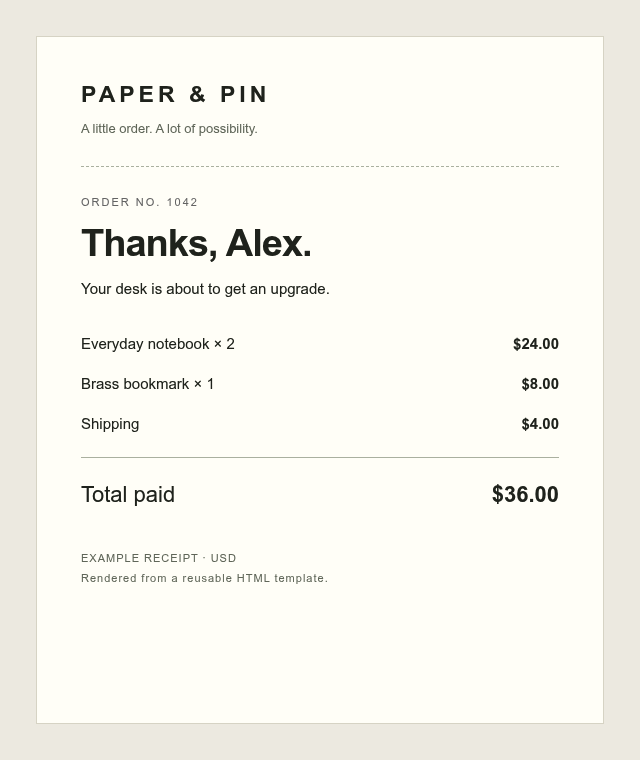
A compact order summary, ready to attach to a message.
Try in the playground →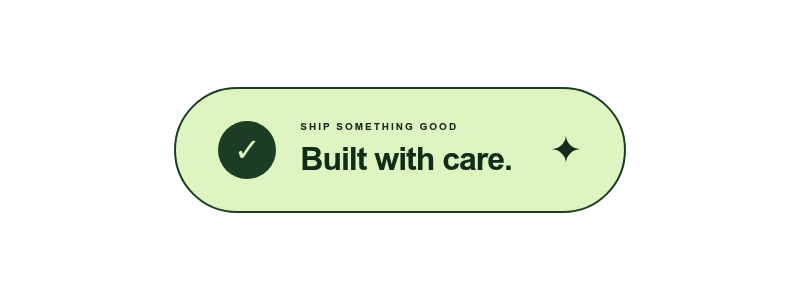
Keep the background clear for a badge you can place anywhere.
Try in the playground →Raw HTML does not inherit your local folder. Use absolute public asset URLs or embed files as data URLs. For relative paths, provide a suitable <base href="https://your-site.example/">. Set an explicit font family and include any custom font in your template.
wait_until=["load"] works for these self-contained examples. For dynamic templates, choose a readiness selector or an appropriate delay. An open network connection is not a reliable signal that an application has finished drawing.
Choose PNG for graphics and text, JPEG for opaque images, or WebP when it suits your delivery pipeline. Increase the device scale factor for a higher-density image. Capture a specific element with selector.
For a badge with clear corners, use PNG and omit_background=true. Leave the page background transparent in CSS as well. This preserves transparent areas; it does not erase the background of a photograph.
The default image response returns bytes directly. If you need a persistent URL, configure storage and save the output to your own bucket. Do not treat a temporary cached URL as a permanent asset.
For social cards, publish the image at a public URL and set og:image on the page. Follow the social-card serving checklist, then validate your page with the link-preview checker.
It renders your HTML and CSS in a browser and returns an image. Send a JSON POST request to ScreenshotOne with html, styles, format, and viewport dimensions. Save the response as PNG, JPEG, or WebP.
Yes. Use the html option instead of url and send your markup in a JSON POST body. Relative image and font paths need a public base URL, or you can embed assets as data URLs. The API cannot read files on your computer.
By default, an image-format request returns the image bytes. Save or serve those bytes from your application. A hosted image URL requires the API's storage, caching, or JSON-response options; a direct response does not automatically publish your image.
Use PNG with omit_background=true and transparent HTML/CSS. An explicit CSS background still appears, and the API does not remove backgrounds from photographs. JPEG output is opaque. The current API rejects omit_background for WebP, so use PNG when you need transparency.
Yes. Use publicly accessible absolute URLs, an appropriate base URL, or embedded assets. Specify a readiness condition when your template loads content asynchronously. The free converter restricts external resources; the API supports them.
Try your HTML and CSS in the playground, then call the API from your application.