A free and simple way to take a screenshot on macOS
I assume that every Apple user already knows how to take screenshots on macOS.
But if not, you can open Spotlight and search for the “screenshot” application. It is a native application that has basic features to take a screenshot.
Once you open it, the application allows you to shoot the full screen or only some area of the screen, it is up to you.
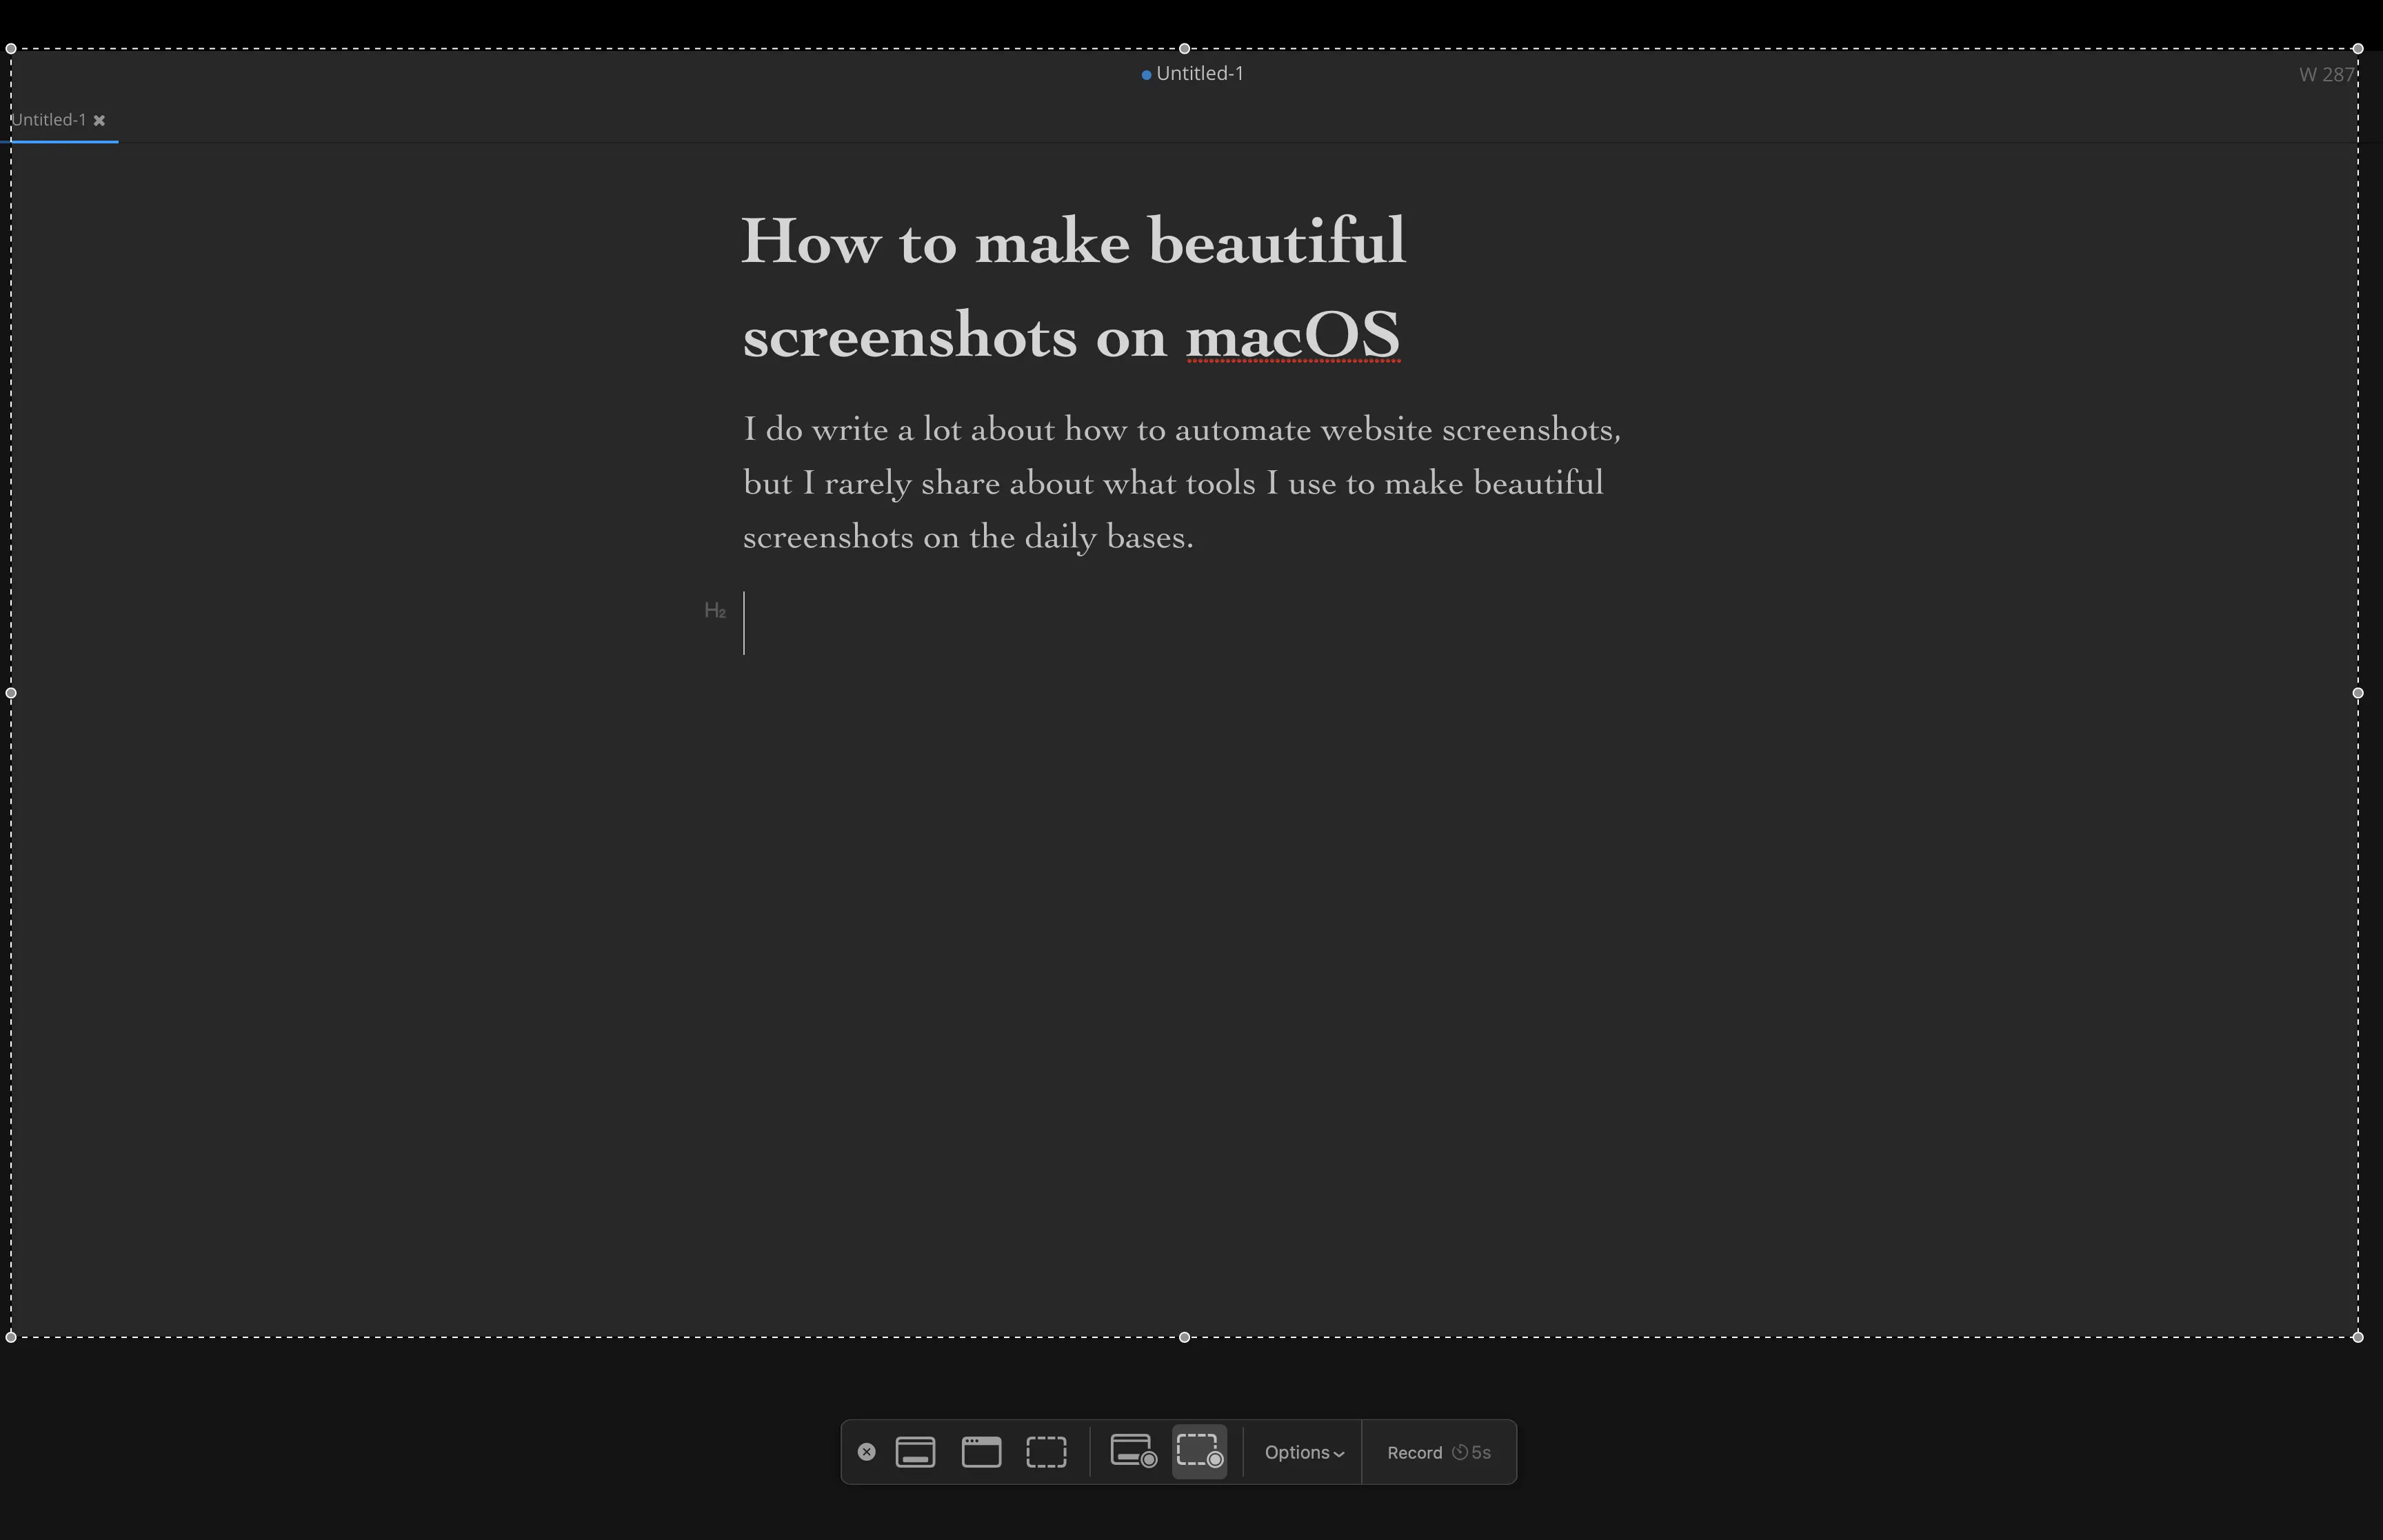
You can also use a shortcut like Command + Shift + 4 to open it and screenshot only the part of your screen. Or Command + Shift + 3 to screenshot the full screen.
It is a basic tool that I use when I need to share screenshots with my friends. But when I share my screenshots in public, I have a strong urge to make them pretty.
Beautiful screenshots with Xnapper on macOS
When I post on X or any other public place, I prefer to beautify my screenshots:
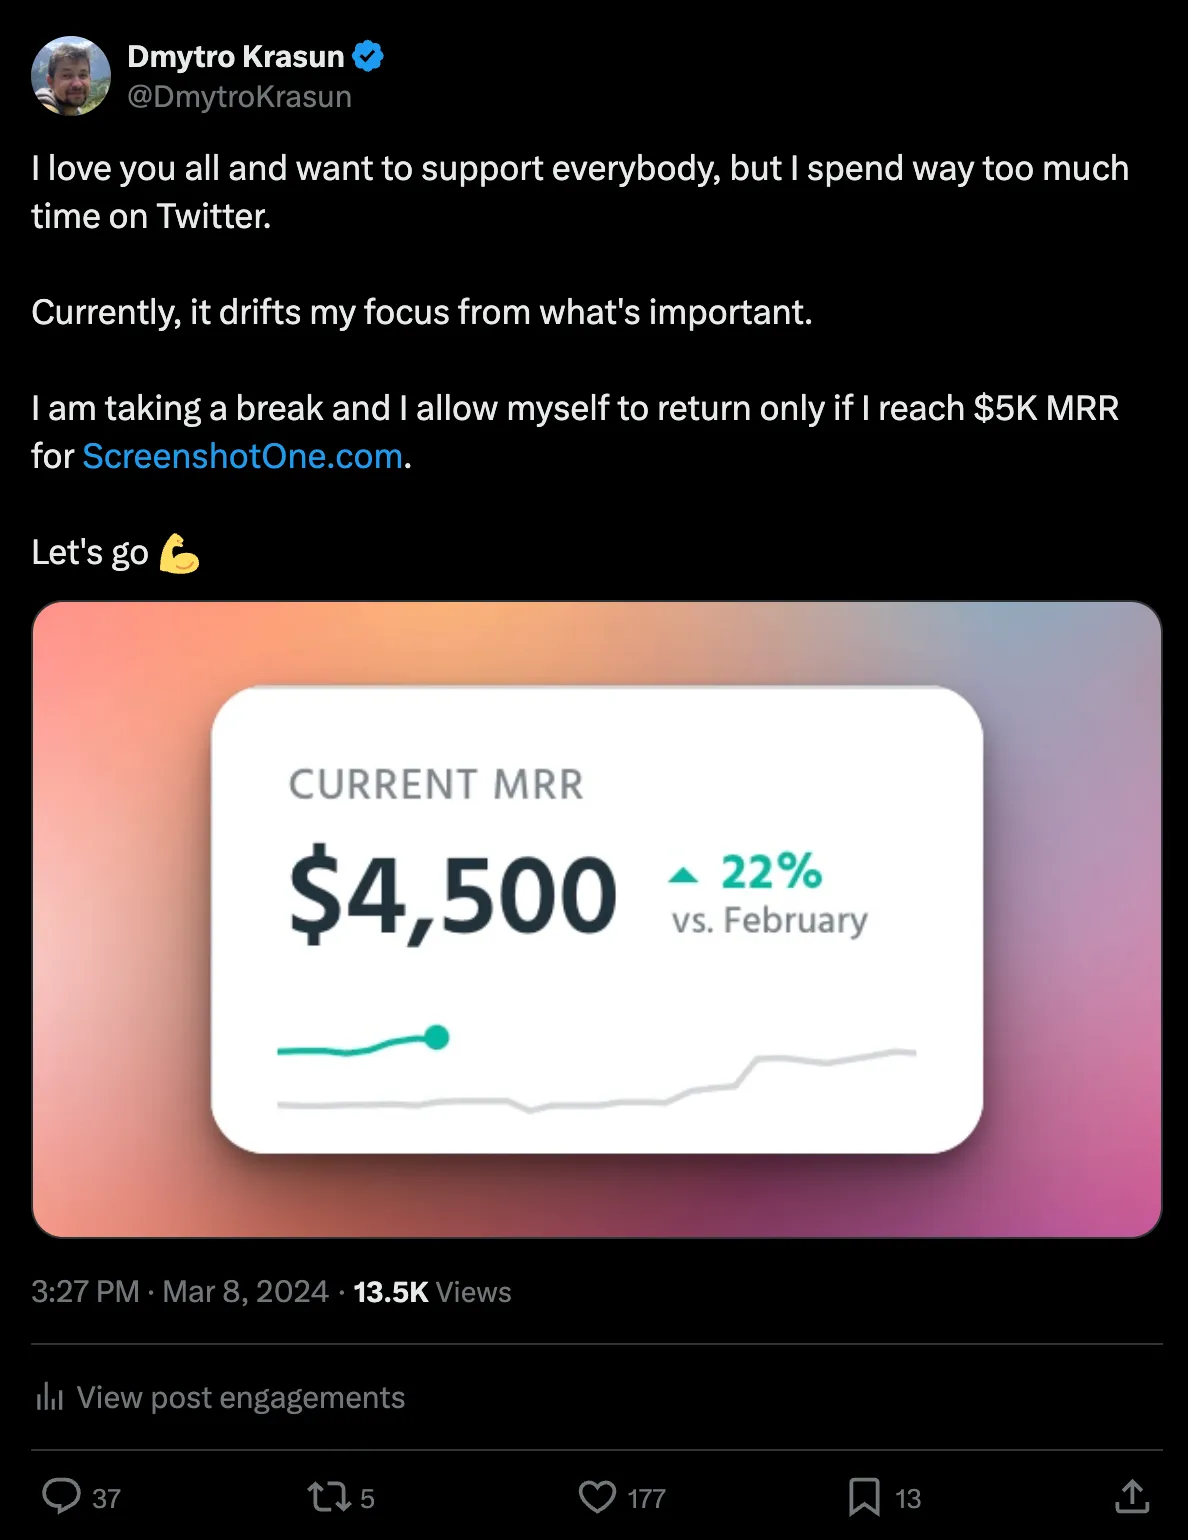
Usually, posts with beautiful screenshots get more attention.
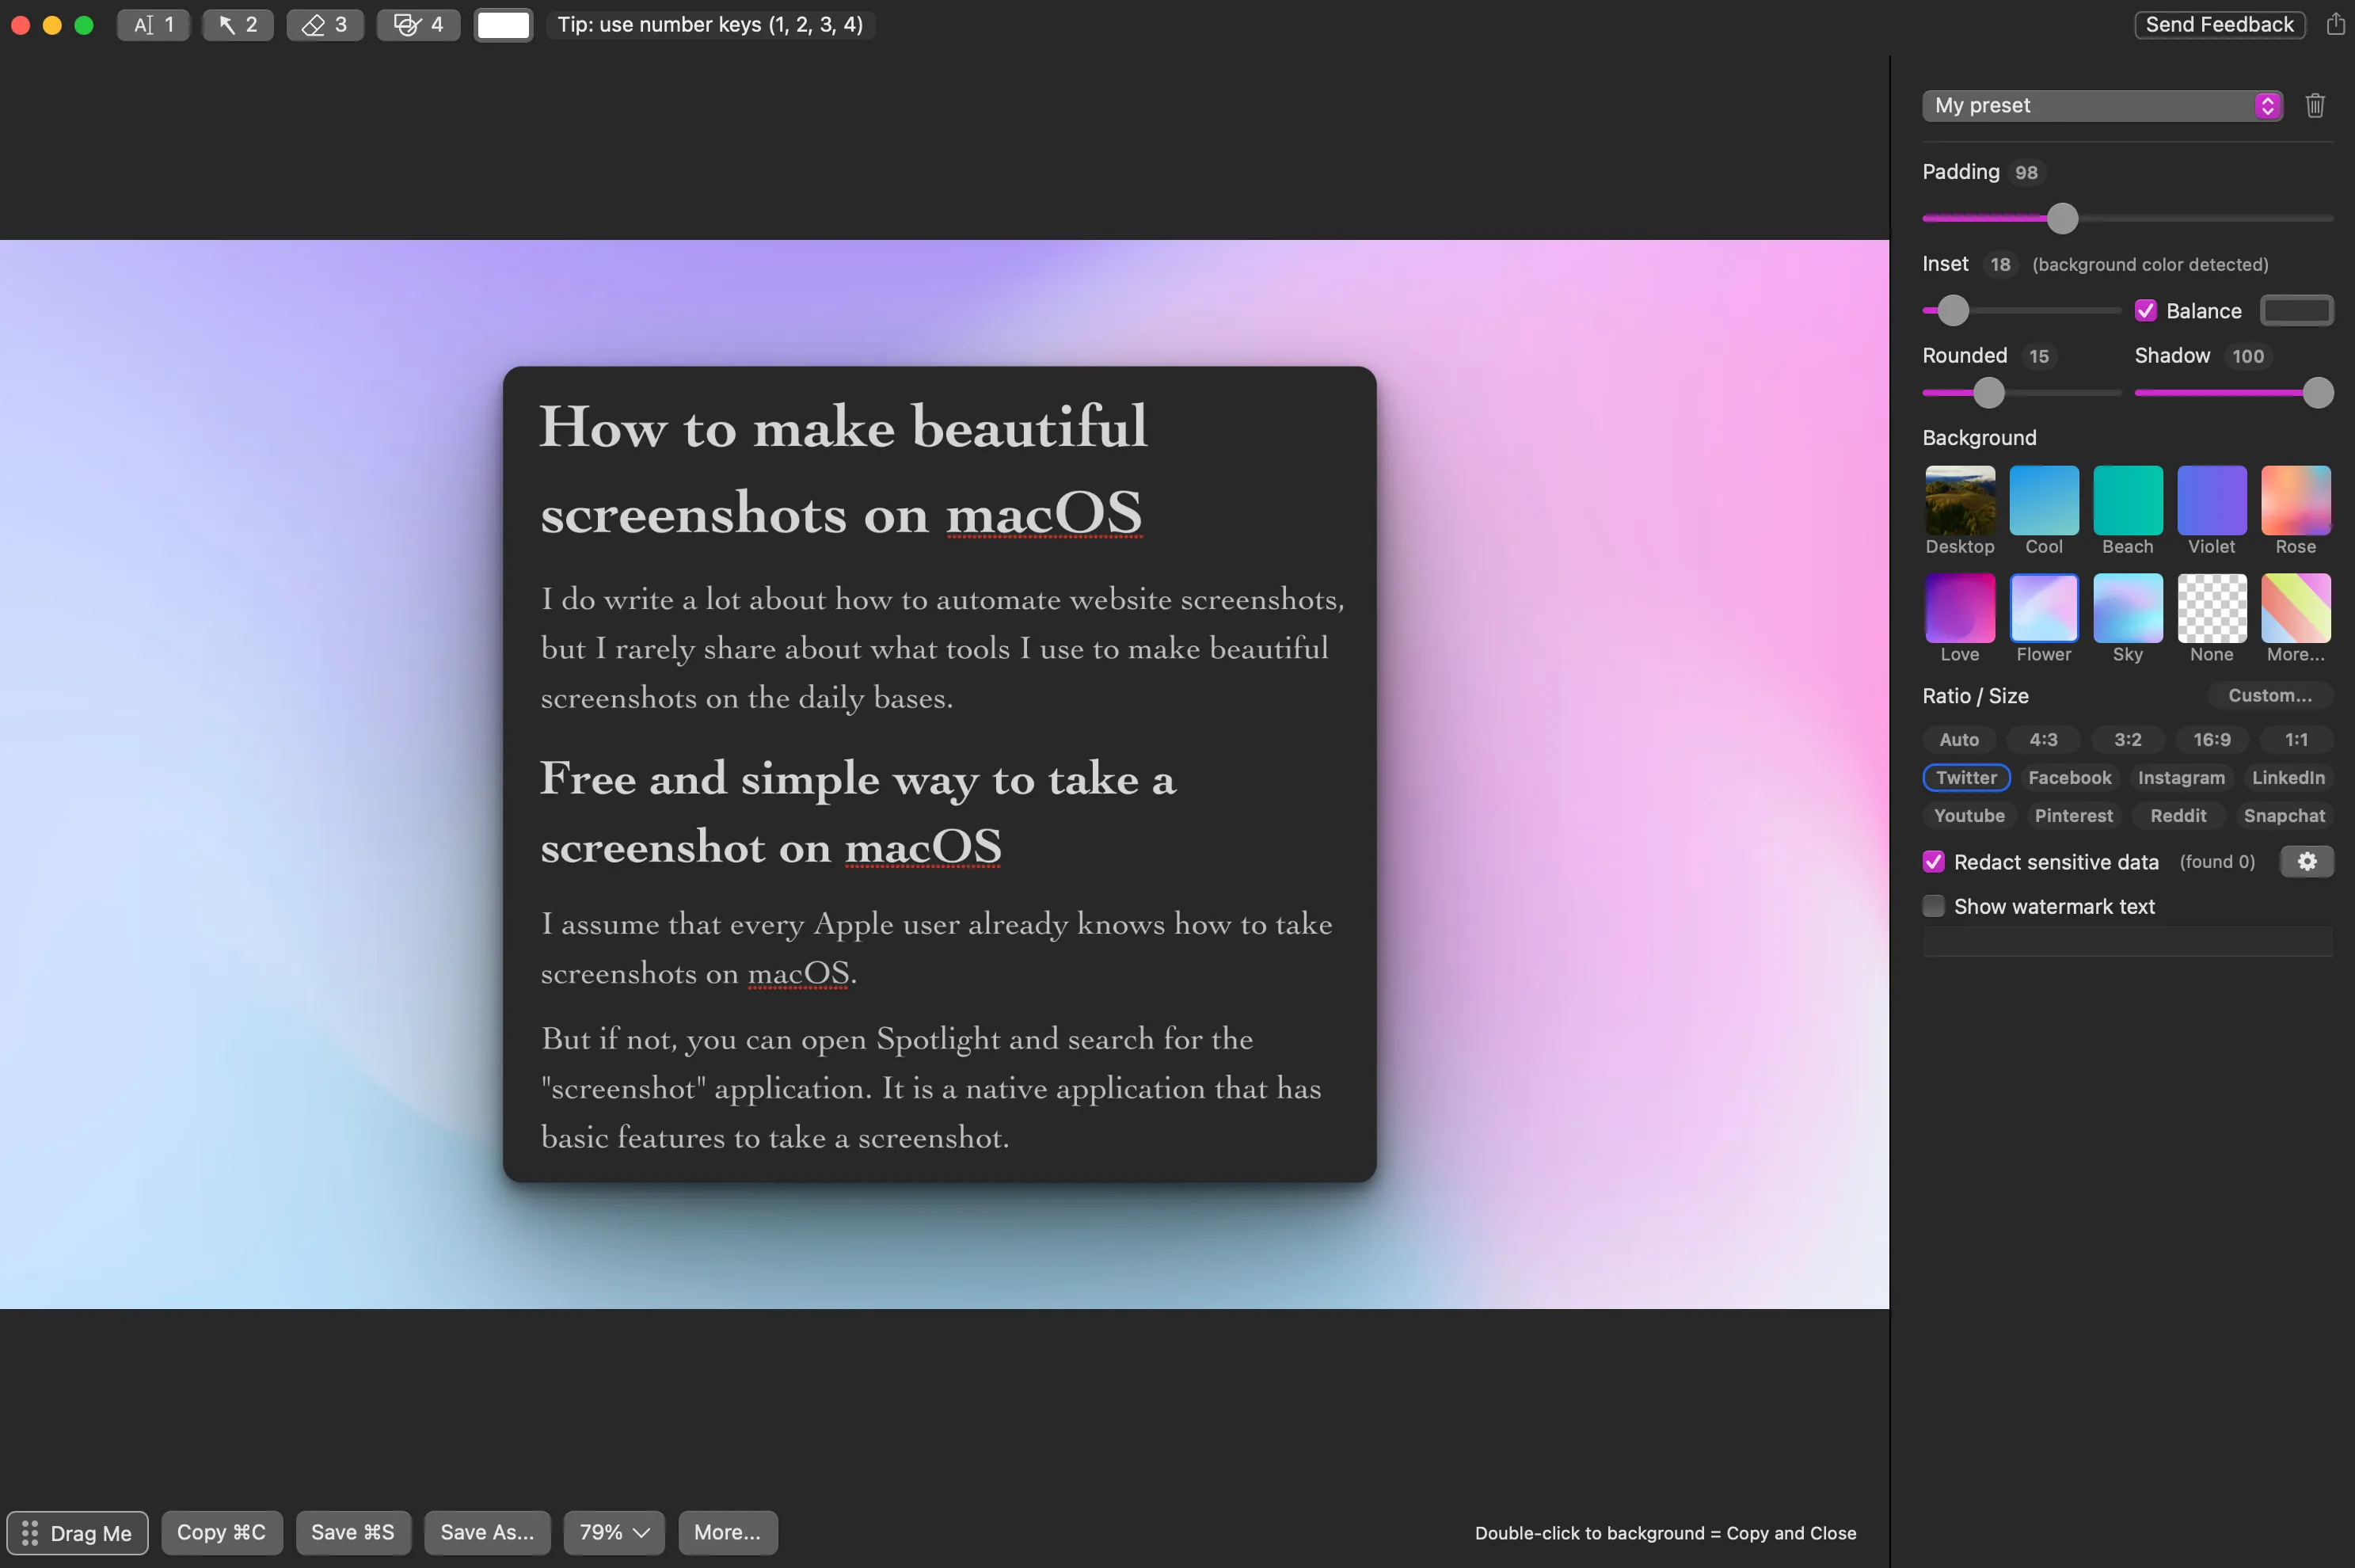
I bought one Xnapper license for that. It is well worth it. In a few clicks, Xnapper allows me to take a screenshot on macOS, then quickly select a beautiful background and export it precisely in the size I need it:
It seems that not only I but many others love Xnapper, too.
A screenshot API?
How could I not mention my lovely screenshot API? I use it when I need to automate website screenshots for a landing page gallery or to automate the rendering of open graph images and many more use cases.