To take website screenshots or generate images from HTML in Ruby, you have the following options:
- Selenium-a library with many headless browser drivers that allows you to automate interactions with a web page and take screenshots.
- Watir—another wrapper around headless browsers that enables you to automate interactions with a web page and take screenshots.
- Capybara—a testing library that allows you to simulate a user interacting with a website and take screenshots.
- PhantomJS—a headless browser that allows you to automate interactions with a web page and take screenshots. But it is obsolete.
- puppeteer-ruby—a JavaScript Puppeteer port for Ruby.
- ScreenshotOne API—a third-party API that covers various screenshotting and HTML rendering problems.
Let’s quickly check out and examine each option and see what might suit your needs the best.
Selenium for Ruby
To take screenshots with Selenium in Ruby, you can use the save_screenshot method provided by the Selenium::WebDriver::Driver class. This method takes a file path as an argument and saves a screenshot of the current page to the specified file.
Add this line to your application’s Gemfile:
gem 'selenium-webdriver'And then execute:
bundle installDownload the Chrome driver or install it using Homebrew:
brew install chromedriverNote that Selenium requires specific version of the Chrome driver.
So, there is an example of using Selenium to take a screenshot of a website:
require "selenium-webdriver"
# 1. set up Seleniumdriver = Selenium::WebDriver.for :chrome
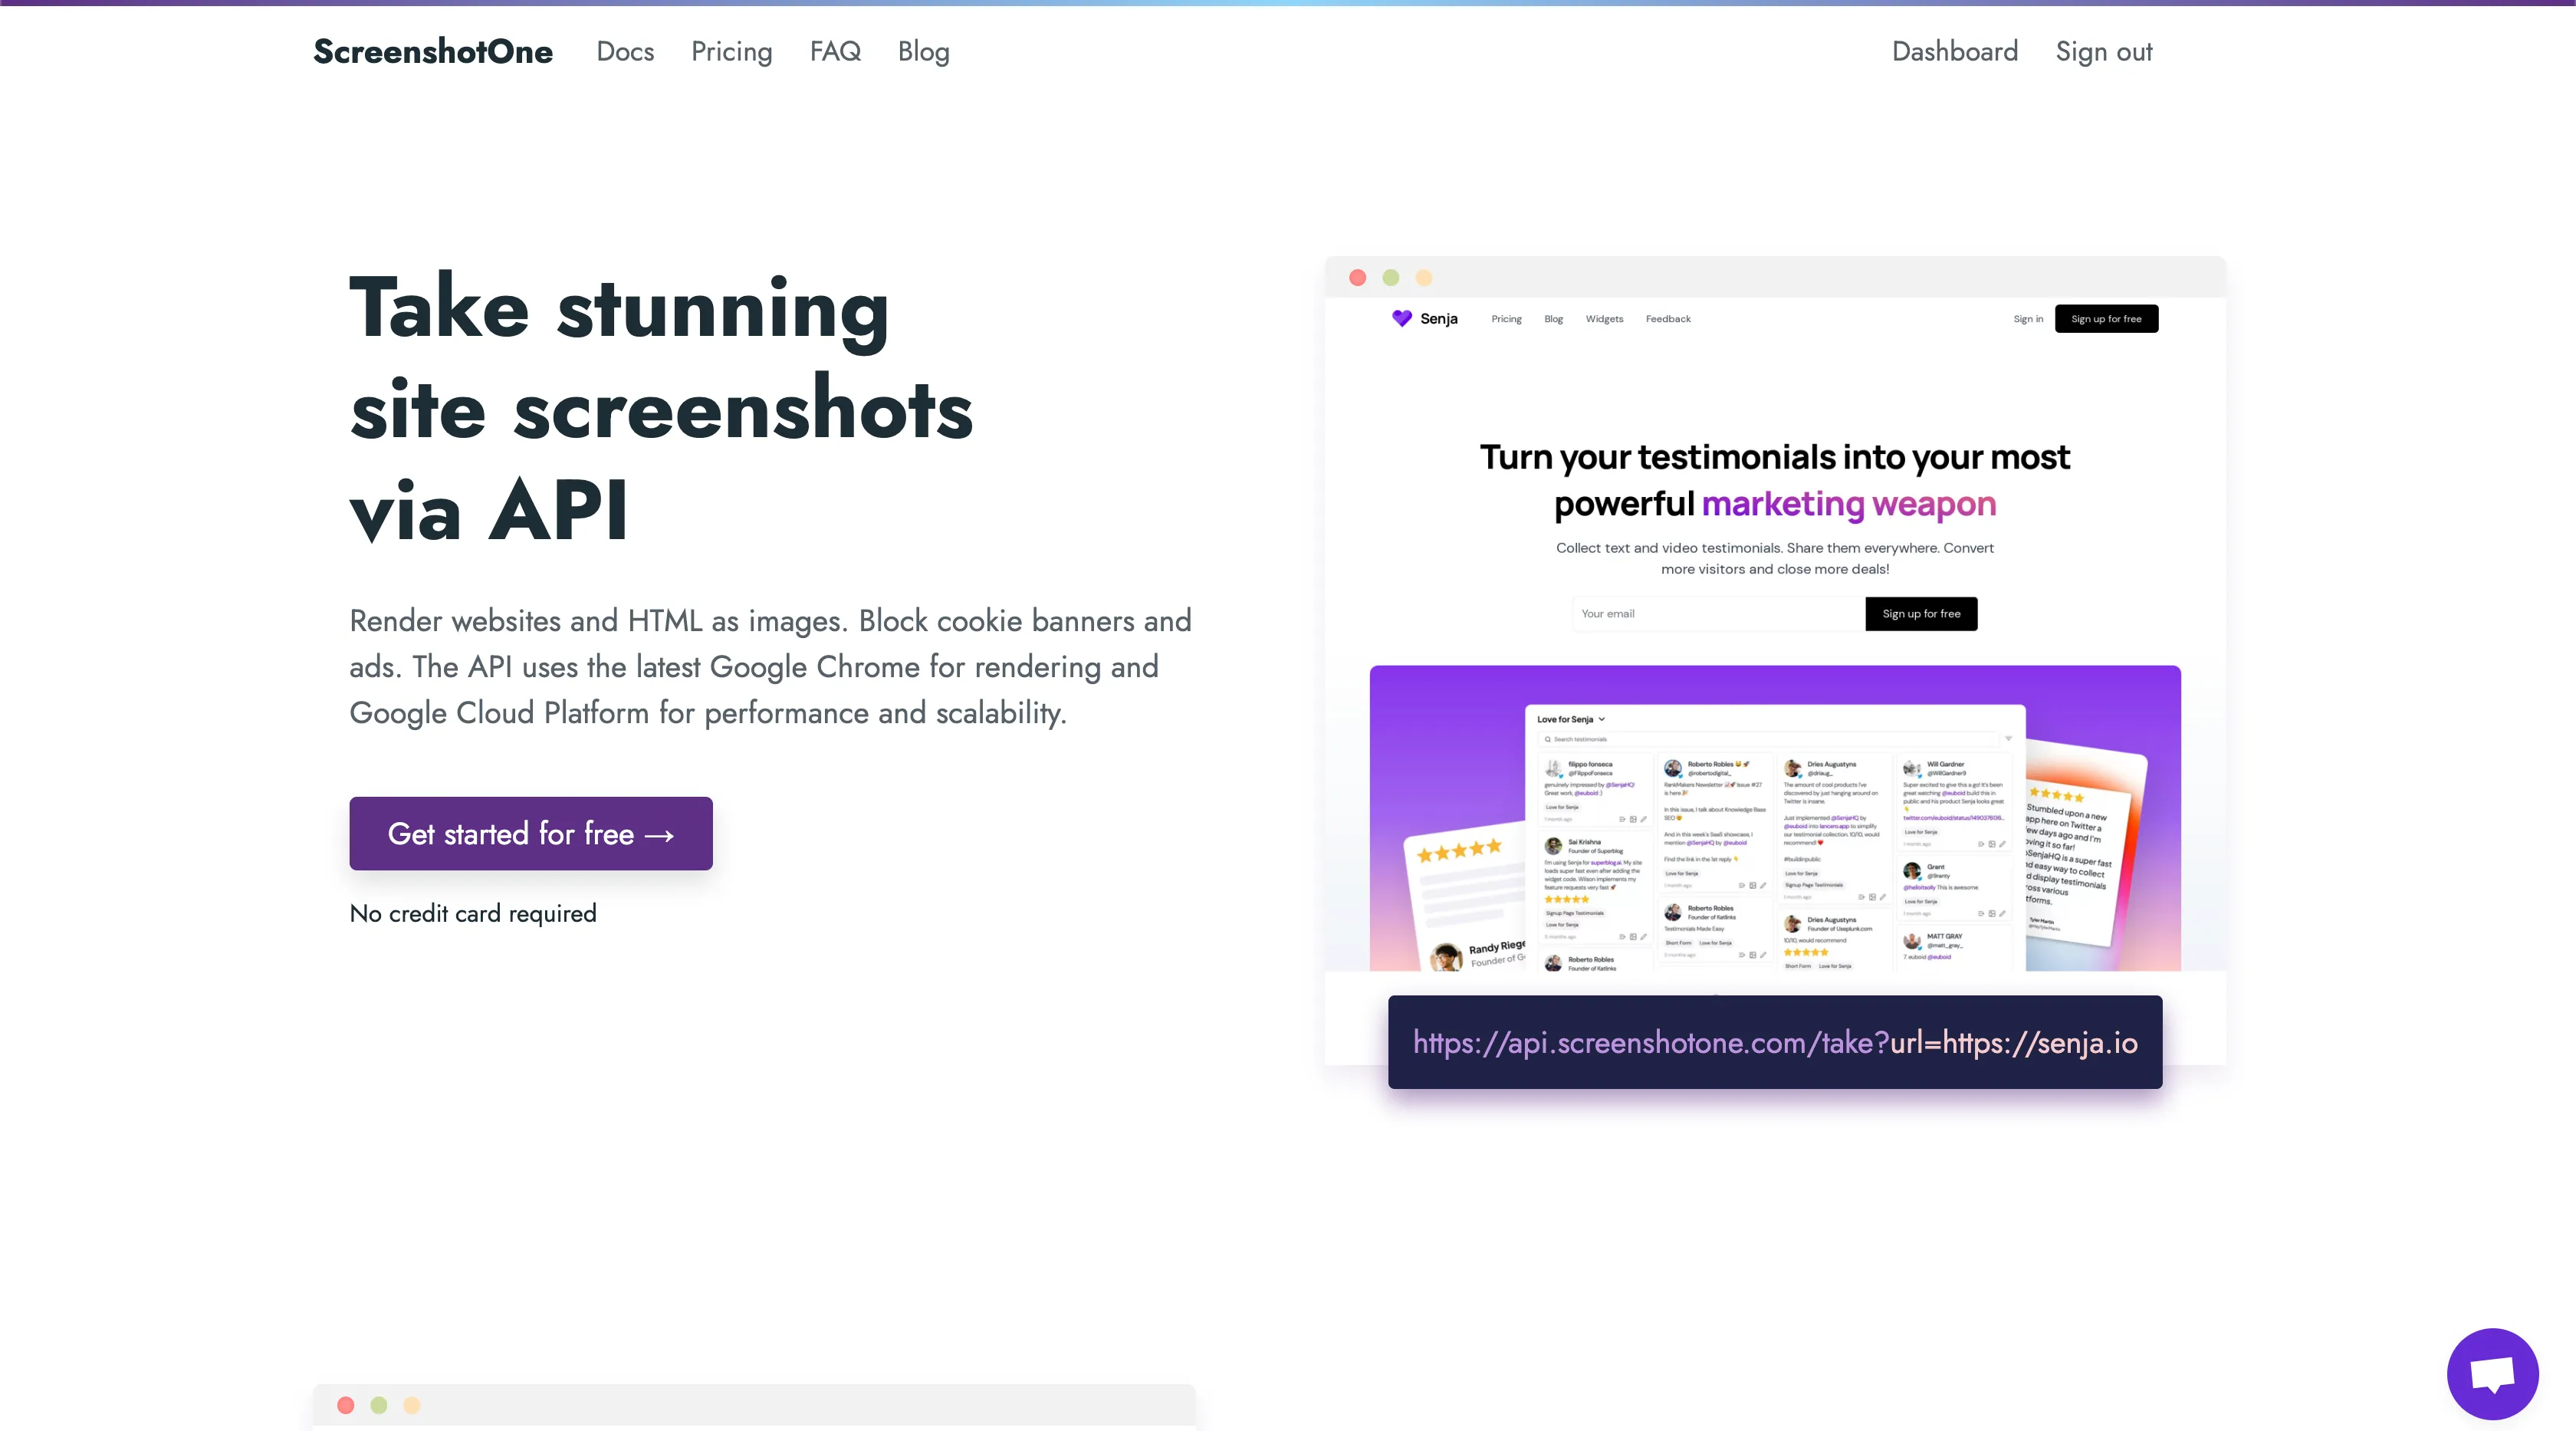
# 2. navigate to your sitedriver.navigate.to "https://screenshotone.com"
# 3. take a screenshot and save it to a filedriver.save_screenshot("screenshotone.png")
# 4. quit Seleniumdriver.quitThe result is:
Selenium supports various browsers, including Chrome, Firefox, Safari, and Internet Explorer, making it a good choice for testing cross-browser compatibility.
In addition, Selenium has a large and active community of users, which means many resources and documentation are available to help you get started and troubleshoot any issues you may encounter.
Watir
To take screenshots with Watir in Ruby, you can use the screenshot method provided by the Watir::Browser class. This method takes a file path as an argument and saves a screenshot of the current page to the specified file.
Add this line to your application’s Gemfile:
gem 'watir'And then execute:
bundle installHere’s an example of using Watir to take a screenshot of a website:
require "watir"
# 1. set up Watirbrowser = Watir::Browser.new :chrome
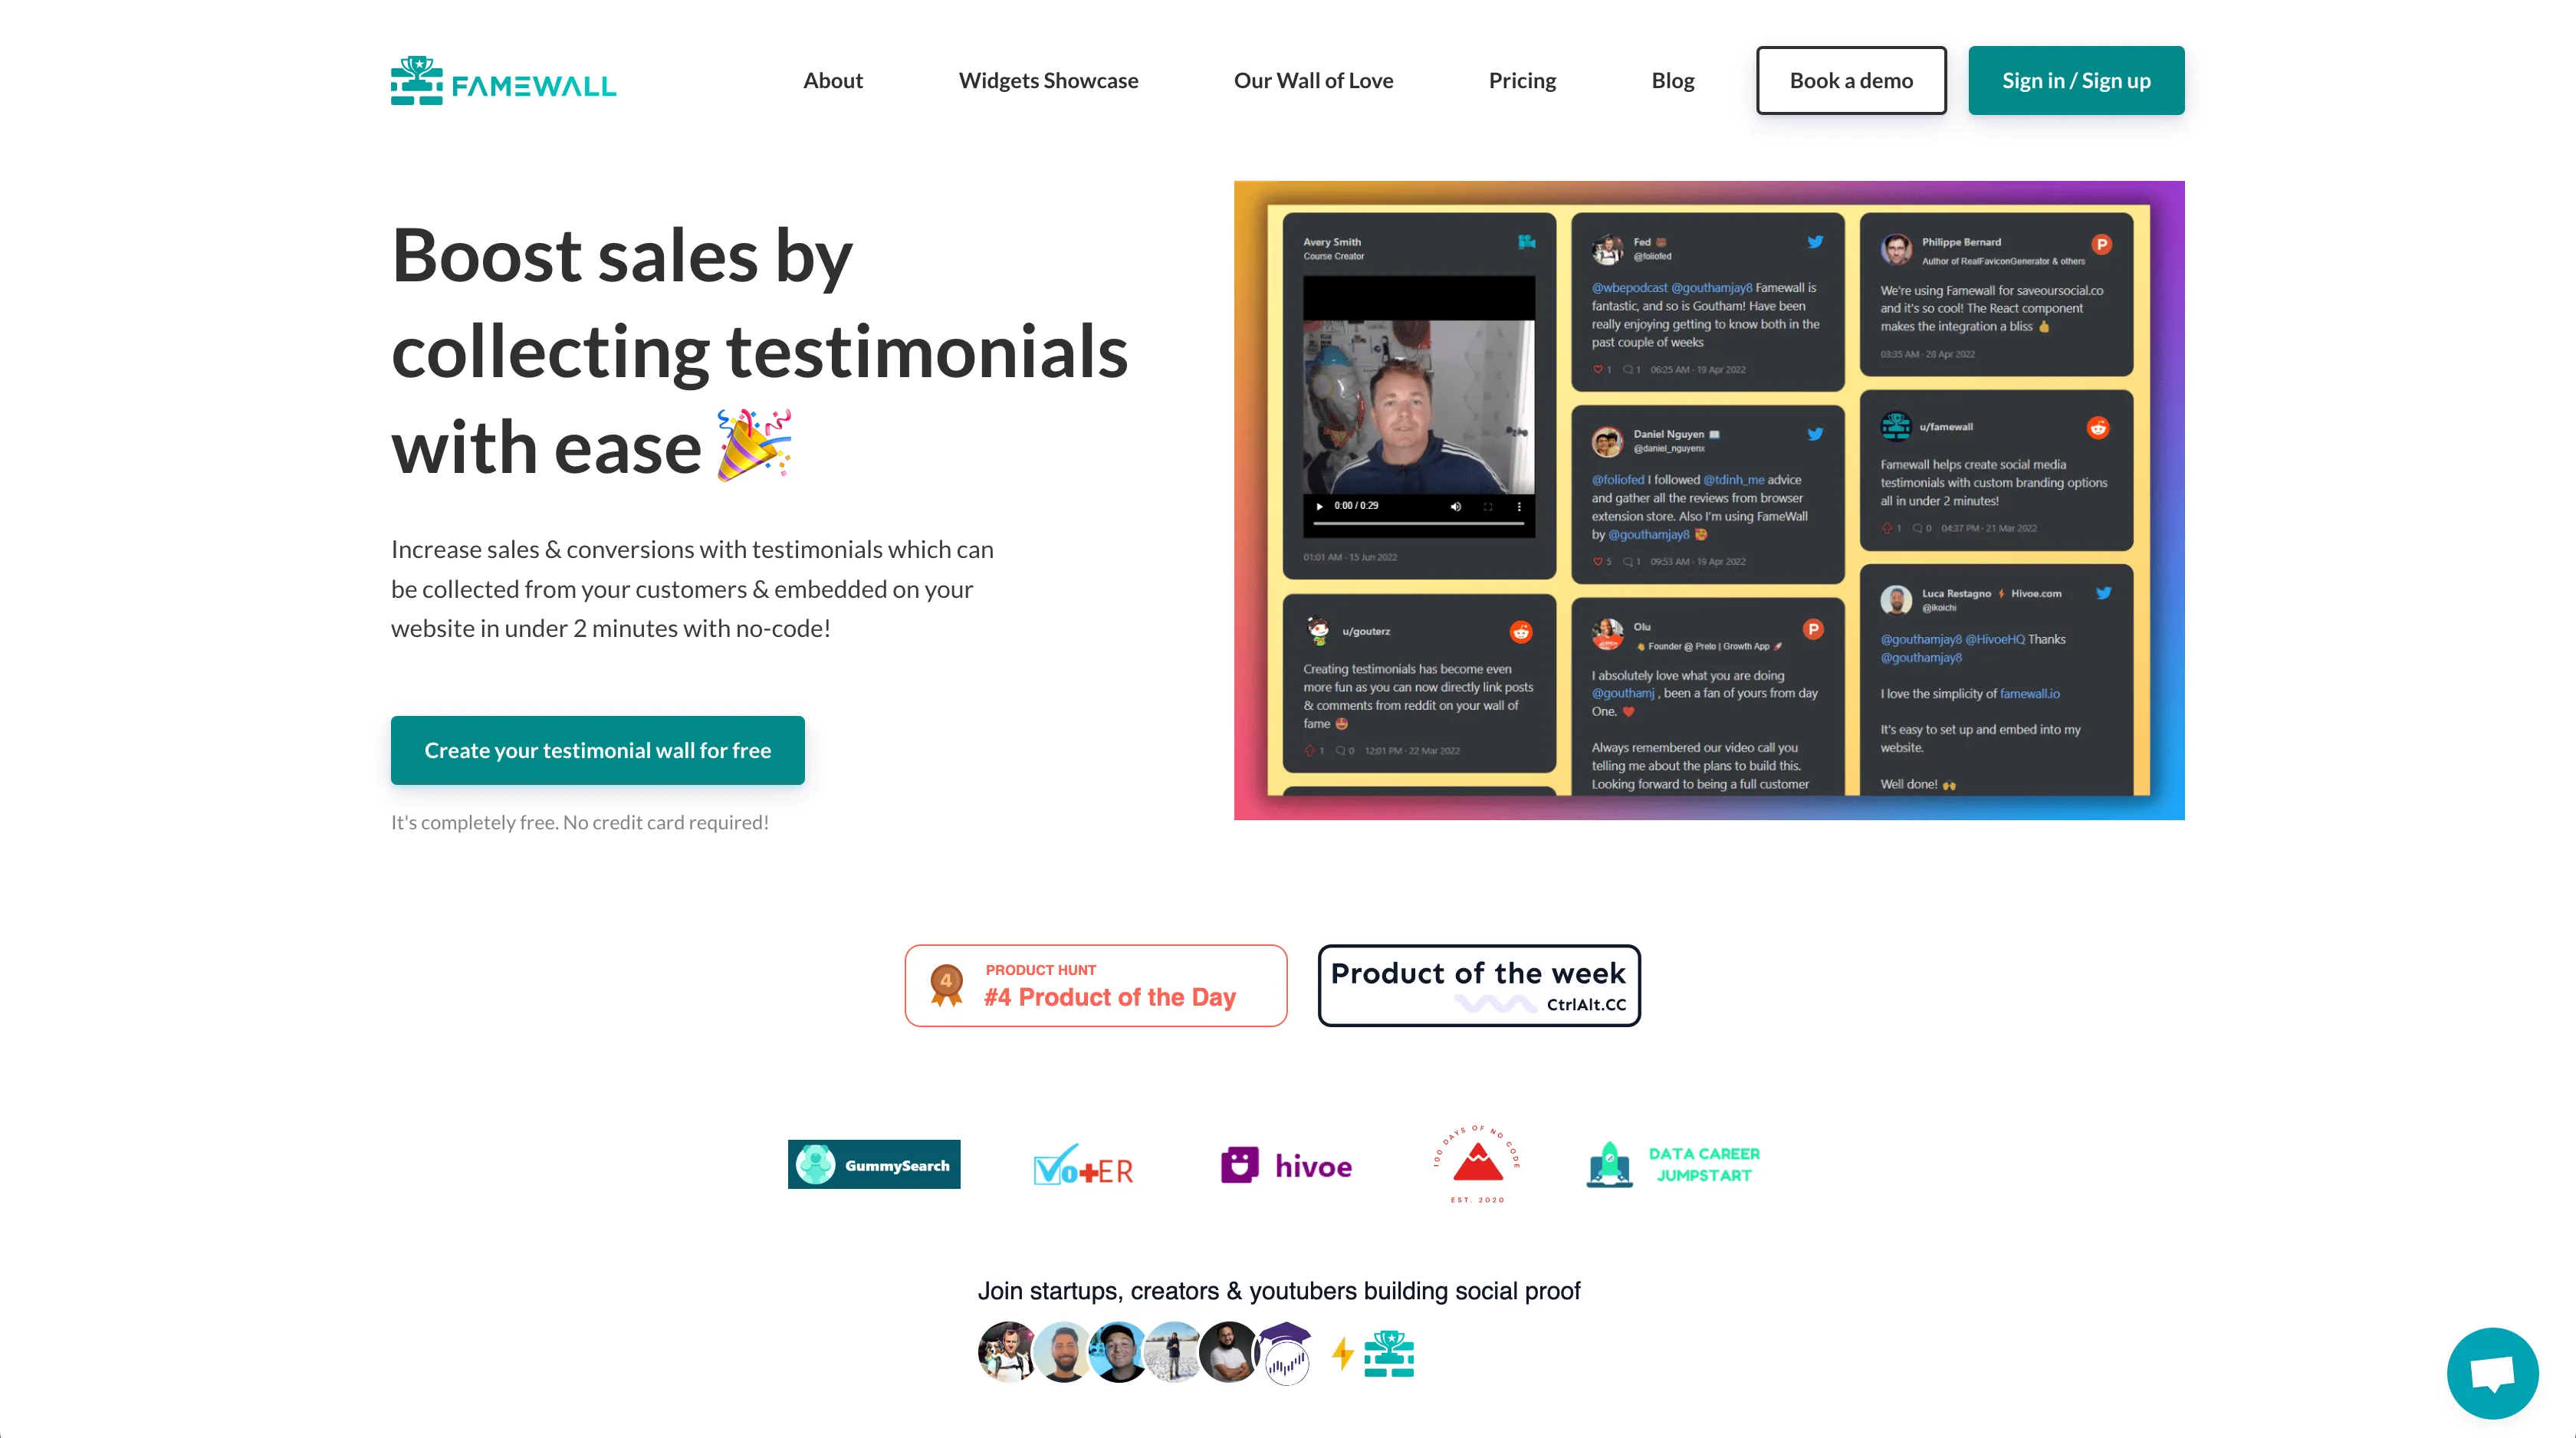
# 2. navigate to your sitebrowser.goto "https://ktool.io"
# 3. take a screenshot and save it to a filebrowser.screenshot.save("ktool.png")
# 4. quit Watirbrowser.quitThe result is:

The main difference between Watir and Selenium is that Watir is specifically designed for testing web applications, while Selenium is a more general-purpose tool for automating web browsers.
Both tools can be used effectively for automating web applications, but Watir may be a better choice if your primary goal is to write tests, while Selenium may be a better choice if you need to do more general-purpose automation tasks.
Take screenshots with Capybara
Capybara is an acceptance test framework for web applications that can use Selenium as a driver.
Add these lines to your application’s Gemfile:
gem 'capybara'gem 'selenium-webdriver'And then execute:
bundle installHere’s an example of using capybara to take a screenshot of a website:
require "capybara"require "capybara/dsl"
# 1. set up capybaraCapybara.register_driver :selenium_chrome do |app| Capybara::Selenium::Driver.new(app, browser: :chrome)end
Capybara.current_driver = :selenium_chrome
include Capybara::DSL
# 3. navigate to your sitevisit "https://famewall.io/"
# 4. take a screenshot and save it to a filepage.save_screenshot("famewall.png")The result is:
Capybara is a very high-level framework and is too much to use only for taking screenshots. But if you already have it in your stack, you are happy to use it for screenshots.
PhantomJS is obsolete
PhantomJS development is suspended until further notice. So, it is not recommended to use it in production. The tutorial provides enough alternatives to PhatomJS in Ruby, like Selenium, Watir, Capybara, puppeteer-ruby, and ScreenshotOne API.
Puppeteer for Ruby
Puppeteer is a library for Node.js that provides a high-level API to control a headless Chrome or Chromium browser, and puppeteer-ruby is its port for Ruby.
Add this line to your application’s Gemfile:
gem 'puppeteer-ruby'And then execute:
bundle installTo capture a site:
require 'puppeteer-ruby'
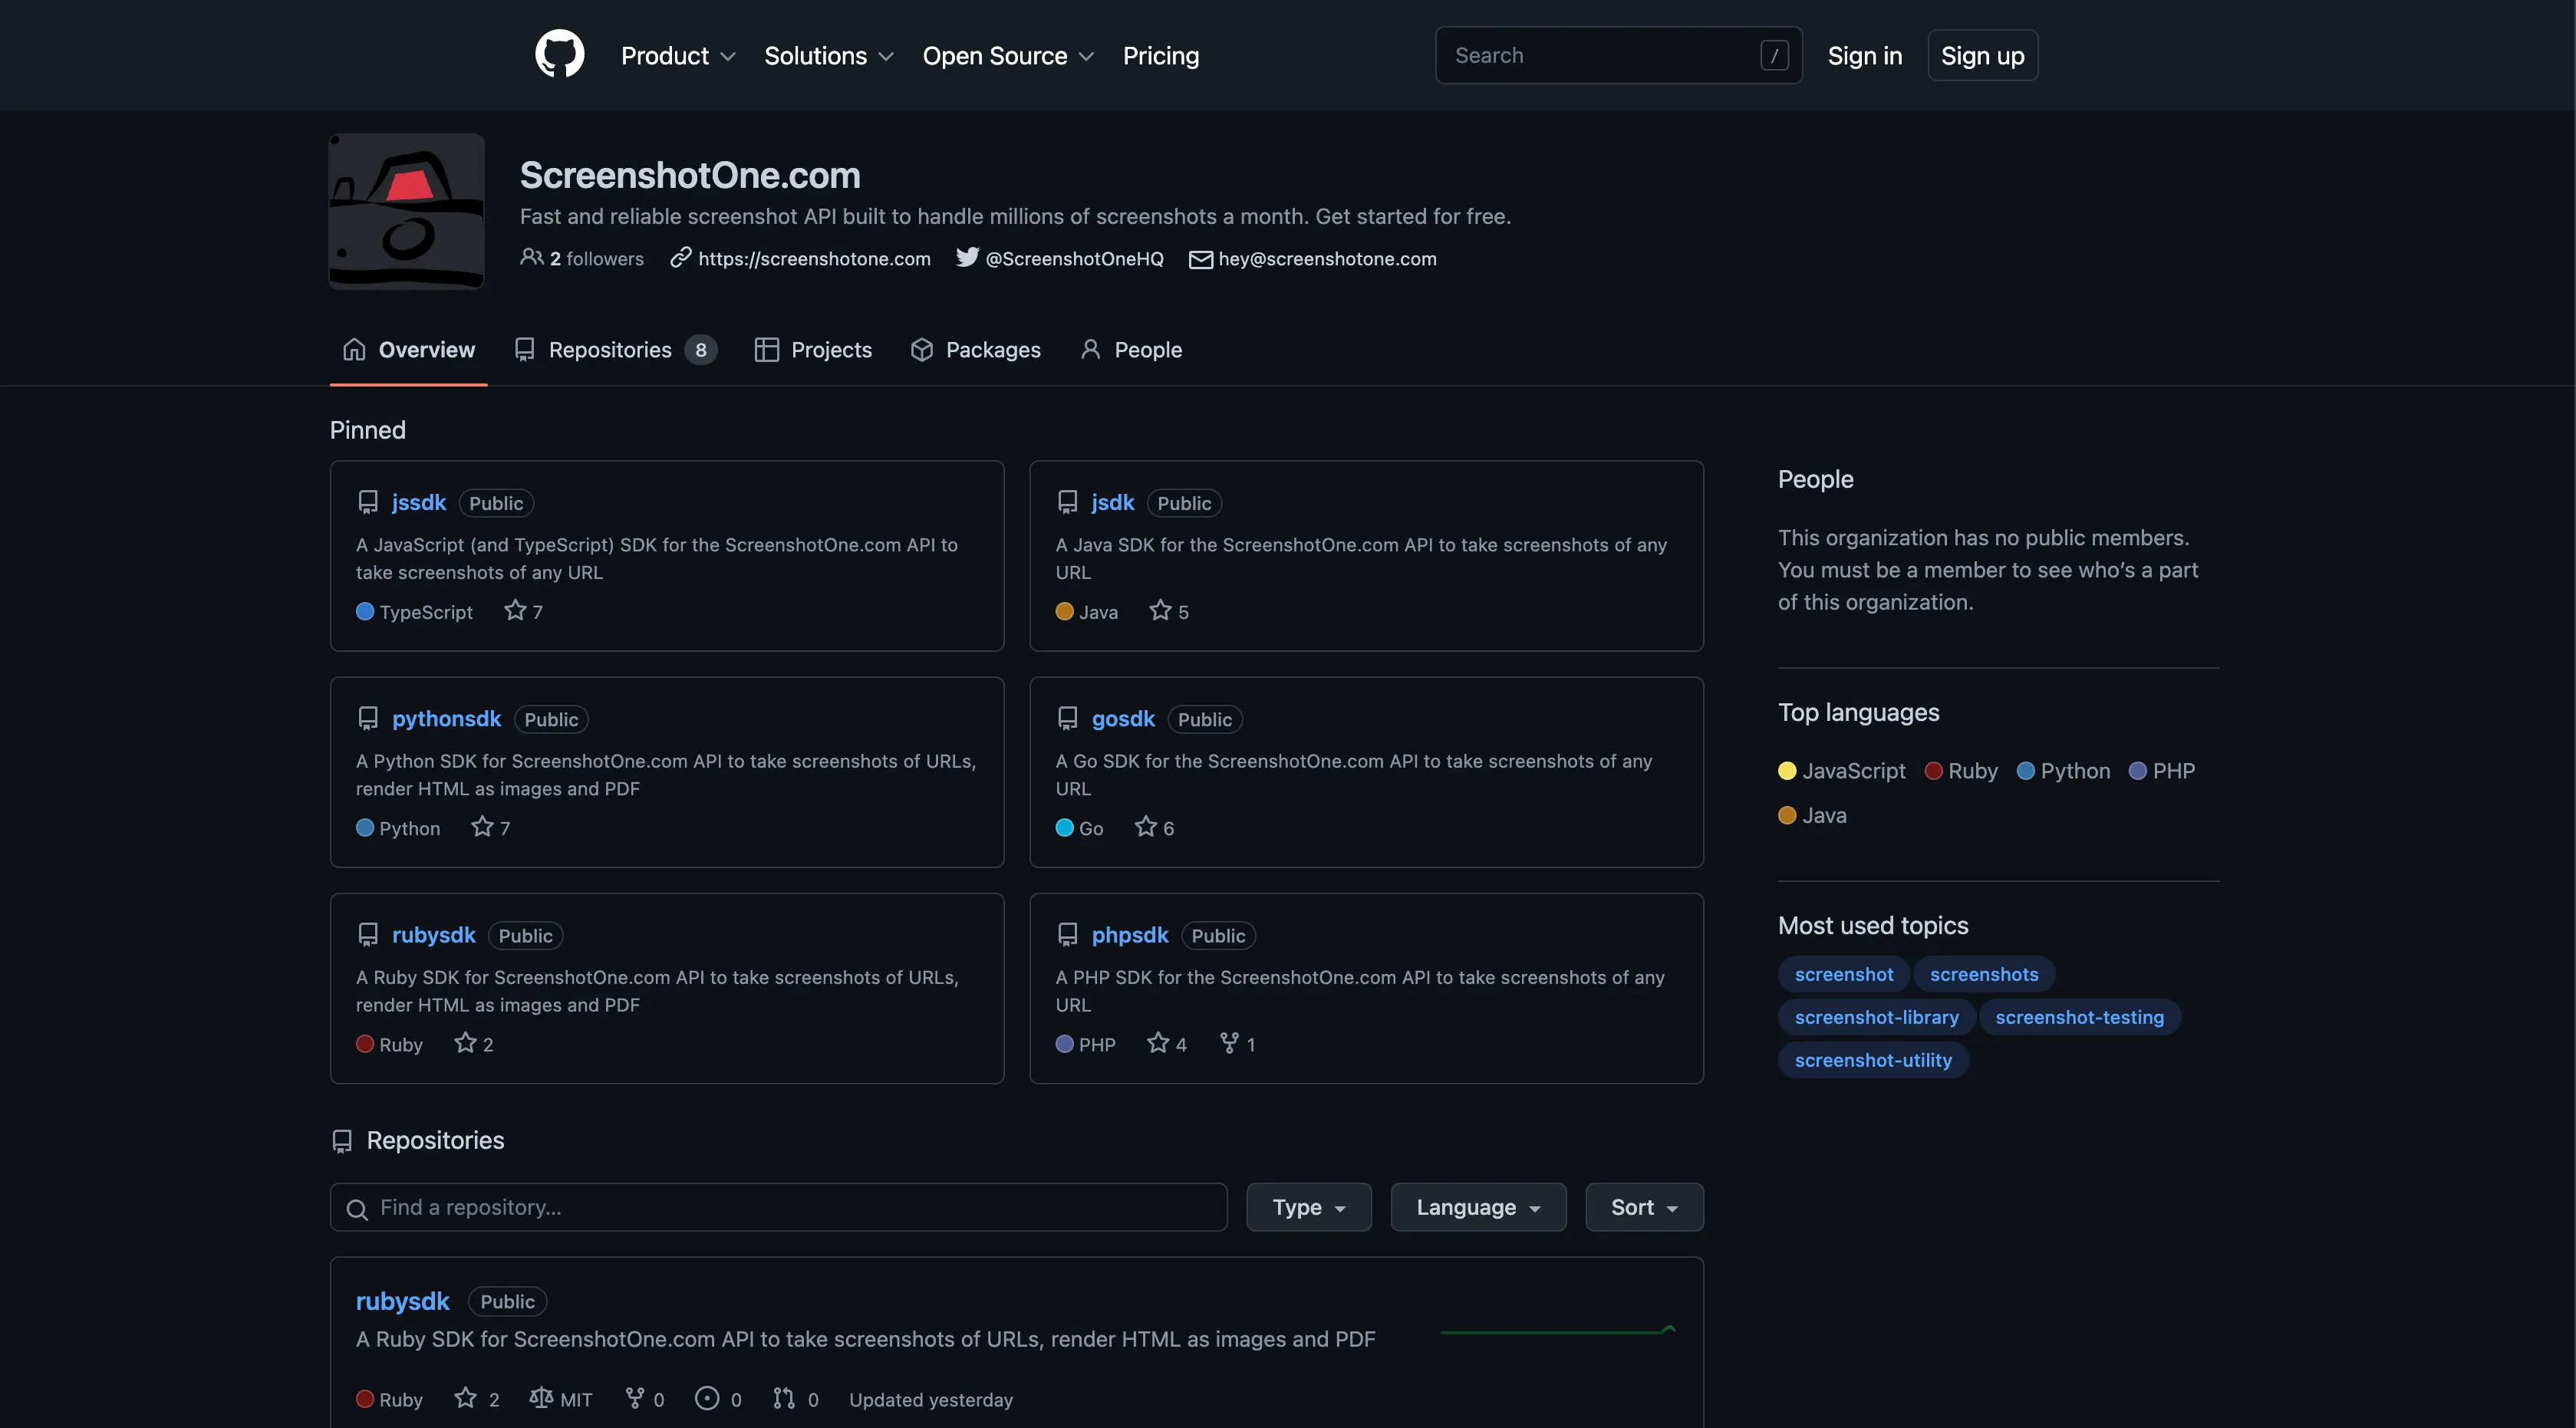
Puppeteer.launch(headless: false) do |browser| page = browser.new_page page.goto("https://github.com/screenshotone") page.screenshot(path: "github.png")endThe result is:
The puppeteer-ruby library provides access to modern web platform features such as the Chrome DevTools Protocol and the DOM. So, it is a good choice for tasks that require access to the latest browser features.
If you don’t need to take screenshots in different browsers, I will go with puppeteer-ruby.
URL Screenshot API
One of the most significant downsides of taking screenshots with Selenium or pyppeteer is handling infrastructure and taking care of browsers. They are resource intensive. You might encounter crashes, memory leaks, and high levels of CPU consumption.
So, if you need to take 5-10 screenshots and not that often, I would go with Selenium or puppeteer-ruby. But if you need a scale or don’t want to deal with infrastructure issues, I would use a third-party API, like ScreenshotOne—an URL to screenshot API.
It is free to get started and supports various options—like removing chat widgets, blocking cookie banners, rendering in dark mode, and even animations.
Sign up to get your API access and secret key, and let’s try ScreenshotOne’s official SDK for Ruby:
Massive thanks and rays of goodness to Gustavo Garcia from Dailytics for providing the fully-featured high-quality Ruby SDK.
Add this gem to your Gemfile:
gem 'screenshotone'And then execute:
bundle installAnd:
# If you don't need to add a signatureclient = ScreenshotOne::Client.new('my_access_key')
# If you do need to add a signatureclient = ScreenshotOne::Client.new('my_access_key', 'my_secret_key')
# You can set any available option, in a camel_case format, for example:options = ScreenshotOne::TakeOptions.new(url: 'https://example.com'). full_page(true). delay(2). geolocation_latitude(48.857648). geolocation_longitude(2.294677). geolocation_accuracy(50)
# Verify all the parameters are valid (we will validate the parameters that should be# numeric, booleans or that accept only certain values)options.valid?=> true
# To simply get the final url:client.generate_take_url(options)=> "https://api.screenshotone.com/take?url=https%3A%2F%2Fexample.com..."
# To actually get the image (the response body of a request to the previous url)client.take(options)=> "\xFF\xD8\xFF\xE0\x00\x10JFIF\x00\x01\x01\x00\x00\x01\x00\x01\x00\x00\xFF\..."That’s it. The result is:
That’s how simple it was!
Summary
If you already use Selenium, Watir, or Capybara, I would go with them.
Otherwise, I would go with puppeteer-ruby if you don’t need to take screenshots in different browsers.
But if you don’t want to deal with handling browser infrastructure and want to save time and energy, I would go with screenshot as a service like ScreenshotOne.