A quickstart
To record videos with Puppeteer use the screencast method on the page object:
import puppeteer from 'puppeteer';
const browser = await puppeteer.launch();
const page = await browser.newPage();await page.goto("https://screenshotone.com");
const recorder = await page.screencast({path: 'recording.webm'});
await recorder.stop();
browser.close();It requires ffmpeg to be installed and the latest version of Puppeteer.
But currently, the method is quite limited:
- It doesn’t allow to record in different formats. However, you can convert the resulting file.
- It doesn’t allow recording the video a stream, it writes to the file system—which might degrade your performance. However, you can write files in memory.
- The number of options and codecs is limited.
But it does the job, and has a valuable method crop, if you want to record only a part of the screen.
You can use an external library to do the same for you and it has more advanced options.
Using the Puppeteer screen recorder library
To generate a video with Puppeteer for page, we are going to use the puppeteer-screen-recorder library:
npm i puppeteer-screen-recorderLet’s start with a simple example by generating a video for loading the landing page of Tailwind CSS and opening their pricing page:
"use strict";
const puppeteer = require("puppeteer");const { PuppeteerScreenRecorder } = require("puppeteer-screen-recorder");
(async () => { const browser = await puppeteer.launch(); try { const page = await browser.newPage(); await page.setViewport({ width: 1920, height: 1080, deviceScaleFactor: 2, });
const recorder = new PuppeteerScreenRecorder(page);
await page.goto("https://tailwindcss.com/");
await recorder.start("video.mp4"); await animate(page); await recorder.stop(); } catch (e) { console.log(e); } finally { await browser.close(); }})();
const animate = async (page) => { await wait(500); await page.evaluate(() => { window.scrollBy({ top: 500, left: 0, behavior: "smooth" }); }); await wait(500); await page.evaluate(() => { window.scrollBy({ top: 1000, left: 0, behavior: "smooth" }); }); await wait(1000);};
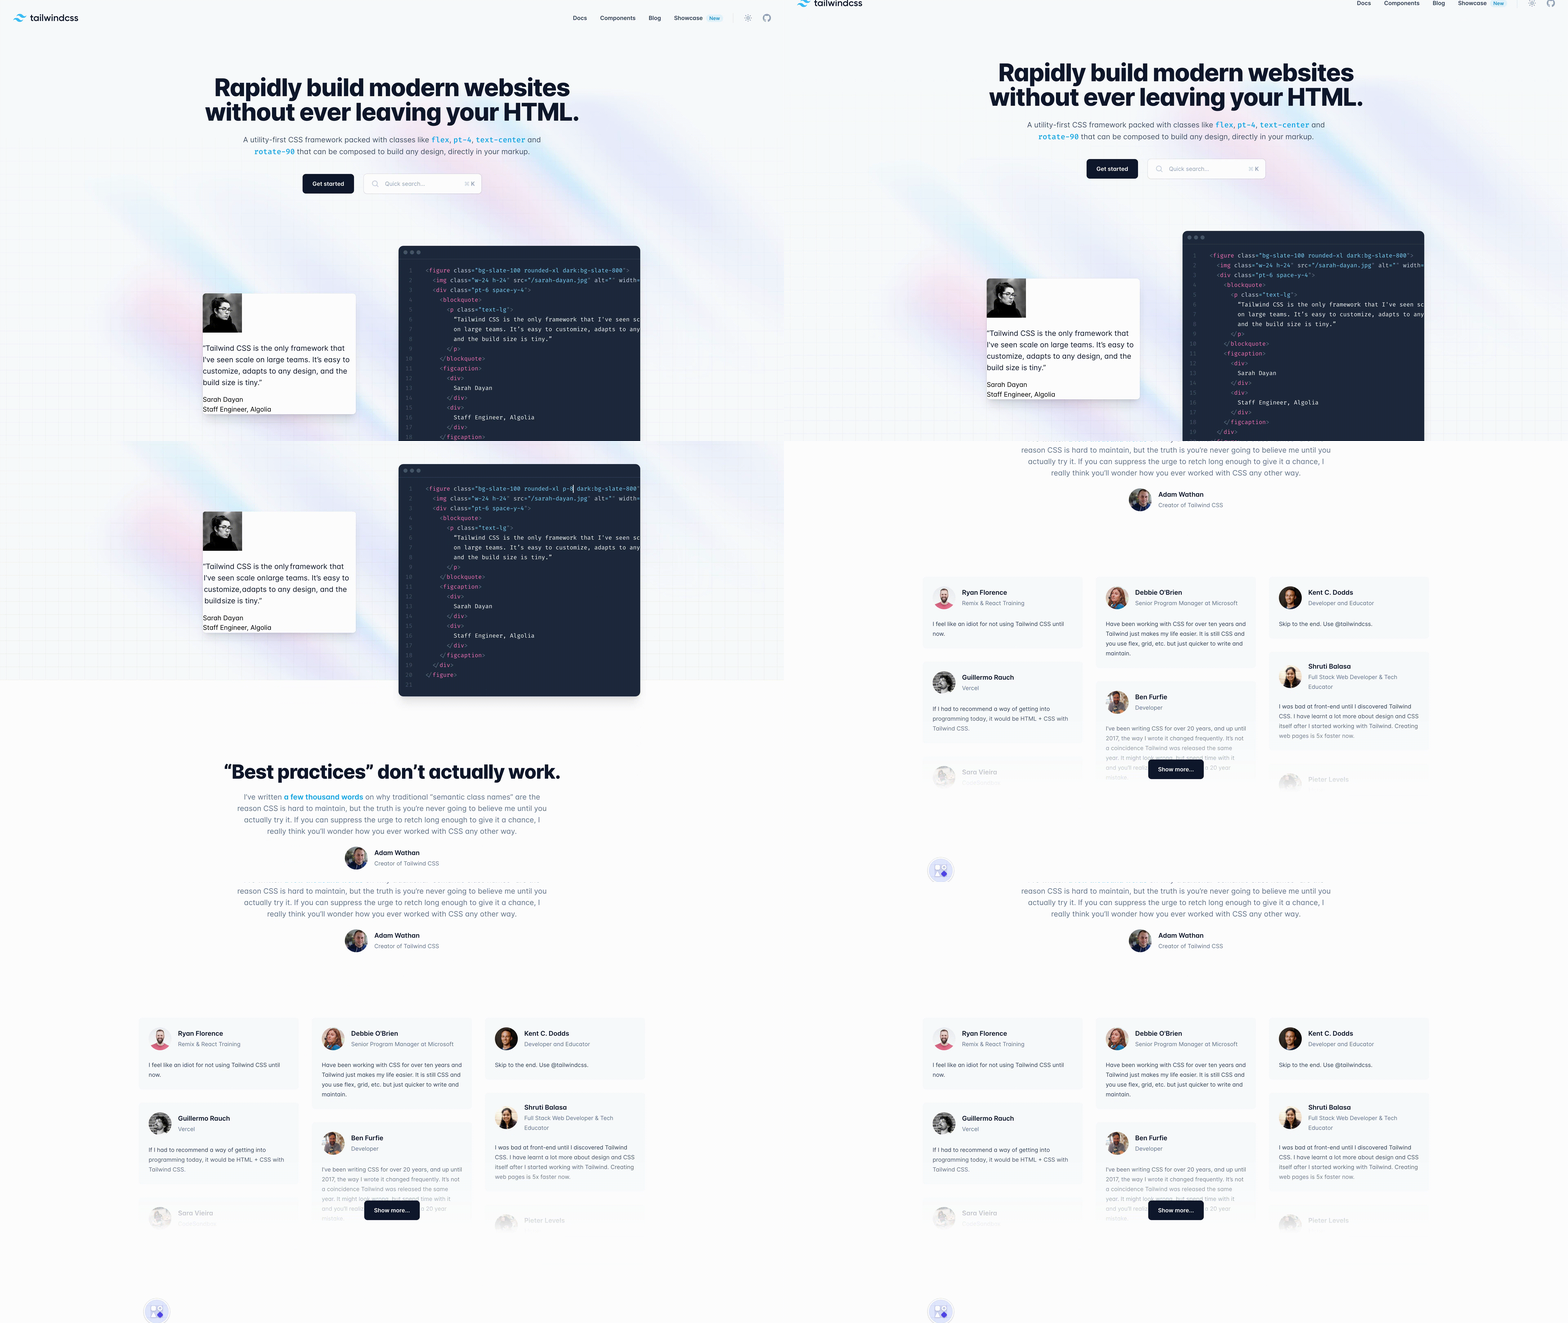
const wait = (ms) => new Promise((res) => setTimeout(res, ms));I added a simple one-time scroll to make the video interactive. Look at the result, how beautiful it is:
You can generate videos in AVI, MP4, MOV, or WebM formats. You can use WebM format if you target the latest versions of modern browsers, but not everyone supports it.
If you need to generate GIF (an image format, not video) for animated screenshots, you can use the FFmpeg library to convert MP4 to GIF. Make sure it is installed locally. And then you can upgrade your script to generate GIFs on demand:
"use strict";
const puppeteer = require("puppeteer");const { PuppeteerScreenRecorder } = require("puppeteer-screen-recorder");const util = require("util");const exec = util.promisify(require("child_process").exec);
(async () => { const browser = await puppeteer.launch(); try { const page = await browser.newPage(); await page.setViewport({ width: 1920, height: 1080, deviceScaleFactor: 2, });
const recorder = new PuppeteerScreenRecorder(page);
await page.goto("https://tailwindcss.com/");
await recorder.start("video.mp4"); await animate(page); await recorder.stop();
await exec("ffmpeg -i video.mp4 -qscale 0 animated.gif"); } catch (e) { console.log(e); } finally { await browser.close(); }})();
const animate = async (page) => { await wait(500); await page.evaluate(() => { window.scrollBy({ top: 500, left: 0, behavior: "smooth" }); }); await wait(500); await page.evaluate(() => { window.scrollBy({ top: 1000, left: 0, behavior: "smooth" }); }); await wait(1000);};
const wait = (ms) => new Promise((res) => setTimeout(res, ms));The result is:

Imagine how far you can go with animating screenshots. You can record movies and generate interactive mockups. It opens a new level of marketing for you. It is also a new level of debugging and generating reports for developers and QA automation engineers.
Use cases
Marketing with animated screenshots
You can generate scrollable screenshots of the sites and apply them in many areas of your marketing:
- send personalized emails with animated screenshots of the lead site;
- place screenshots of parts of your site on your landing page;
- make your blog posts interactive with scrollable preview screenshots of the sites you share;
- And many more.
Debug
In complex cases, if you run Puppetteer at production, you might want to debug what happens and record a video.
Imagine you scrape a site with a complex scenario by navigating through many pages. Something happens, and the script fails to scrape one of the pages.
Of course, the best way to debug is to reproduce the error locally, but if your environments are different, you can record a video of what happens in the script and review them.
But please, always synchronize your environments and ensure they are identical.
Automate testing reports
One of the most beautiful use cases, for me, is to generate a video on how automated tests are executed and then, if the test fails, attach videos to the report. It might shorten communication time between the QA team and developers and improve the overall R&D velocity.
Interactive mockups and programmatic movies
You can write simple scripts to make your site interactive. Scroll through it. And record the footage with Puppeteer.
And even more. You can generate cartoons and movies by using JavaScript and CSS! Only your imagination is the limit.
Use API to save time and energy
If you don’t have time to implement and generate animated screenshots and deal with video streaming infrastructure, you can rely on ScreenshotOne API.
It supports animated (including scrollable) screenshots of different types, caching based on the world’s fastest and most potent CDN (Cloudflare) and blocking ads, cookie banners, and chats.
In just one API request, you can quickly generate animated screenshots. And if you need more, a variety of options and use cases are covered.
Grasp how simple it is:
https://api.screenshotone.com/animate?url=https://tailwindcss.com&access_key=<your access key>The result might differ a bit in case default options are changed, but as for now, it is similar to what I have shown in the video.
And the result is the same:
The ScreenshotOne API also support rendering GIFs which is not possible with both Puppeteer and the external library.
Frequently Asked Questions
A few questions and answers as a summary:
What are the limitations of using Puppeteer’s native screencast method for recording videos?
Puppeteer’s native screencast method comes with several limitations:
- First, it restricts the video recording to a single format, though the recorded file can be converted to other formats using additional tools.
- Second, it only allows recording to the file system, which could potentially degrade performance, but there’s a workaround to write files in memory.
- Lastly, the number of options and codecs available for customization is limited.
However, it offers a useful crop method for recording specific parts of the screen.
How does the puppeteer-screen-recorder library enhance the video recording capabilities over Puppeteer’s native method?
The puppeteer-screen-recorder library significantly enhances video recording capabilities by providing more advanced options. It supports multiple video formats, including AVI, MP4, MOV, and WebM, catering to a broader range of browser compatibility and user needs. This flexibility allows for more diverse applications, such as generating interactive mockups or marketing materials, and can accommodate different project requirements more effectively than the native screencast method.
Can Puppeteer be used for generating GIFs from video recordings, and what are the potential applications?
Yes, Puppeteer can be used to generate GIFs from video recordings by leveraging the FFmpeg library to convert MP4 videos to GIF format. This capability opens up numerous creative and practical applications, such as enhancing marketing materials with animated screenshots, improving debugging and reporting for developers and QA engineers by visualizing issues, and creating interactive blog posts or emails. Generating GIFs allows for a wider range of expression and communication options, providing an innovative tool for engaging audiences and streamlining development processes.
Summary
Start with the native Puppeteer method and if it doesn’t fit you, try the external library—puppeteer-screen-recorder.
In the worst case, outsource the solution to ScreenshotOne for recording videos.


