Why use other formats?
PNG, JPEG, WebP, and PNG are the most popular formats on the Internet. You will never have any problem rendering them in browsers, besides a small minority of outdated browsers that do not support these formats.
But as an example, TIFF is a popular file format among production designers for high-quality graphic prints and photos.
Or in terms of image quality, JPEG 2000 (JP2) offers a better output than JPEG. It has higher compression ratios, which means it can handle and compress an image up to 200% more than a JPEG.
Or a developer might use a proprietary library for vectorizing images, and it might accept only specific formats, not PNG, JPEG, WebP, and PNG.
As you see, we can continue counting use cases further, but the idea is that there is a demand to render URLs or HTML in different formats.
Using image conversion library
Using sharp library
The sharp library (in Node.js) is a high-performance library for image processing — it allows converting, resing, and other image manipulations. Let’s install it:
npm install sharpIt is important to take screenshots or render them in PNG format since it is lossless (means doesn’t lose quality) and transform PNG to any desired format.
As an example, let’s transform PNG to JPEG 2000 (JP2):
const puppeteer = require('puppeteer');const sharp = require('sharp');
(async () => { const browser = await puppeteer.launch({ headless: true }); try { const page = await browser.newPage();
await page.goto('https://screenshotone.com/');
const binaryScreenshot = await page.screenshot({ encoding: 'binary', type: 'png', });
await sharp(binaryScreenshot) .toFormat('jp2', { quality: 100 }) .toFile('screenshotone.com.jp2')
} catch (e) { console.log(e) } finally { await browser.close(); }})();As you see, toFormat() accepts arguments: format and format options. Feel free to specify: GIF, JP2, TIFF, AVIF, HEIF as a format. And it is important to specify quality property if it matters to you.
To enable the support of OpenJPEG (JPEG 2000 or JP2), you need to install a custom version of libvips. Otherwise, you will get an error like: “JP2 output requires libvips with support for OpenJPEG”.
PNG with lower quality
By default, Puppeteer does not support exporting lower-quality PNG, but there is a trick. You can use sharp to do it for you.
Let’s test it:
const puppeteer = require('puppeteer');const sharp = require('sharp');
(async () => { const browser = await puppeteer.launch({ headless: true }); try { const page = await browser.newPage();
await page.goto('https://screenshotone.com/'); await page.setViewport({width: 1280, height: 1024});
const binaryScreenshot = await page.screenshot({ encoding: 'binary', type: 'png', });
await sharp(binaryScreenshot) .png({quality: 10}) .toFile('low_quality_screenshotone.com.png')
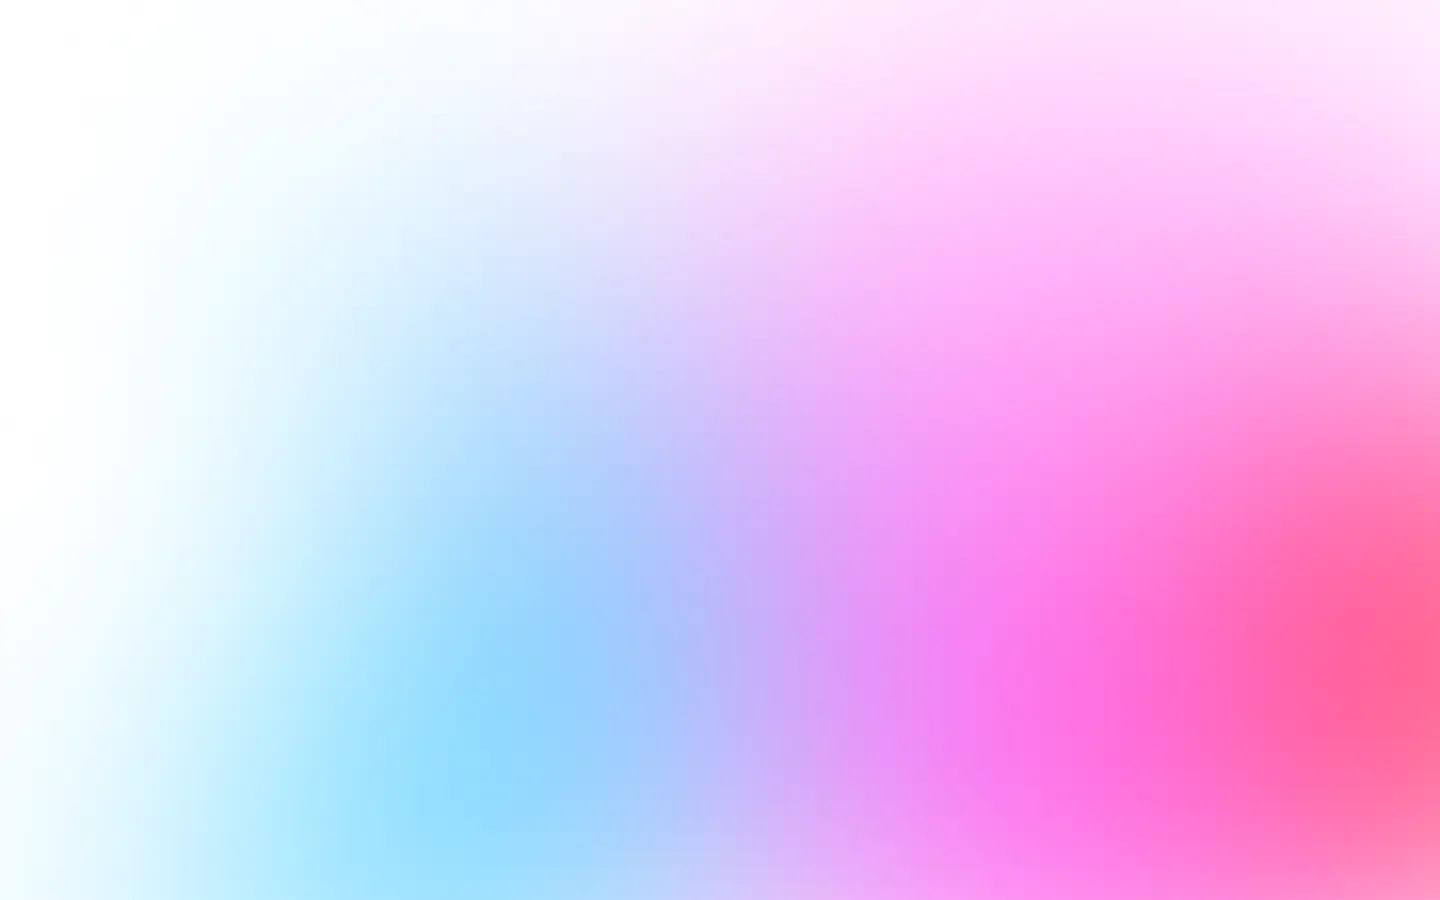
} catch (e) { console.log(e) } finally { await browser.close(); }})();The file size is different after applying the low quality, but do you see any difference in the pictures?
The original screenshot:
The result with low quality:
Base64
Puppeteer supports exporting rendered images in Base64 format, but only for PNG, JPEG, WebP, and PDF.
Render PNG, JPEG, WebP, GIF, JP2, TIFF, AVIF, HEIF as Base64
Rendering PNG, JPEG, and WebP in Base64 encoding with Puppeetter is easy:
const puppeteer = require('puppeteer');
(async () => { const browser = await puppeteer.launch({ headless: true }); try { const page = await browser.newPage();
await page.goto('https://screenshotone.com/'); await page.setViewport({width: 1280, height: 1024});
const base64Screenshot = await page.screenshot({ encoding: 'base64', type: 'png', });
console.log(base64Screenshot) // iVBORw0KGg... } catch (e) { console.log(e) } finally { await browser.close(); }})();But if you need to render OpenJPEG (JPEG 2000 or JP2) in Base64, you can use sharp to convert to JP2 and then format the buffer in Base64 encoding:
const puppeteer = require('puppeteer');const sharp = require('sharp');
(async () => { const browser = await puppeteer.launch({ headless: true }); try { const page = await browser.newPage();
await page.goto('https://screenshotone.com/'); await page.setViewport({ width: 1280, height: 1024 });
const binaryScreenshot = await page.screenshot({ encoding: 'binary', type: 'png', });
const screenshotBuf = await sharp(binaryScreenshot). toFormat('jp2', { quality: 100 }). toBuffer();
console.log(screenshotBuf.toString('base64')); // /0//UQAyAA...
} catch (e) { console.log(e) } finally { await browser.close(); }})();Render URL or HTML to PDF as Base64
Puppeteer by default supports rendering URL or HTML to PDF, and encoding it to Base64 is fairly easy:
const puppeteer = require('puppeteer');
(async () => { const browser = await puppeteer.launch({ headless: true }); try { const page = await browser.newPage();
await page.goto('https://screenshotone.com/'); await page.setViewport({ width: 1280, height: 1024 });
const binaryScreenshot = await await page.pdf({});
console.log(binaryScreenshot.toString('base64')); // JVBERi0xLj...
} catch (e) { console.log(e) } finally { await browser.close(); }})();A “little nuance” with SVG
SVG represents vector graphics, a hugely different world from scalar graphics.
The idea of SVG is that you can scale an image to any size and won’t lose its quality. It is impossible to do the same with scalar-represented images, like PNG or JPEG.
Why is it so hard to create SVG? Because of the nature of this format. It is based on figures like squares, circles, Bézier, and other elliptical curves. These figures can be scaled without losing quality, but you need to find a way to convert scalar graphics into this representation of squares, curves, etc. And it is a complex task in itself.
But there is a trick: you can do it if you don’t care about scaling SVG for some reason, but you need this format. You can generate a PNG image in base64 form and paste it inside the SVG tag. It does not offer accurate vector graphics but will give an SVG format if needed.
So, let’s do it:
const puppeteer = require('puppeteer');const fs = require('fs');
(async () => { const browser = await puppeteer.launch({ headless: true }); try { const page = await browser.newPage();
await page.goto('https://screenshotone.com/');
const screenshot = await page.screenshot({ encoding: 'base64', type: 'png', });
const { width, height } = await page.viewport(); const svg = `<svg xmlns="http://www.w3.org/2000/svg" xmlns:xlink="http://www.w3.org/1999/xlink"> <image href="data:image/png;charset=utf-8;base64,${screenshot}" width="${width}" height="${height}" /> </svg>`;
fs.writeFileSync("screenshotone.com.svg", svg);
} catch (e) { console.log(e) } finally { await browser.close(); }})();It works like a charm. Look at the resulting SVG file.
Cloudflare Image Resizing
Another beautiful way to generate screenshots or render HTML in a different format is to use Cloudflare as a proxy that converts images on the go and can transform and resize them.
Cloudflare Image Resizing allows using Cloudflare’s edge platform to convert images to WebP or AVIF format on the fly, independently of where they are stored.
In the post about how to create a site thumbnail with Puppeteer, I describe how to resize the website screenshot.
Ready API as a service
Suppose you don’t want to ding with Puppeteer, write code, test it and make sure it is scalable. In that case, you can use a well-established solution — ScreenshotOne.com API that already supports different formats, resizing, and many more — get started for free.
To render screenshots of URL or HTML in a specific format. You will only need to specify two options URL or HTML and desired rendering format. Can it be more straightforward than:
https://api.screenshotone.com/take?format=webp&url=https://apple.com&access_key=<your access key>Summary
If you have time and have already installed Puppeteer, you can easily use the sharp library for image conversion. But if you don’t want to deal with Puppeteer, you can use ScreenshotOne.com API to save time.
Have a nice day 👋 and you also might find helpful:
