To add custom styles to any page use Puppeteer’s page method page.addStyleTag(options).
You can inject:
- stylesheet by providing URL;
- stylesheet from the machine where the Puppeteer instance is running;
- raw content.
We are going to add a custom style to an example site:
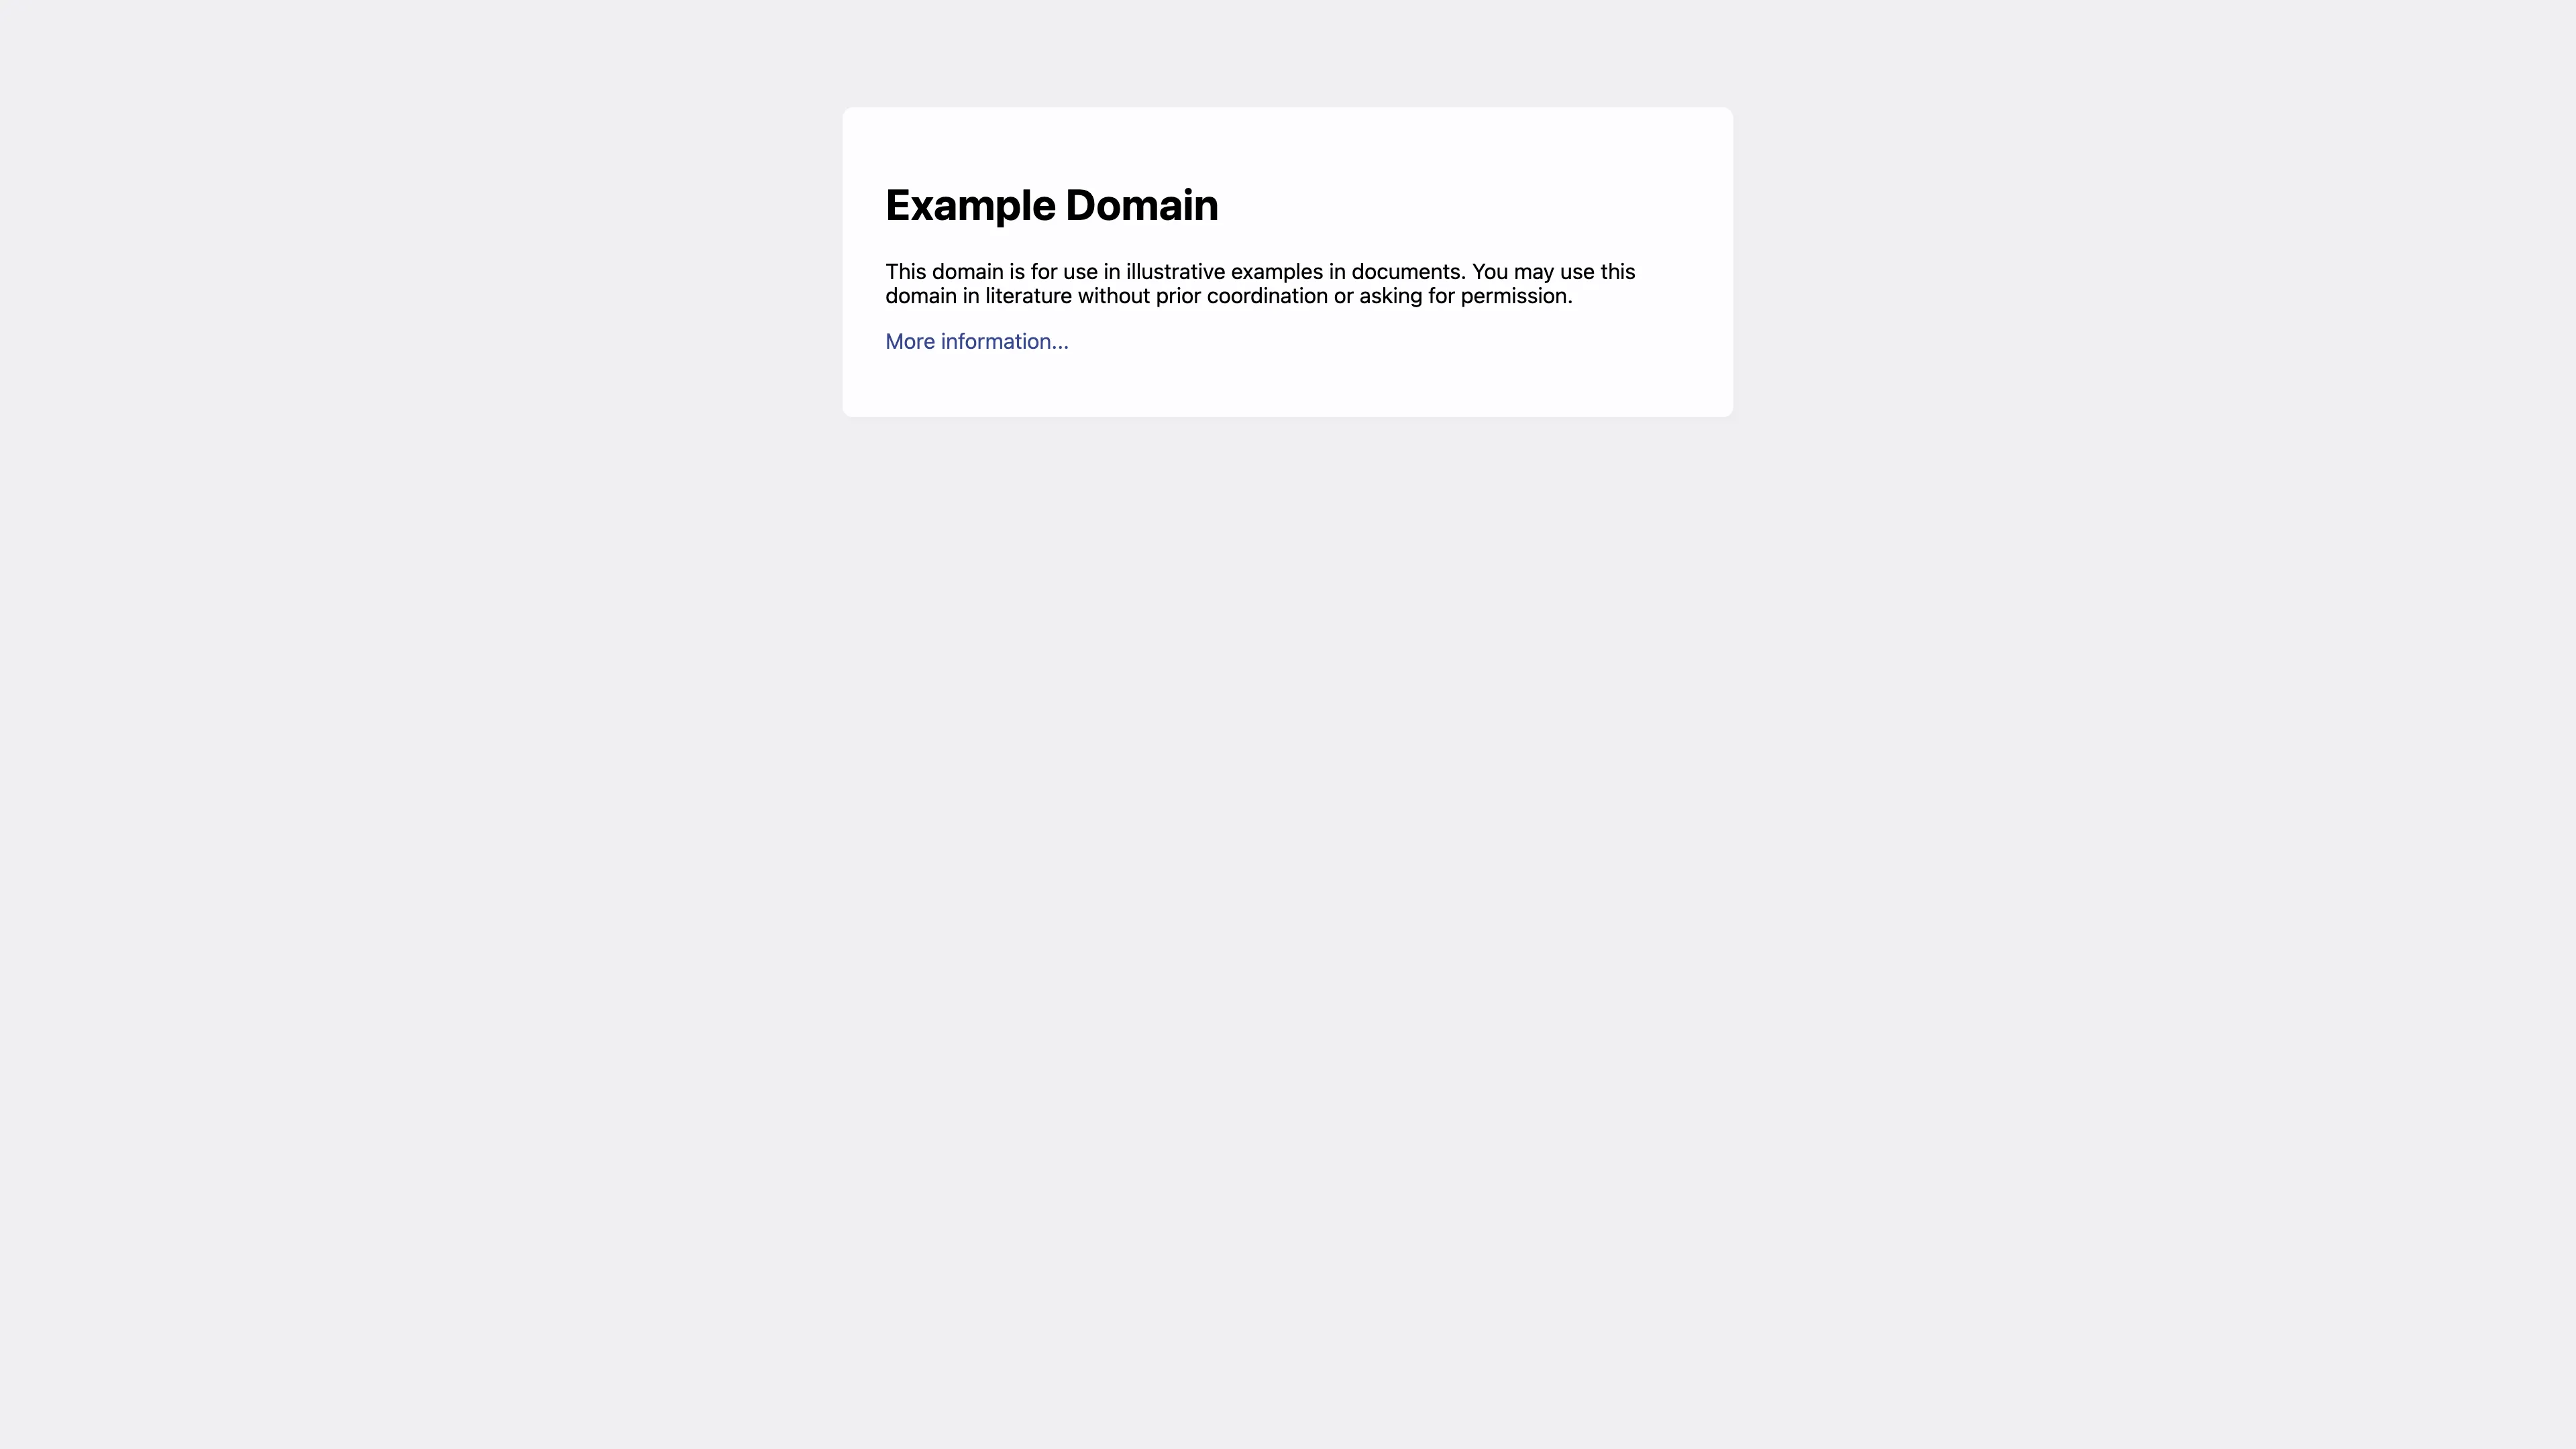
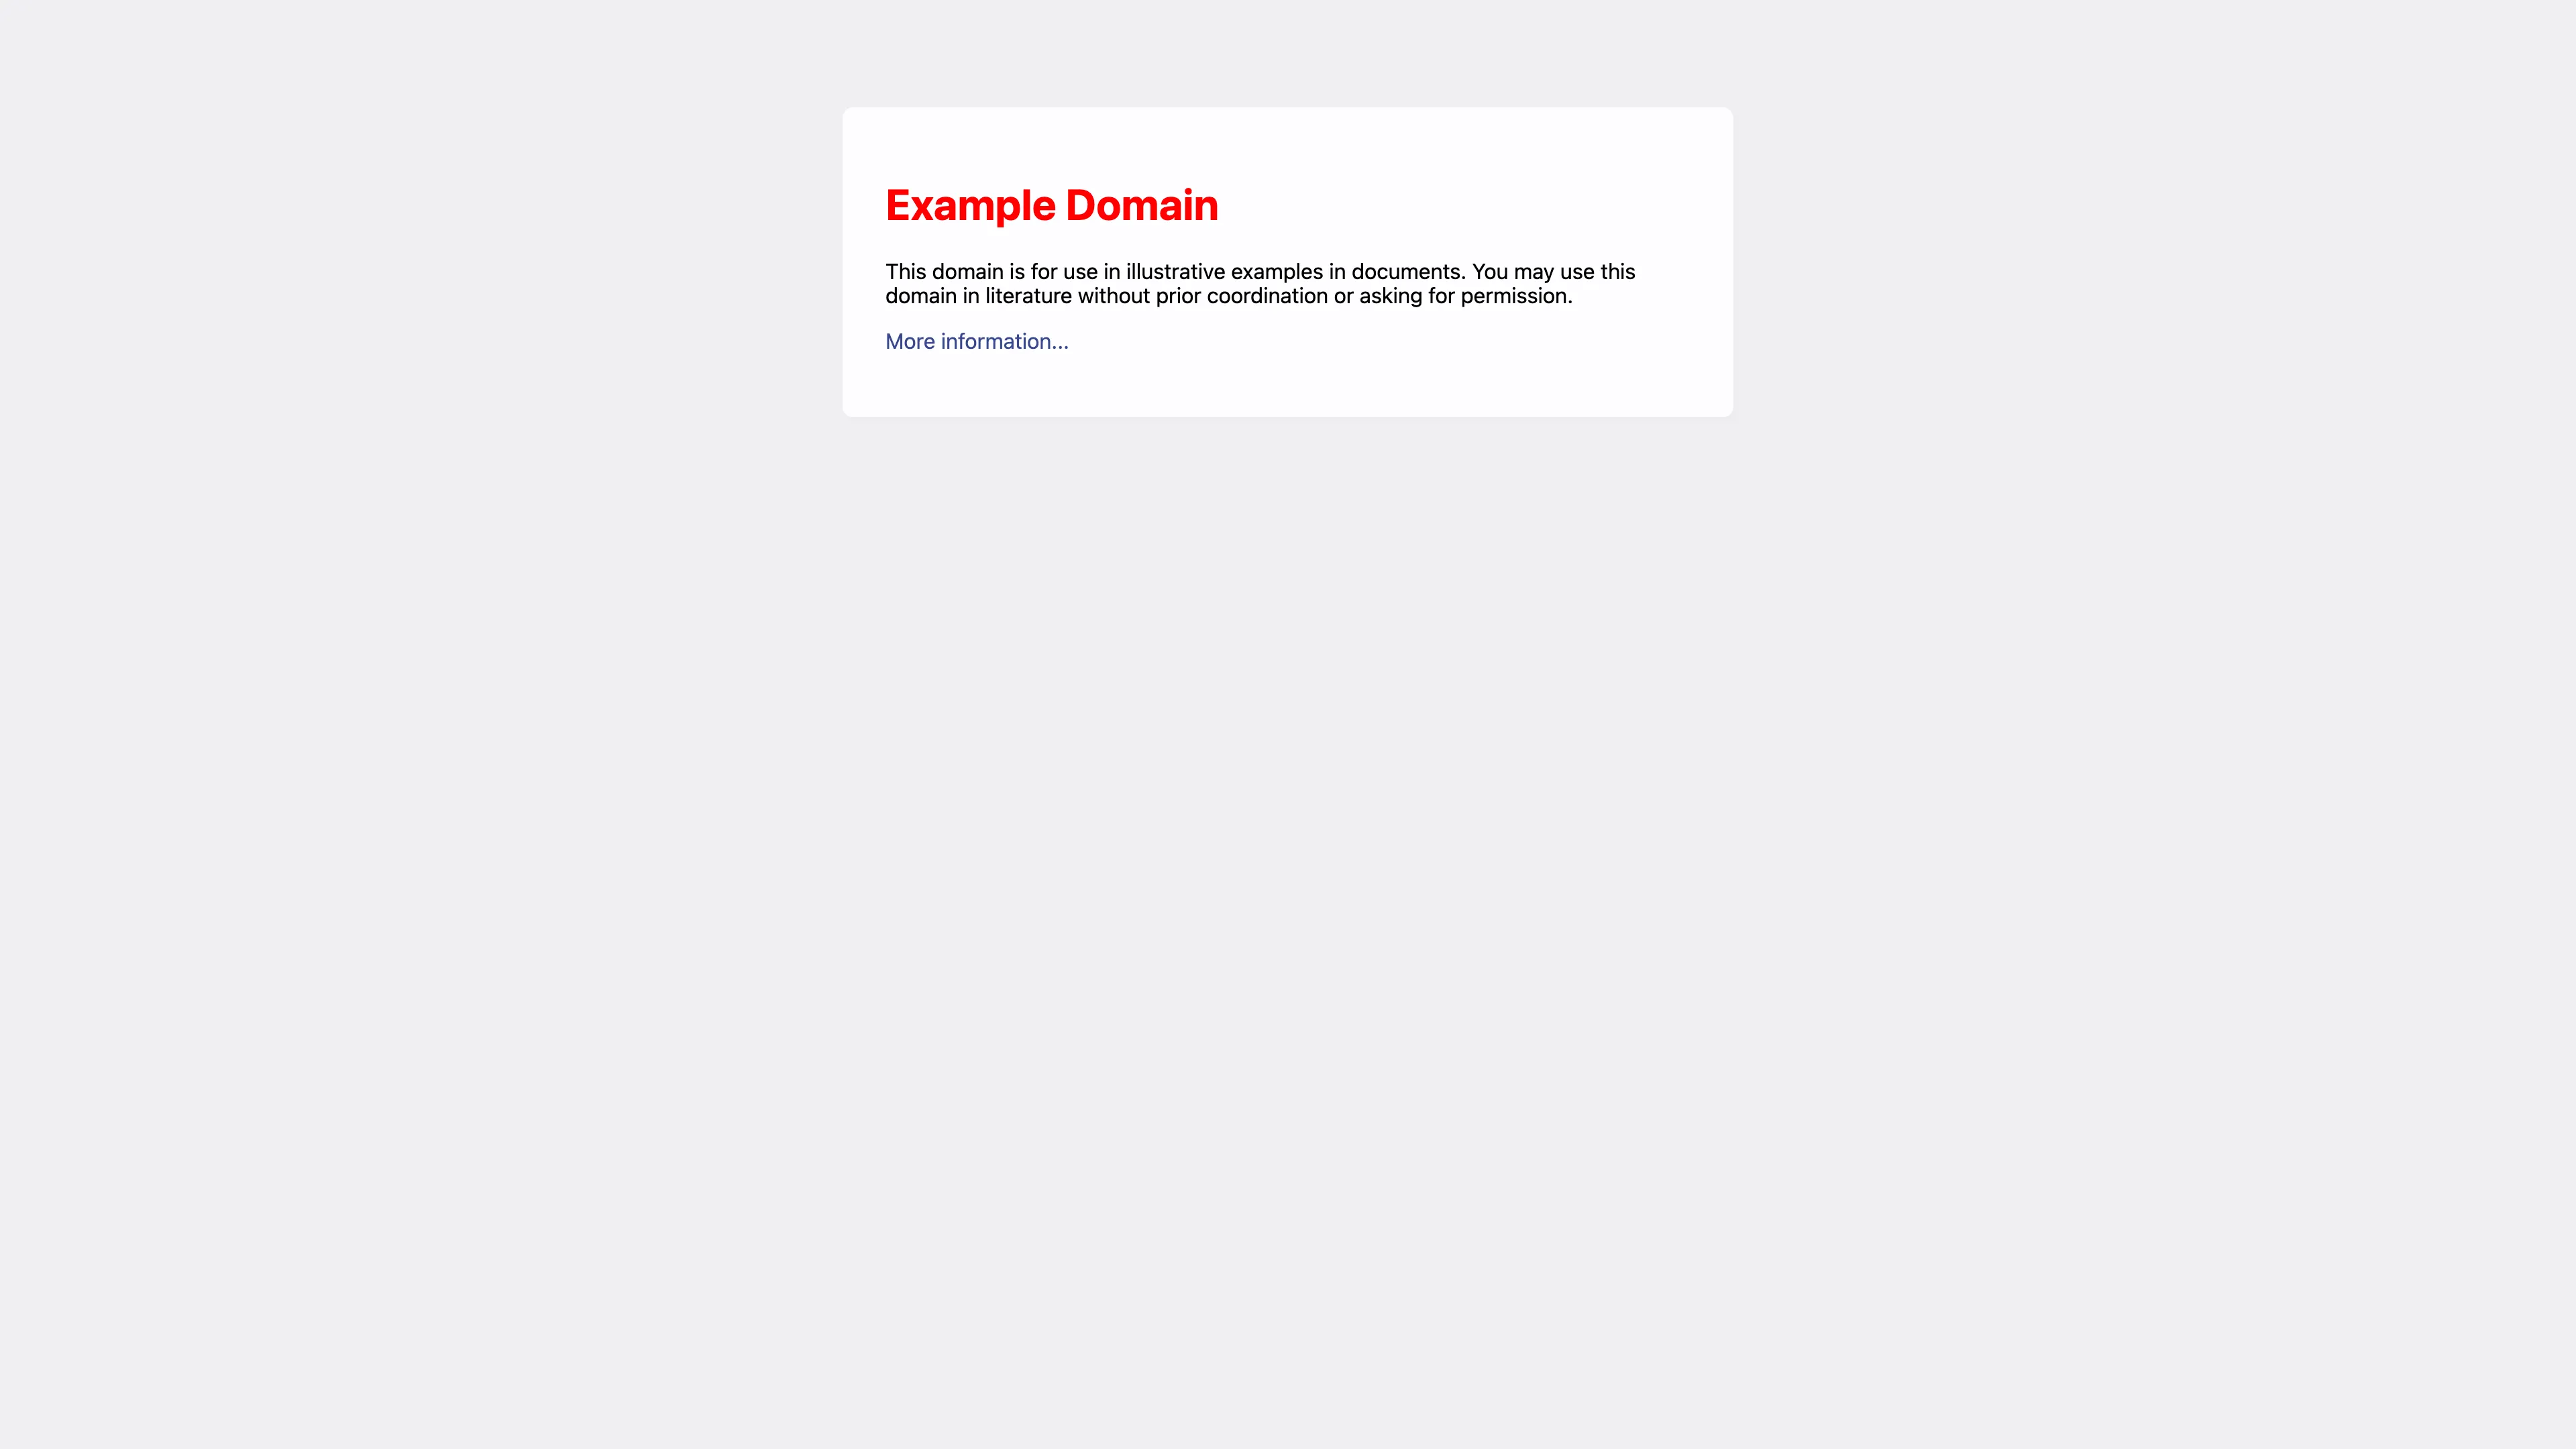
We will style to with h1 {color: red;}:
Let’s go!
Adding custom stylesheet by URL
To add custom stylesheet in Puppeteer by URL, use page.addStyleTag({url: 'https://example.com/custom.css'}):
As an example:
const puppeteer = require('puppeteer');
(async () => { const browser = await puppeteer.launch({}); try { const page = await browser.newPage();
await page.goto('https://example.com/');
await page.addStyleTag({ url: 'https://example.com/custom.css' });
await page.screenshot({ path: 'example.com.png' }); } catch (e) { console.log(e) } finally { await browser.close(); }})();```No need to worry and wait until the CSS file is included, because the promise for page.addStyleTag will resolve only when the added tag when the stylesheet’s onload event is fired.
Adding custom stylesheet by path
You also can add a custom stylesheet by specifying the path, use page.addStyleTag({path: 'custom.css'}). If the path is relative, it is relative to the working directory.
As an example, I created custom.css:
h1 { color: red;}And then:
const puppeteer = require('puppeteer');
(async () => { const browser = await puppeteer.launch({}); try { const page = await browser.newPage();
await page.goto('https://example.com/');
await page.addStyleTag({ path: 'custom.css' });
await page.screenshot({ path: 'example.com.png' }); } catch (e) { console.log(e) } finally { await browser.close(); }})();Adding raw CSS content
In our screenshot API, you can easily add custom styles by specifying the styles parameter.
And the simplest way to add CSS custom style is just add raw CSS content by using page.addStyleTag({content: '<selector> { <property>: <value>; }'}):
const puppeteer = require('puppeteer');
(async () => { const browser = await puppeteer.launch({}); try { const page = await browser.newPage();
await page.goto('https://example.com/');
await page.addStyleTag({ content: 'h1 {color: red;}' })
await page.screenshot({ path: 'example.com.png' }); } catch (e) { console.log(e) } finally { await browser.close(); }})();I hope I helped you today to solve your problem and have a nice day 👋
You might also find helpful: