Chrome DevTools MCP lets an MCP client control a Chrome browser and inspect its pages. Its take_screenshot tool can capture the visible viewport, the full page, or one element. You can return the image to your agent or save it to a file. The official tool reference lists the current arguments.
This tutorial uses the tool names and JSON arguments you give to an MCP client. They are MCP tool calls, not terminal commands. Your client may display them as forms or call them from a prompt.
For an alternative built around Playwright’s accessibility snapshots and browser actions, see our Playwright MCP screenshot tutorial. If your agent works from the terminal, agent-browser offers a command-line screenshot workflow and an MCP server.
Tested versions and capture results
These images were captured on September 28, 2026 with chrome-devtools-mcp 1.10.1, Google Chrome 153.0.8010.53 on macOS, and a stdio test client using @modelcontextprotocol/sdk 1.30.0. The test used headless Chrome, an isolated profile, light mode, and a 1280 × 720 viewport at device pixel ratio 1.
The target was ScreenshotOne’s public MCP page, also used in the Playwright MCP screenshot tutorial. Its content and height can change. The normal captures produced a 1280 × 720 viewport image, a 1280 × 5953 full-page image, and a 768 × 120 heading image. The size-limit test below also checked files saved with filePath and images attached to tool responses.
Connect Chrome DevTools MCP to a browser
Install a current Node.js LTS release and Chrome, then add the server to your MCP client. The project’s setup guide uses npx:
{ "mcpServers": { "chrome-devtools": { "command": "npx", "args": [ "-y", "chrome-devtools-mcp@1.10.1", "--headless", "--isolated", "--filesystem-root=/absolute/path/to/project/screenshots" ] } }}Create a screenshots directory in your project and replace /absolute/path/to/project/screenshots with its real absolute path. The --filesystem-root option lets the server write files there when your MCP client has not supplied its own filesystem roots. Without an allowed root, file-writing tools may be limited to the operating system’s temporary directory. --isolated gives this session a temporary Chrome profile, useful when you do not want it to share cookies or conflict with another browser session. Both options are described in the server configuration.
The configuration pins the tested version. Use chrome-devtools-mcp@latest when you want the newest release, and check its tool schema if examples behave differently. Remove --headless to see the browser window.
The server starts Chrome when a browser tool is first used. Call list_pages with {} to confirm that it can connect. Then open a page:
new_page
{"url":"https://screenshotone.com/mcp/"}Call list_pages again and note the new page’s ID. This run returned 2; substitute the ID returned in your session. Set the viewport with emulate before capturing:
{"pageId":2,"viewport":"1280x720x1","colorScheme":"light"}Wait for the page heading with wait_for:
{"pageId":2,"text":["Give your AI agents eyes for the web"]}If you need to connect to an already running browser, the advanced usage guide explains --autoConnect and --browser-url. A Chrome instance started for --browser-url needs remote debugging enabled and a separate user data directory.
Capture the viewport or the full page
To save what is currently visible, call take_screenshot:
{ "pageId": 2, "filePath": "/absolute/path/to/project/screenshots/mcp-viewport.png"}filePath saves the image on the machine running the MCP server. If you omit it, the image is attached to the tool response for your agent to inspect. Use an absolute path when you want to know exactly where the file went; a relative path is resolved against the server’s working directory, which may differ from your project directory.
For the test directory on this Mac, the tool returned:
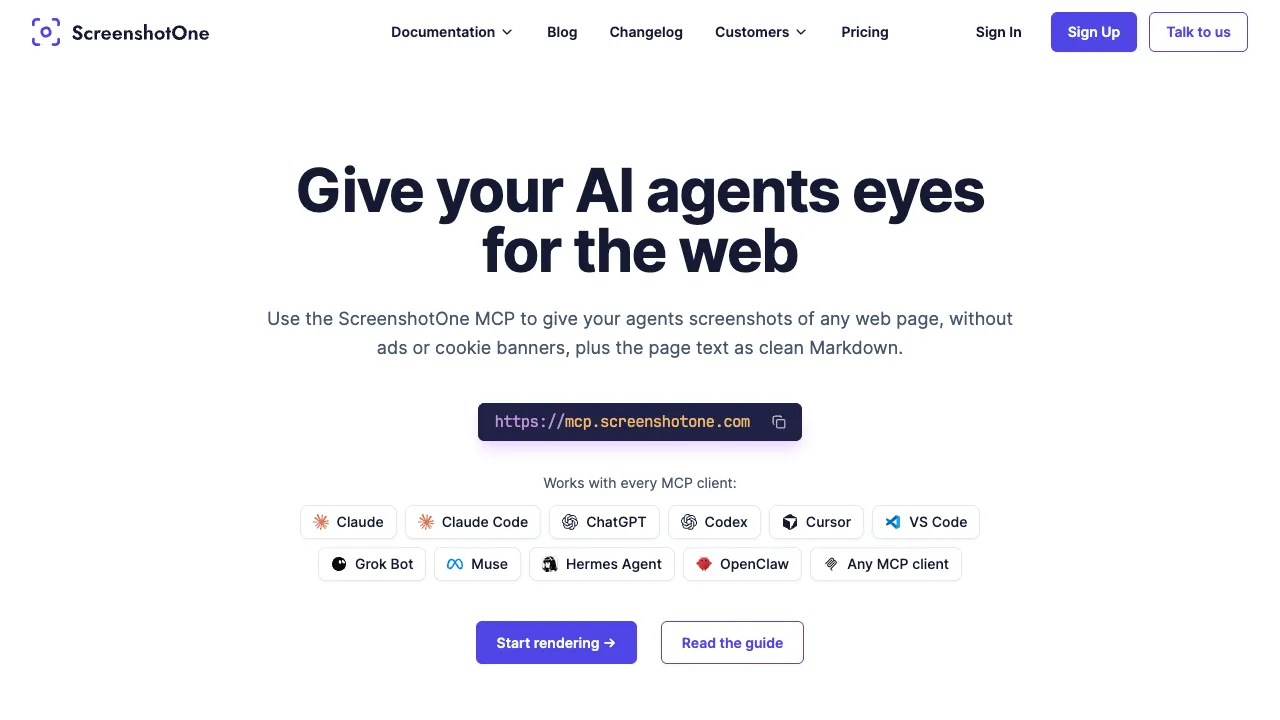
Took a screenshot of the current page's viewport.Saved screenshot to /private/tmp/screenshotone-chrome-mcp-test/screenshots/mcp-viewport.png.The saved PNG is 1280 × 720 pixels:
To include content below the fold, call take_screenshot again with fullPage:
{ "pageId": 2, "fullPage": true, "filePath": "/absolute/path/to/project/screenshots/mcp-full-page.png"}On a long page, the second file will be taller. On a page that fits within the viewport, the two captures may look almost identical. If the page loads content after navigation, wait for a visible phrase with wait_for or take a fresh snapshot before capturing; a full-page option cannot include content the page has not rendered yet.
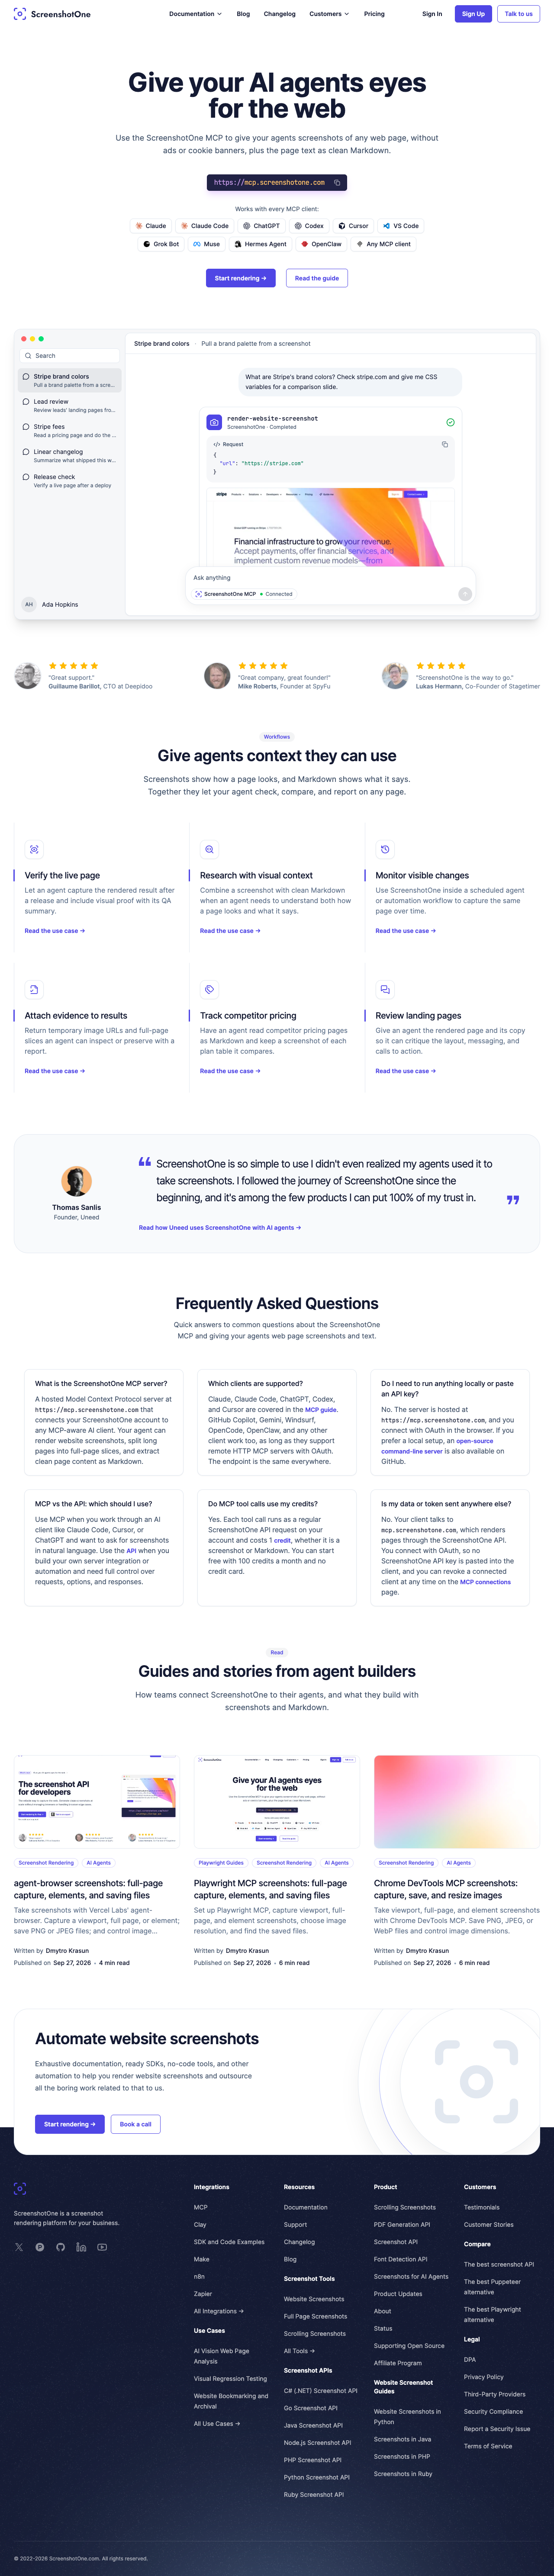
This capture is 1280 × 5953 pixels. Click the compact preview to open the original:
For these captures, the test client also waited for the page fonts and requested its visible image elements to load eagerly. On pages with lazy content, scroll through the relevant sections and wait for their images before the final capture.
Capture a single element
First call take_snapshot for the page:
{"pageId":2}The text snapshot gives page elements unique uid values. Find the element you want, copy its current UID, and pass it to take_screenshot:
{ "pageId": 2, "uid": "UID_FROM_LATEST_SNAPSHOT", "filePath": "/absolute/path/to/project/screenshots/mcp-element.png"}Replace the placeholder with the UID you actually received. Take a new snapshot after navigation or a substantial page change, since the old UID may no longer identify the same element. uid and fullPage: true cannot be used together: one targets an element, while the other targets the entire page.
In this test, the main heading had UID 1_21. Its screenshot was 768 × 120 pixels:

Choose PNG, JPEG, or WebP
The default format is png. To save a smaller WebP image, set format and quality explicitly:
{ "pageId": 2, "fullPage": true, "format": "webp", "quality": 80, "filePath": "/absolute/path/to/project/screenshots/mcp-full-page.webp"}Use format: "jpeg" with a .jpg or .jpeg filename for JPEG. quality accepts 0–100 for JPEG and WebP; it is ignored for PNG. Keep the filename extension consistent with the requested format. PNG is a useful default for UI details and text. JPEG or WebP can reduce file size when the image will be shared or stored in bulk. Changing quality changes compression, not the pixel width or height.
Set screenshot dimensions and resize large images
take_screenshot does not have per-call width and height arguments. Set the page’s viewport before capturing it. For example, call emulate with a 1280 × 720 CSS-pixel viewport and device pixel ratio of 1:
{"pageId":2,"viewport":"1280x720x1"}Then capture the viewport at that size with take_screenshot:
{ "pageId": 2, "filePath": "/absolute/path/to/project/screenshots/mcp-1280x720.png"}You can also use resize_page to change the page window’s width and height:
{"pageId":2,"width":1280,"height":720}emulate is the clearer choice when the output’s pixel density matters, because its viewport string includes the device pixel ratio. resize_page changes the window size but does not itself specify that ratio. A full-page capture extends to the rendered page dimensions, so it will not have a fixed 1280 × 720 size.
To limit capture dimensions, add --screenshot-max-width=1000 and --screenshot-max-height=1600 to the server’s args and restart it. In version 1.10.1, these limits affect both saved files and images attached to tool responses. The server scales the capture to fit the limits while preserving its aspect ratio, with pixel rounding:
| Server settings | Saved viewport PNG | Saved full-page PNG |
|---|---|---|
| No size limits | 1280 × 720 | 1280 × 5953 |
| Maximum width 1000, height 1600 | 1000 × 563 | 344 × 1600 |
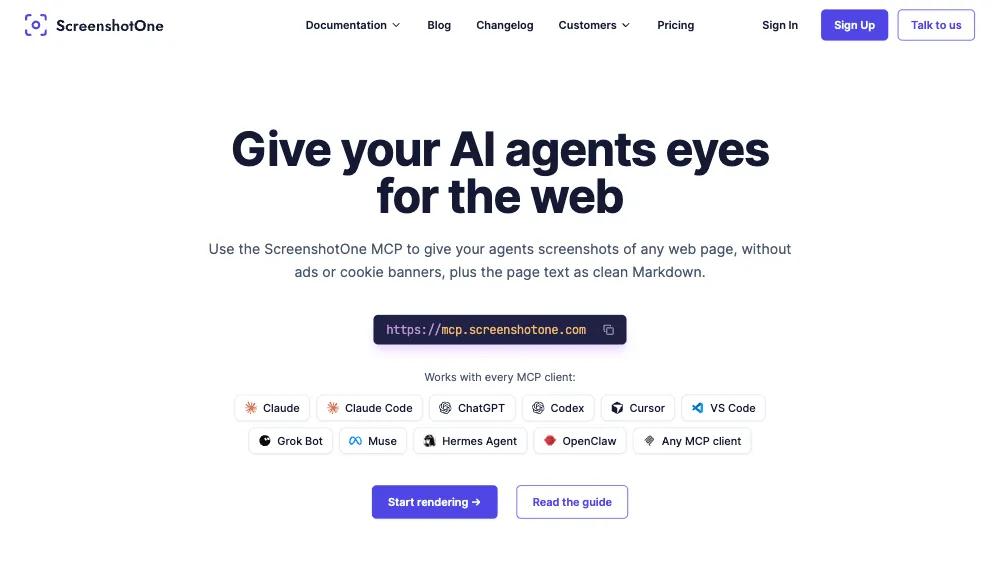
Omitting filePath in the limited run also returned a 1000 × 563 viewport image. The configured browser viewport remained 1280 × 720. These flags scale the output; they do not change the page’s responsive layout. See the configuration reference.
Here is the limited viewport result:
The height limit makes a long page narrow. Click to inspect the 344 × 1600 saved result:
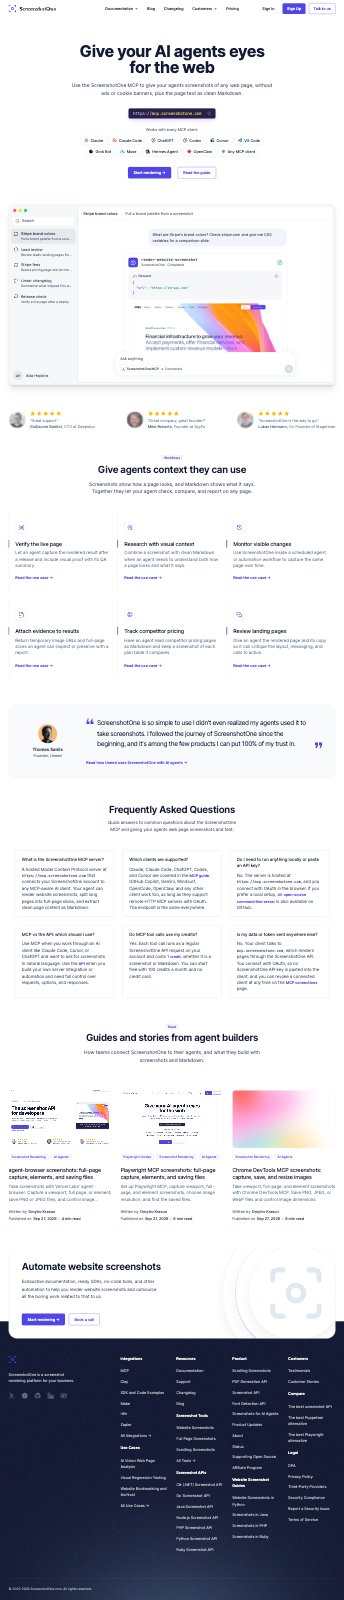
Use an element capture or a larger limit when the agent needs to read small text.
To resize an already saved file, use an image tool after the MCP capture. For example, from your screenshots directory, with ImageMagick installed, this makes a copy that is 1200 pixels wide and preserves its aspect ratio:
magick mcp-full-page.png -resize 1200 mcp-full-page-1200.pngChrome DevTools MCP does not expose a separate tool for resizing an existing file. Capturing at the desired viewport avoids an extra processing step when you know the target size in advance.
Common screenshot failures
| Symptom | What to check |
|---|---|
list_pages or new_page cannot start Chrome | Confirm that Chrome is installed and current. If a browser profile is already in use, try --isolated so the server gets its own temporary profile. |
--browser-url cannot connect | Start Chrome with remote debugging on the same port as the URL. Chrome requires a non-default user data directory for the debugging port. |
| The screenshot is not saved where you expected | Supply an absolute filePath, create its parent directory, and allow that directory with --filesystem-root if your client does not negotiate MCP roots. Without filePath, expect an image in the tool response. |
| An element capture fails or captures the wrong thing | Take a fresh take_snapshot and use the target element’s current uid. Do not combine uid with fullPage. |
| The file is unexpectedly large | Use JPEG or WebP with quality, capture only the viewport or an element, or limit output dimensions with the server’s screenshot max-width and max-height options. |
| The image has unexpected dimensions | Check fullPage, viewport size, and device pixel ratio separately. quality affects compression rather than dimensions. |
The project’s troubleshooting guide covers Chrome launch errors and remote debugging connection problems in more detail.
For more on long-page captures, see our full-page screenshot guide.
Why use ScreenshotOne MCP?
ScreenshotOne’s hosted MCP server handles browser rendering for agents that need to capture website URLs. This is useful for recurring page checks, competitor research, or collecting visual evidence after a release: your agent can request a screenshot without launching Chrome or configuring a debugging connection locally.
It can block ads and cookie banners, return long pages as smaller image slices, and extract clean Markdown for the agent to read alongside the screenshots. Captures return temporary image URLs; download the images when you need to keep them with a report. The MCP setup guide walks through connecting your client with OAuth.
ScreenshotOne uses its own browser session. For a screenshot of the page state you have been inspecting or changing in Chrome DevTools MCP, capture it in that existing session.