Screenshot Options
This document lists all available request options to take screenshots of websites, render HTML, or Markdown.
Credentials
access_key
Each request must have an access key to authenticate the API user. You can find it on the access page.
An example of the request URL with access_key:
https://api.screenshotone.com/take?url=https://apple.com&access_key=<your access key>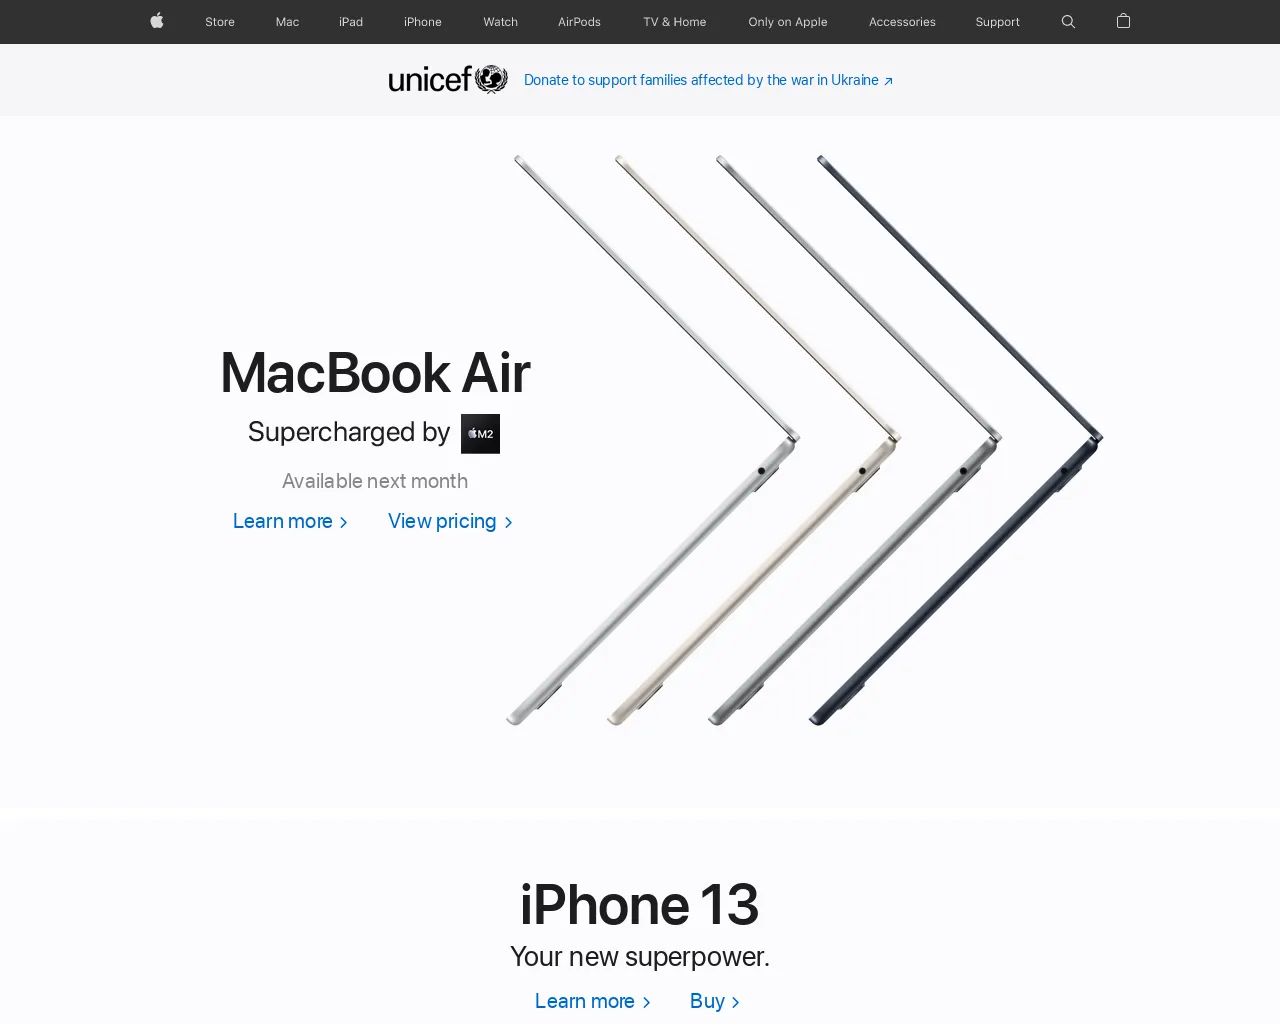
signature
A signature is optional. It is used for the signed requests.
Do not use the secret (signing) key as a signature. A signature is a complex parameter that is a hash of all screenshot parameters with a signing key.
You can force signing all requests access page.
Essentials
url
URL of the site to take a screenshot of. One of the Markdown, HTML or URL parameters is required.
An example of the request URL with url=https://www.youtube.com/feed/explore:
https://api.screenshotone.com/take?url=https://www.youtube.com/feed/explore&access_key=<your access key>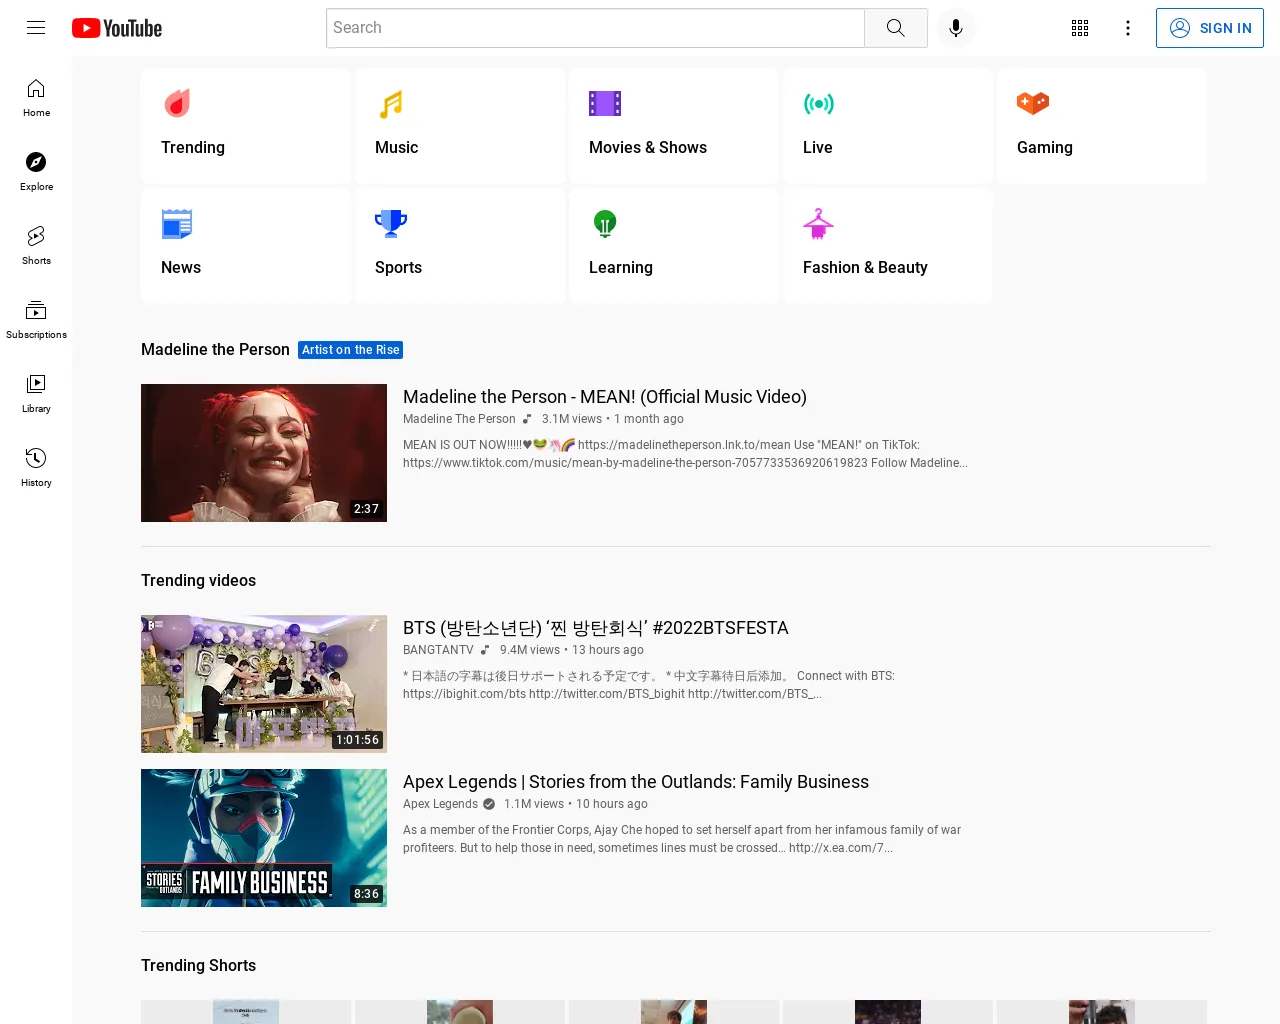
html
HTML you want to render. One of the Markdown, HTML or URL parameters is required.
An example of the request URL with html=<h1>Hello, world!</h1>:
https://api.screenshotone.com/take?html=<h1>Hello,%20world!</h1>&access_key=<your access key>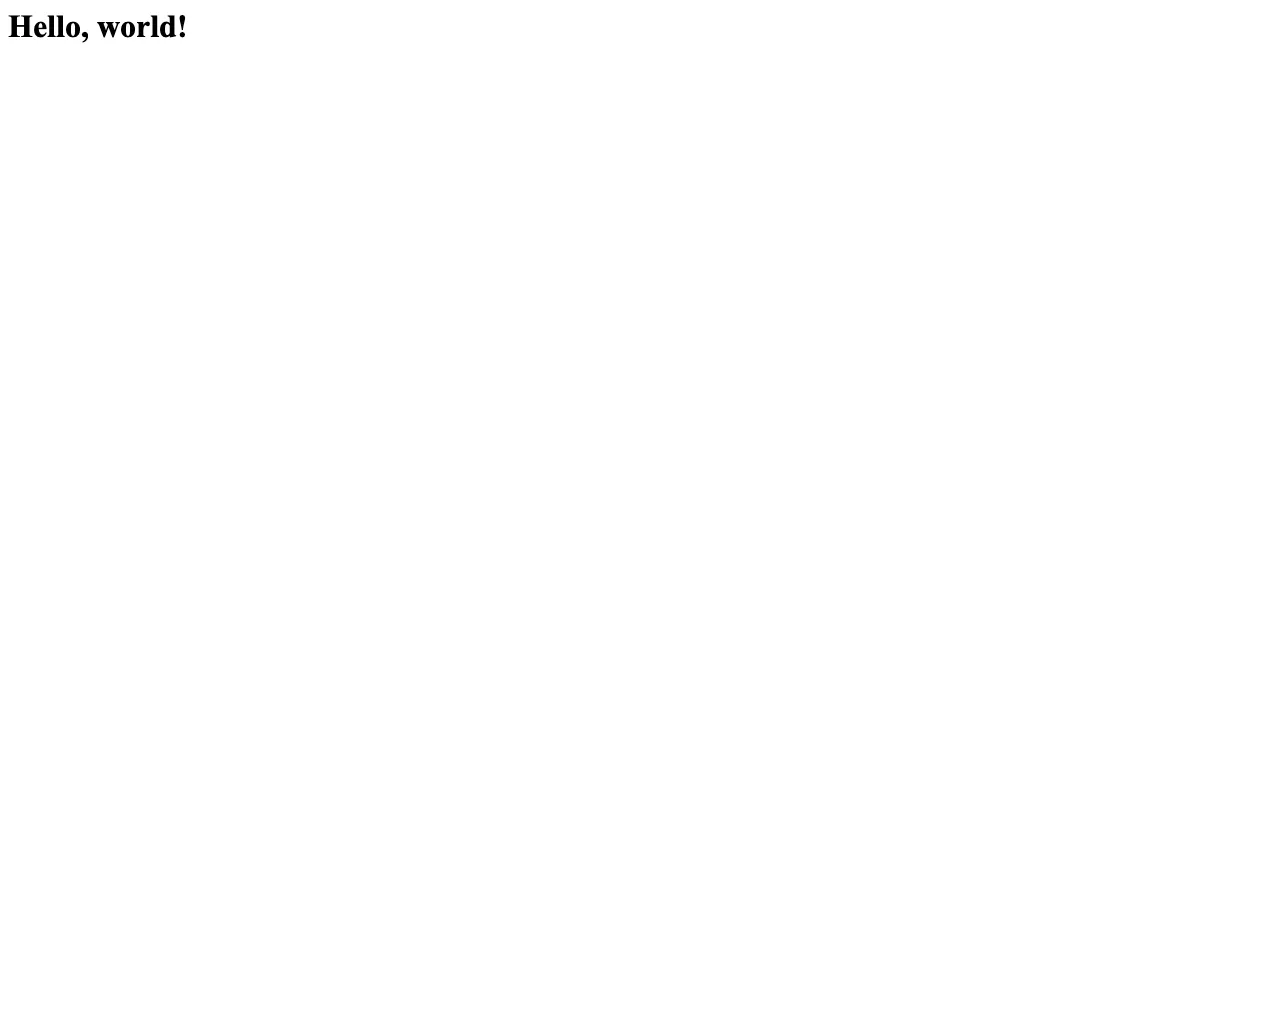
markdown
Markdown you want to render. One of the Markdown, HTML or URL parameters is required.
An example of the request URL with markdown=# Hello, world! (encoded to markdown=%23%20Hello%2C%20world!):
https://api.screenshotone.com/take?html=%23%20Hello%2C%20world!&access_key=<your access key>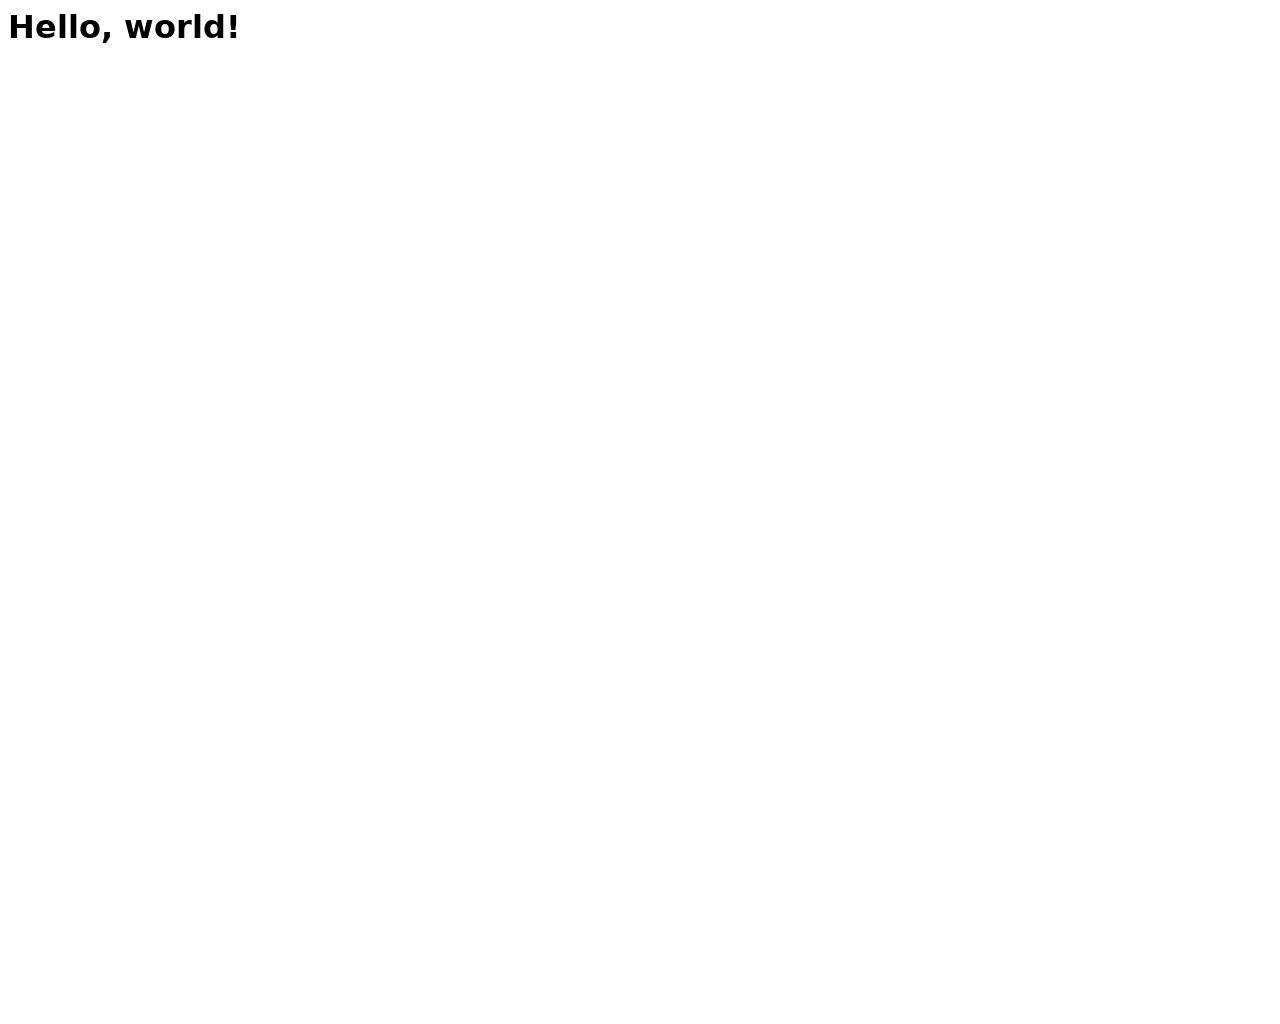
format
You can get the HTML content of the page and image in one request by using the metadata_content parameter.
Available response formats:
pngjpegorjpgwebpgifjp2tiffavifheifpdf(see PDF options)html(text representation)markdown(text representation)
Default value is jpg.
An example of the request URL with format=jpeg (an alias for format=jpg):
https://api.screenshotone.com/take?format=jpeg&url=https://apple.com&access_key=<your access key>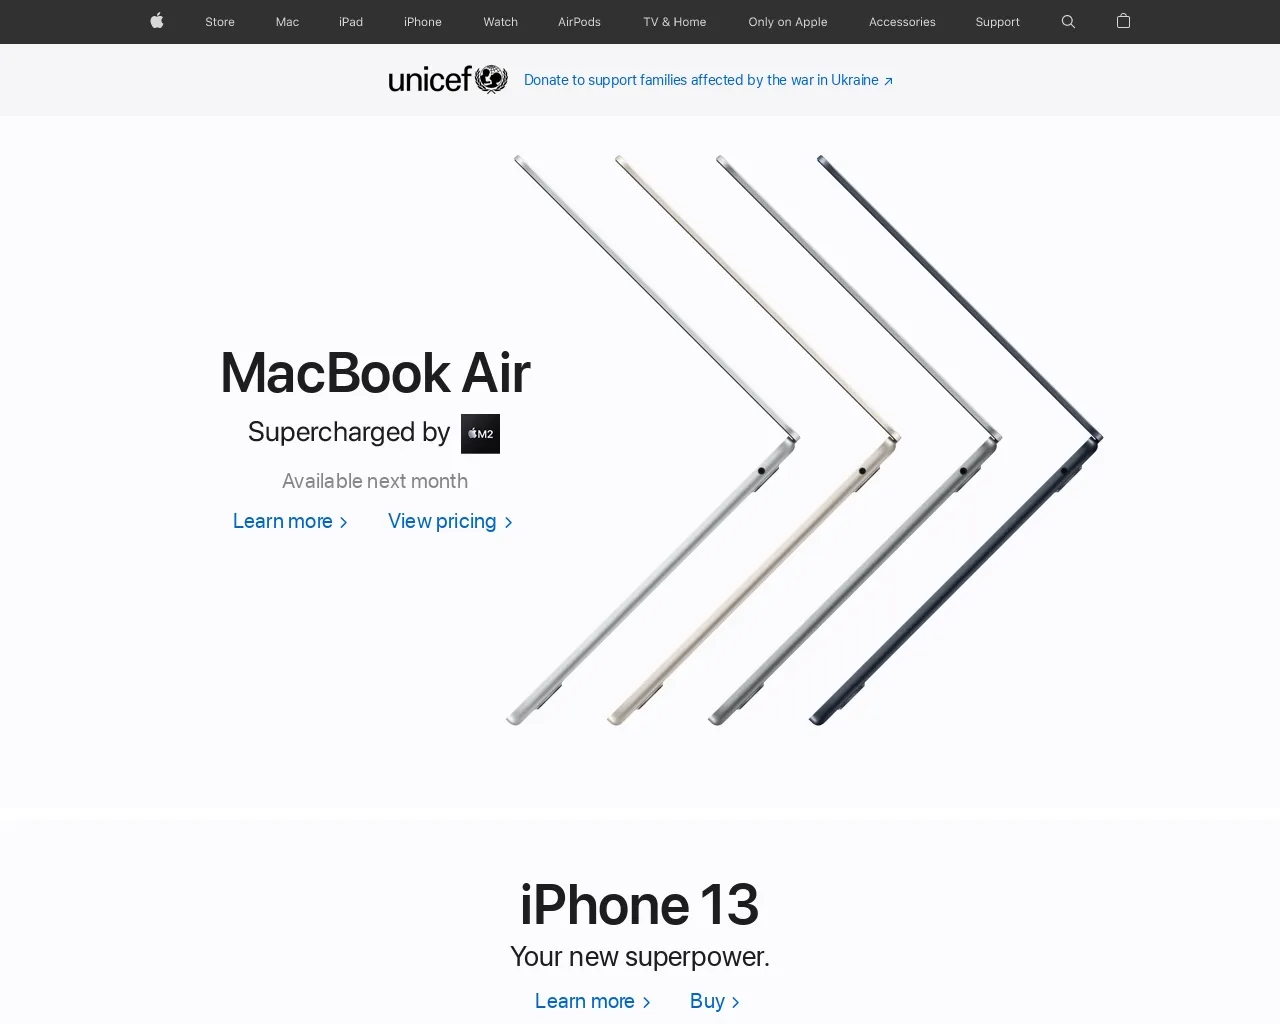
For the HTML format (format=html), consider including the shadow DOM elements with the include_shadow_dom option.
response_type
Available response types:
by_format— return exactly the response defined in the format option. Ifformat=png, the response will be the binary representation of thepngwith the content type headerimage/png. With this option (default), screenshots are not stored on ScreenshotOne servers unless you explicitly enable caching, storage options or similar.empty— return only status or error. It is suitable when you want to upload the screenshot to storage and don’t care about the results. It also speeds up the response since there are no networking costs involved.json— A method returns the response in the JSON format, but it is only suitable if you use options that are effective for JSON. By default, the JSON response will be empty. But for example, when you use caching, the JSON will be populated with additional data. (This option might temporarily store the rendered content on ScreenshotOne servers to serve the screenshot or other content URLs for you.)
ScreenshotOne API doesn’t support the base64 encoding format. But you can get the screenshot in the binary format and convert it to the base64 encoding with your language of choice.
The default value is by_format.
An example of the request URL:
https://api.screenshotone.com/take?response_type=empty&url=https://example.com&access_key=<your access key>selector
A CSS-like selector of the element to take a screenshot of. It is optional.
If the selector is specified and error_on_selector_not_found=true, the error will be returned if the element by selector is not visible or it took more than timeout seconds to render it, but not more than 30 seconds.
For HTML or Markdown formats, the selector returns the outer rendered HTML of the provided input.
Supports shadow/ selectors which will traverse the shadow DOM elements. It will be slower, and if many elements have the same selectors, the first one will be chosen.
An example of the request URL with selector=.content:
https://api.screenshotone.com/take?selector=.content&url=https://scalabledeveloper.com/posts/context-in-go/&access_key=<your access key>
The same page without selector:
https://api.screenshotone.com/take?url=https://scalabledeveloper.com/posts/context-in-go/&access_key=<your access key>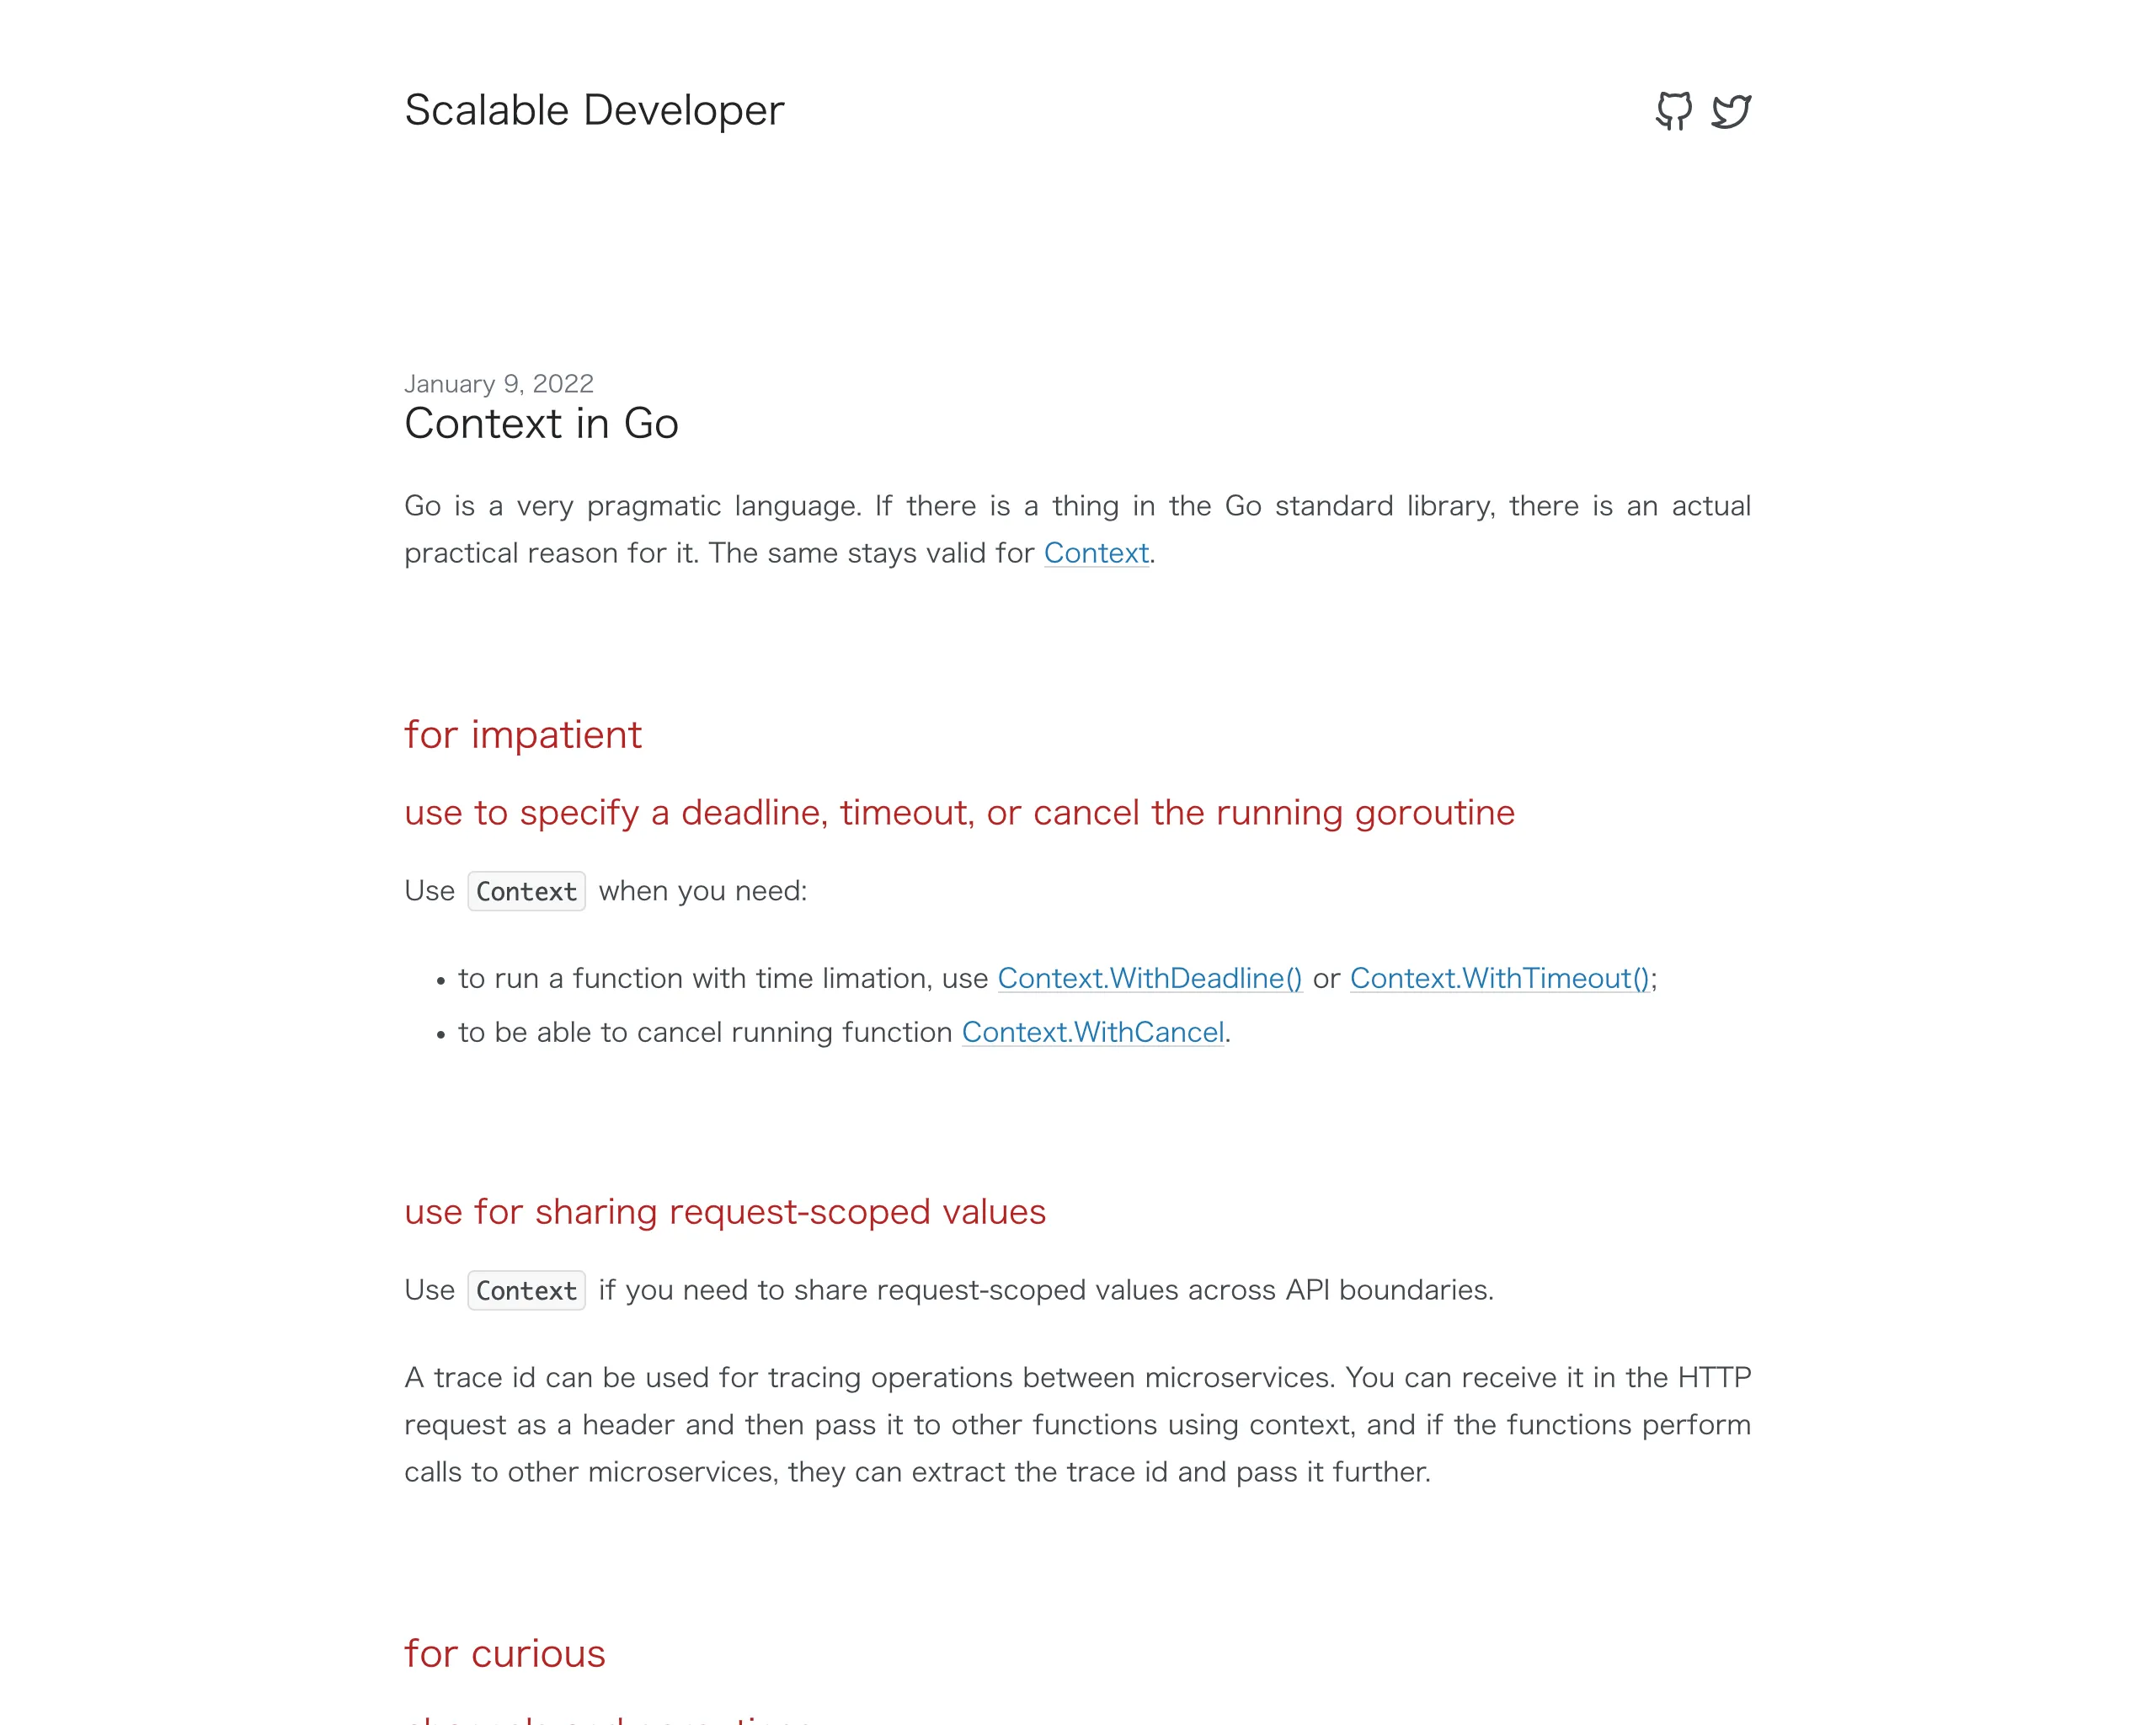
Setting the selector option changes the behavior of the capture_beyond_viewport option, and sets it to true by default.
selector_algorithm
The default algorithm is default which means to use the browser tools to screenshot the element by selector. But the new algorithm clip allows more flexibility and better results for some cases.
E.g. if you need to screenshot the element by selector and the element is not fully visible, or it requires scrolling to screenshot the element, the clip algorithm will be more suitable.
An example of the API request URL with selector_algorithm=clip:
https://api.screenshotone.com/take?selector_algorithm=clip&selector=h1&url=https://example.com&access_key=<your access key>selector_scroll_into_view
When you take a screenshot of an element by selector, there is a rare case where the page or the part of the element might not be visible on the viewport or the element might contain lazy loaded images or elements that are not visible on the viewport.
With the selector_scroll_into_view option, you control if you want to scroll the page to the element or not and to trigger lazy loaded images and elements.
The option is set to true by default.
capture_beyond_viewport
When you take a full page screenshot or a screenshot of an element by selector, there is a rare case where the page or the part of the element might not be visible on the viewport.
With the capture_beyond_viewport option, you control if you want to take the screenshot of the full page or the element (capture_beyond_viewport=true) or if you are OK with taking a screenshot of the part of the page or the element (capture_beyond_viewport=false).
When you take full page screenshot or you take screenshot of an element by selector.
The option is set to true by default for the full-page screenshots, when full_page is true.
You might find it useful to check out the examples of how the captureBeyondViewport option works “examples of how the captureBeyondViewport option works”).
The option is true by default for the screenshots by the selector, too.
scroll_into_view
It scrolls the page if needed and ensures that the given selector is present in the view when taking a screenshot.
If more than one element matches the selector, the first visible element in DOM is selected.
The element will be positioned at the top of the viewport. To adjust the position a bit before taking a screenshot, use the scroll_into_view_adjust_top option.
In case, if the selector is not found, it will render the viewport at the top of the page. To change this behavior, use the error_on_selector_not_found option, set it to true to return an error if the selector is not found.
An example of the request URL:
https://api.screenshotone.com/take?scroll_into_view=%23faq&url=https://screenshotone.com&access_key=<your access key>scroll_into_view_adjust_top
After the given element appears in the viewport and its top coordinate is aligned with the viewport’s top, you can adjust the position a bit before taking a screenshot by specifying the scroll_into_view_adjust_top parameter.
By default, it is 0. But you can use negative and positive integers.
An example of the request URL:
https://api.screenshotone.com/take?scroll_into_view_adjust_top=-100&scroll_into_view=%23faq&url=https://screenshotone.com&access_key=<your access key>request_gpu_rendering
By default is disabled and currently available only for the top-tier paid plans.
Setting request_gpu_rendering to true hints API to route requests to servers with supported hardware rendering acceleration.
It is not 100% guaranteed to satisfied and software acceleration might be used as a fallaback, but most of the time the ScreenshotOne API will do its best to render screenshots with GPU support if the option is set to true.
However, you can use the fail_if_gpu_rendering_fails option to force the request to fail if GPU rendering fails.
include_shadow_dom
By default is disabled and equals to false.
Setting include_shadow_dom to true will use a different method of content extraction for requests that has format=html
or request metadata_content=true. The API will try to include all open and closed shadow DOM roots in the content. By default, they are not included.
attachment_name
The option allows you to specify the name of the attachment. The format will be added as a suffix to the name.
https://api.screenshotone.com/take?attachment_name=screenshot&url=https://example.com&access_key=<your access key>&format=jpgIt will trigger the browser to download the screenshot with the name screenshot.jpg
external_identifier
You can set external_identifier parameter to any alphanumeric value. It will be included in the webhook request headers:
x-screenshotone-external-identifier—external identifier. It is helpful for error and successful request tracking.
PDF Rendering
If you want resulting PDF reflects a full page screenshot as close as possible, use the combination of next options:
format=pdf&media_type=screen&pdf_print_background=true&pdf_fit_one_page=truepdf_print_background
Set to true to print background graphics. The default value is false.
pdf_fit_one_page
The default value is false.
When the option is set to `true“, the API will try to fit the website on one page. It is the closest equivalent to a full-page screenshot as a PDF without splitting into pages.
pdf_landscape
Set to true to set PDF orientation to landscape. It is false by default.
pdf_paper_format
Specifies the paper format for the PDF output. Available options are:
- “a0”: ISO A0 paper size (841 x 1189 mm)
- “a1”: ISO A1 paper size (594 x 841 mm)
- “a2”: ISO A2 paper size (420 x 594 mm)
- “a3”: ISO A3 paper size (297 x 420 mm)
- “a4”: ISO A4 paper size (210 x 297 mm)
- “a5”: ISO A5 paper size (148 x 210 mm)
- “a6”: ISO A6 paper size (105 x 148 mm)
- “legal”: Legal paper size (8.5 x 14 inches)
- “letter”: Letter paper size (8.5 x 11 inches)—default.
- “tabloid”: Tabloid paper size (11 x 17 inches)
If not specified, the default paper format is “a4”.
pdf_margin
Specifies the margin for the PDF file. By default, the margin is 0.
But you can set it to any value in string format, e.g. pdf_margin=20px or other supported units.
You can then override the margin for each side separately:
pdf_margin=20px&pdf_margin_top=0pxThis will set the margin for all sides to 20px except the top, which will be 0px.
pdf_margin_top
The top margin for the resulting PDF.
pdf_margin_right
The top margin for the resulting PDF.
pdf_margin_bottom
The top margin for the resulting PDF.
pdf_margin_left
The top margin for the resulting PDF.
OpenAI Vision Integration
ScreenshotOne supports direct integration with OpenAI vision, so you can get a screenshot and generate vision prompt completion in one simple API call with no additional cost.
You will get the result either as a X-ScreenshotOne-Vision-Completion header in the reponse or as:
{
"vision": { "completion": "..." }}If you use response_type=json.
openai_api_key
Use your OpenAI API key to send requests to the OpenAI API key. It is not stored in the ScreenshotOne database.
vision_prompt
Specify the prompt you want to use along with the screenshot of the site.
vision_max_tokens
Specify how many tokens at max the GPT vision must return as a response.
Clip
There is a guide on how to screenshot an area of a site with examples of how to use clip options.
clip_x
You can use clip options (clip_x, clip_y, clip_width, clip_height) to clip only the part of the screen.
The clip_x option specifies only the top coordinate (x) of the area to clip.
clip_y
You can use clip options (clip_x, clip_y, clip_width, clip_height) to clip only the part of the screen.
The clip_y option specifies only the left coordinate (y) of the area to clip.
clip_width
You can use clip options (clip_x, clip_y, clip_width, clip_height) to clip only the part of the screen.
The clip_width option specifies only the width of the area to clip.
clip_height
You can use clip options (clip_x, clip_y, clip_width, clip_height) to clip only the part of the screen.
The clip_height option specifies only the width of the area to clip.
Full page
Read more suggestions on how to take better full-page screenshots.
full_page
To take the screenshot of the full page, set full_page=true.
Default value is false.
When full_page is set to true, full_page_scroll is automatically set to true, until you override it. It is done to make sure that all lazy loaded images are requested and rendered.
An example of the request URL:
https://api.screenshotone.com/take?full_page=true&url=https://netflix.com&access_key=<your access key>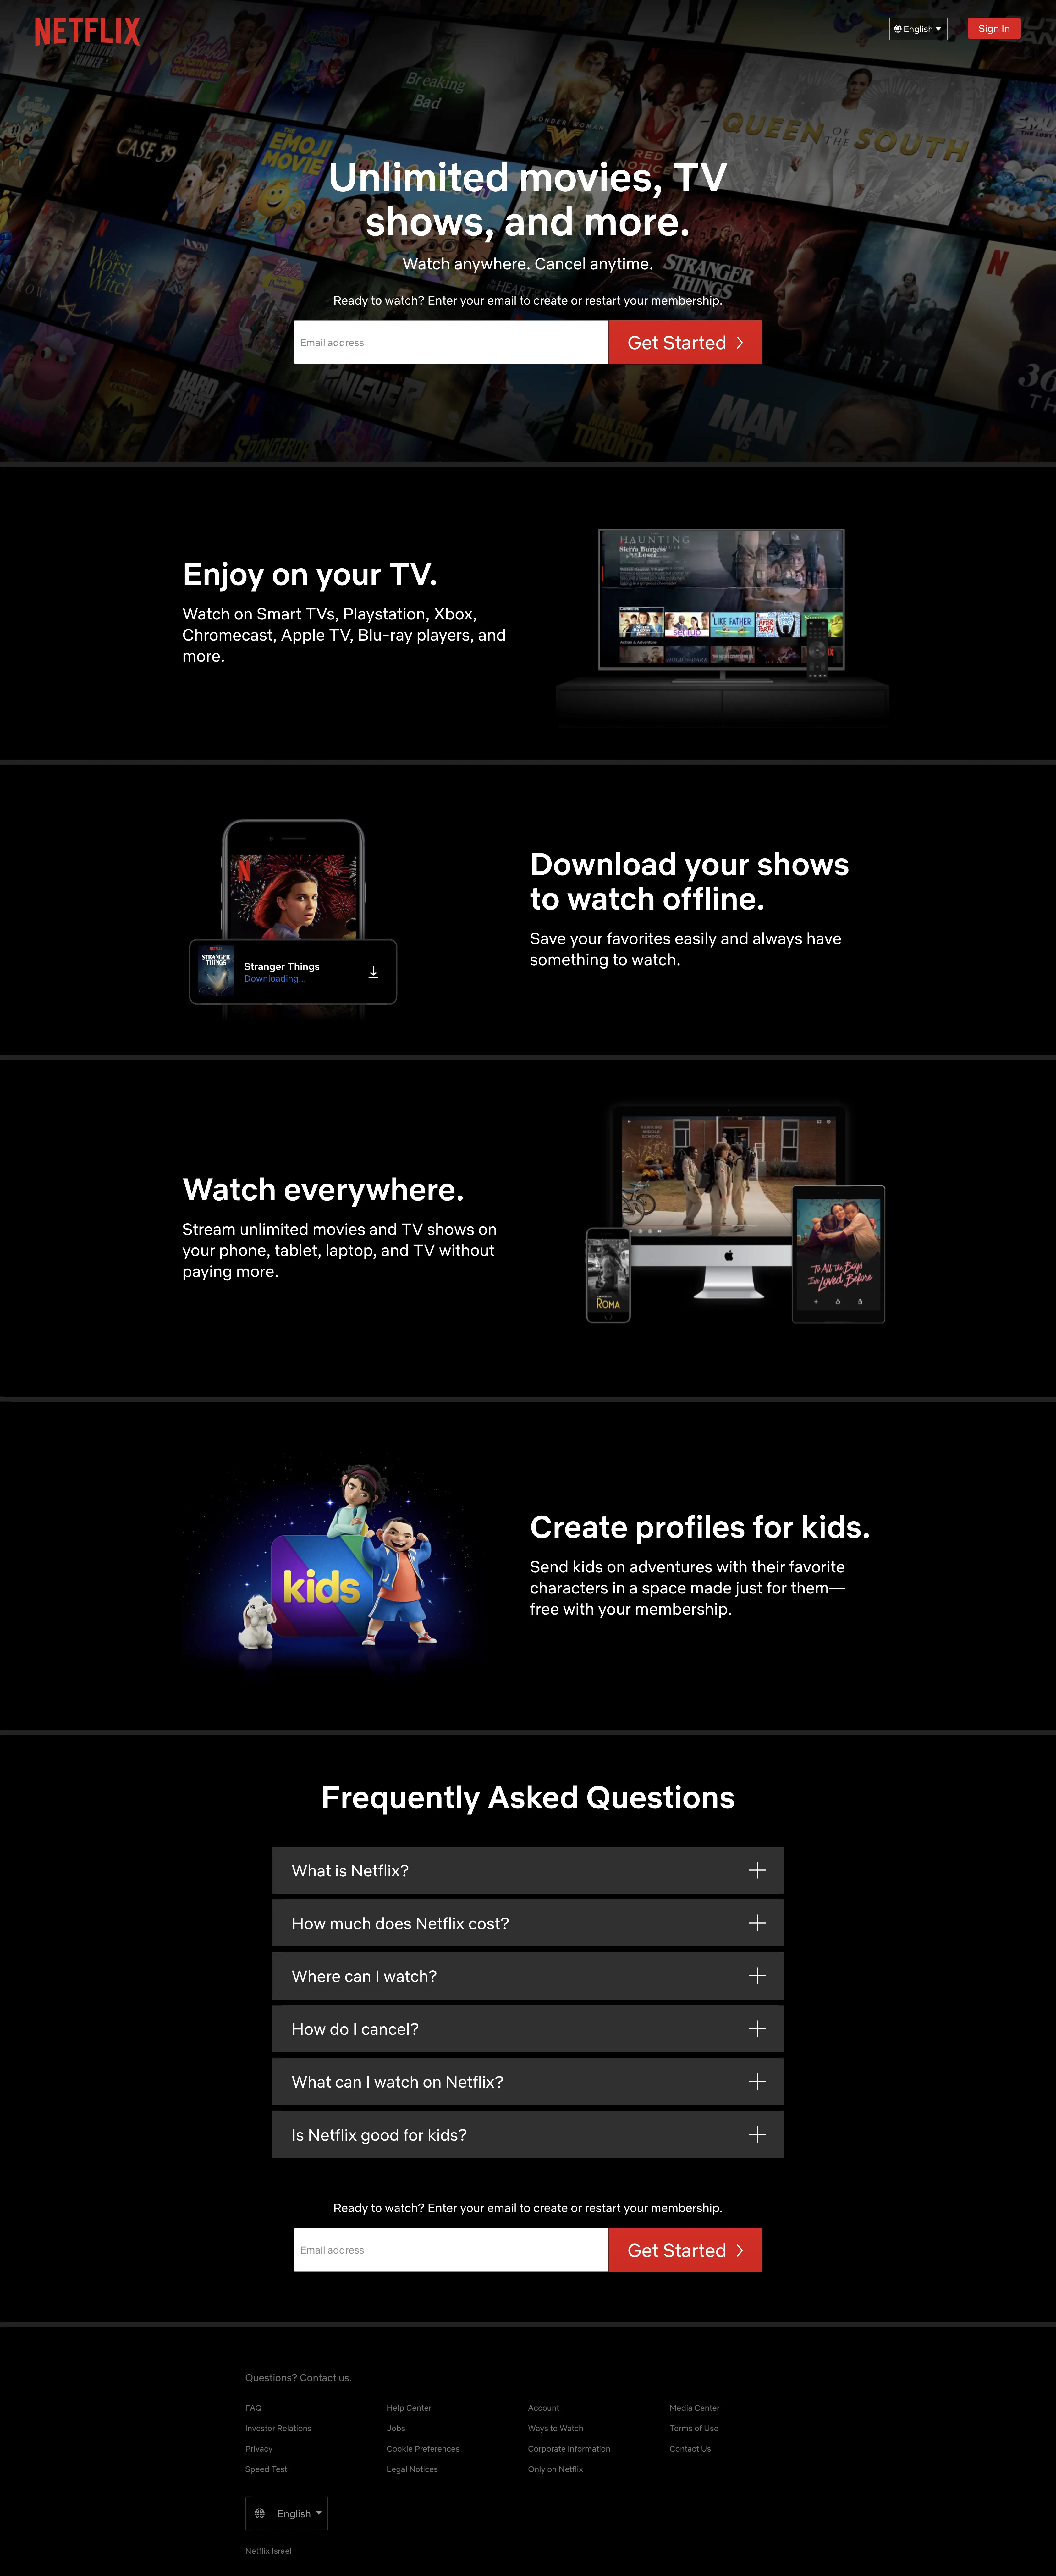
full_page_scroll
If set to true, scrolls to the bottom of the page and back to the top. Default value is false.
When full_page is set to true, full_page_scroll is automatically set to true, until you override it. It is done to make sure that all lazy loaded images are requested and rendered.
An example of the request URL:
https://api.screenshotone.com/take?full_page_scroll=true&full_page=true&url=https://netflix.com&access_key=<your access key>full_page_scroll_delay
The default value is 400 microseconds. Use it to specify how fast you want to scroll the page to the bottom.
Some sites require larger values than 400 microseconds to trigger the loading of lazy-load images.
Use it in combination with full_page_scroll_delay to find optimal solution.
An example of the request URL:
https://api.screenshotone.com/take?full_page_scroll_delay=1000&full_page_scroll=true&full_page=true&url=https://netflix.com&access_key=<your access key>full_page_scroll_by
The default value is the height of the viewport. Use it to specify how fast you want to scroll the page to the bottom.
Some sites require values less than viewport height to trigger the loading of lazy-load images. Try to play with values between 100 and 500. However, don’t hesitate to try out any value that might work for you.
Use it in combination with full_page_scroll_delay to find optimal solution.
An example of the request URL:
https://api.screenshotone.com/take?full_page_scroll_by=400&full_page_scroll=true&full_page=true&url=https://netflix.com&access_key=<your access key>full_page_max_height
The default value is not set. Use it to limit the height of the full page screenshot. Also allows to handle and fix problems related to infinite scrolling.
An example of the request URL:
https://api.screenshotone.com/take?full_page_max_height=10000&full_page_scroll=true&full_page=true&url=https://netflix.com&access_key=<your access key>full_page_algorithm
The default value is default.
The default algorithm is the same as the one used in the Chrome DevTools Protocol, with some tuning and for some websites with different optimizations.
But if you set full_page_algorithm=by_sections, the API will take a screenshot section by section and then combine them into one image.
It allows more complex pages with animations to be rendered correctly.
The by_sections will scroll the website automatically regardless of the full_page_scroll option value.
Viewport
When rendering a full-page screenshot, the viewport dimensions play an important role and affect the quality of the screenshot, please, check out the guide on how to take better full-page screenshots for more details.
viewport_device
The default value is not set.
Instead of manually specifying viewport parameters like width and height, you can specify a device to use for emulation. In addition, other parameters of the viewport, including the user agent, will be set automatically.
The viewport_device option sets the next options for you: viewport_width, viewport_height, device_scale_factor, viewport_mobile, viewport_has_touch, viewport_landscape. You can change these options and override the ones set by the viewport_device option.
Use the list of devices for available values. Use the id property of the device as viewport_device, e.g. viewport_device=galaxy_s9+_landscape.
API does not use an actual device to take a screenshot. It is emulation that works in most cases.
An example of the request URL with viewport_device=iphone_13_pro_max_landscape:
https://api.screenshotone.com/take?viewport_device=iphone_13_pro_max_landscape&url=https://tailwindcss.com&access_key=<your access key>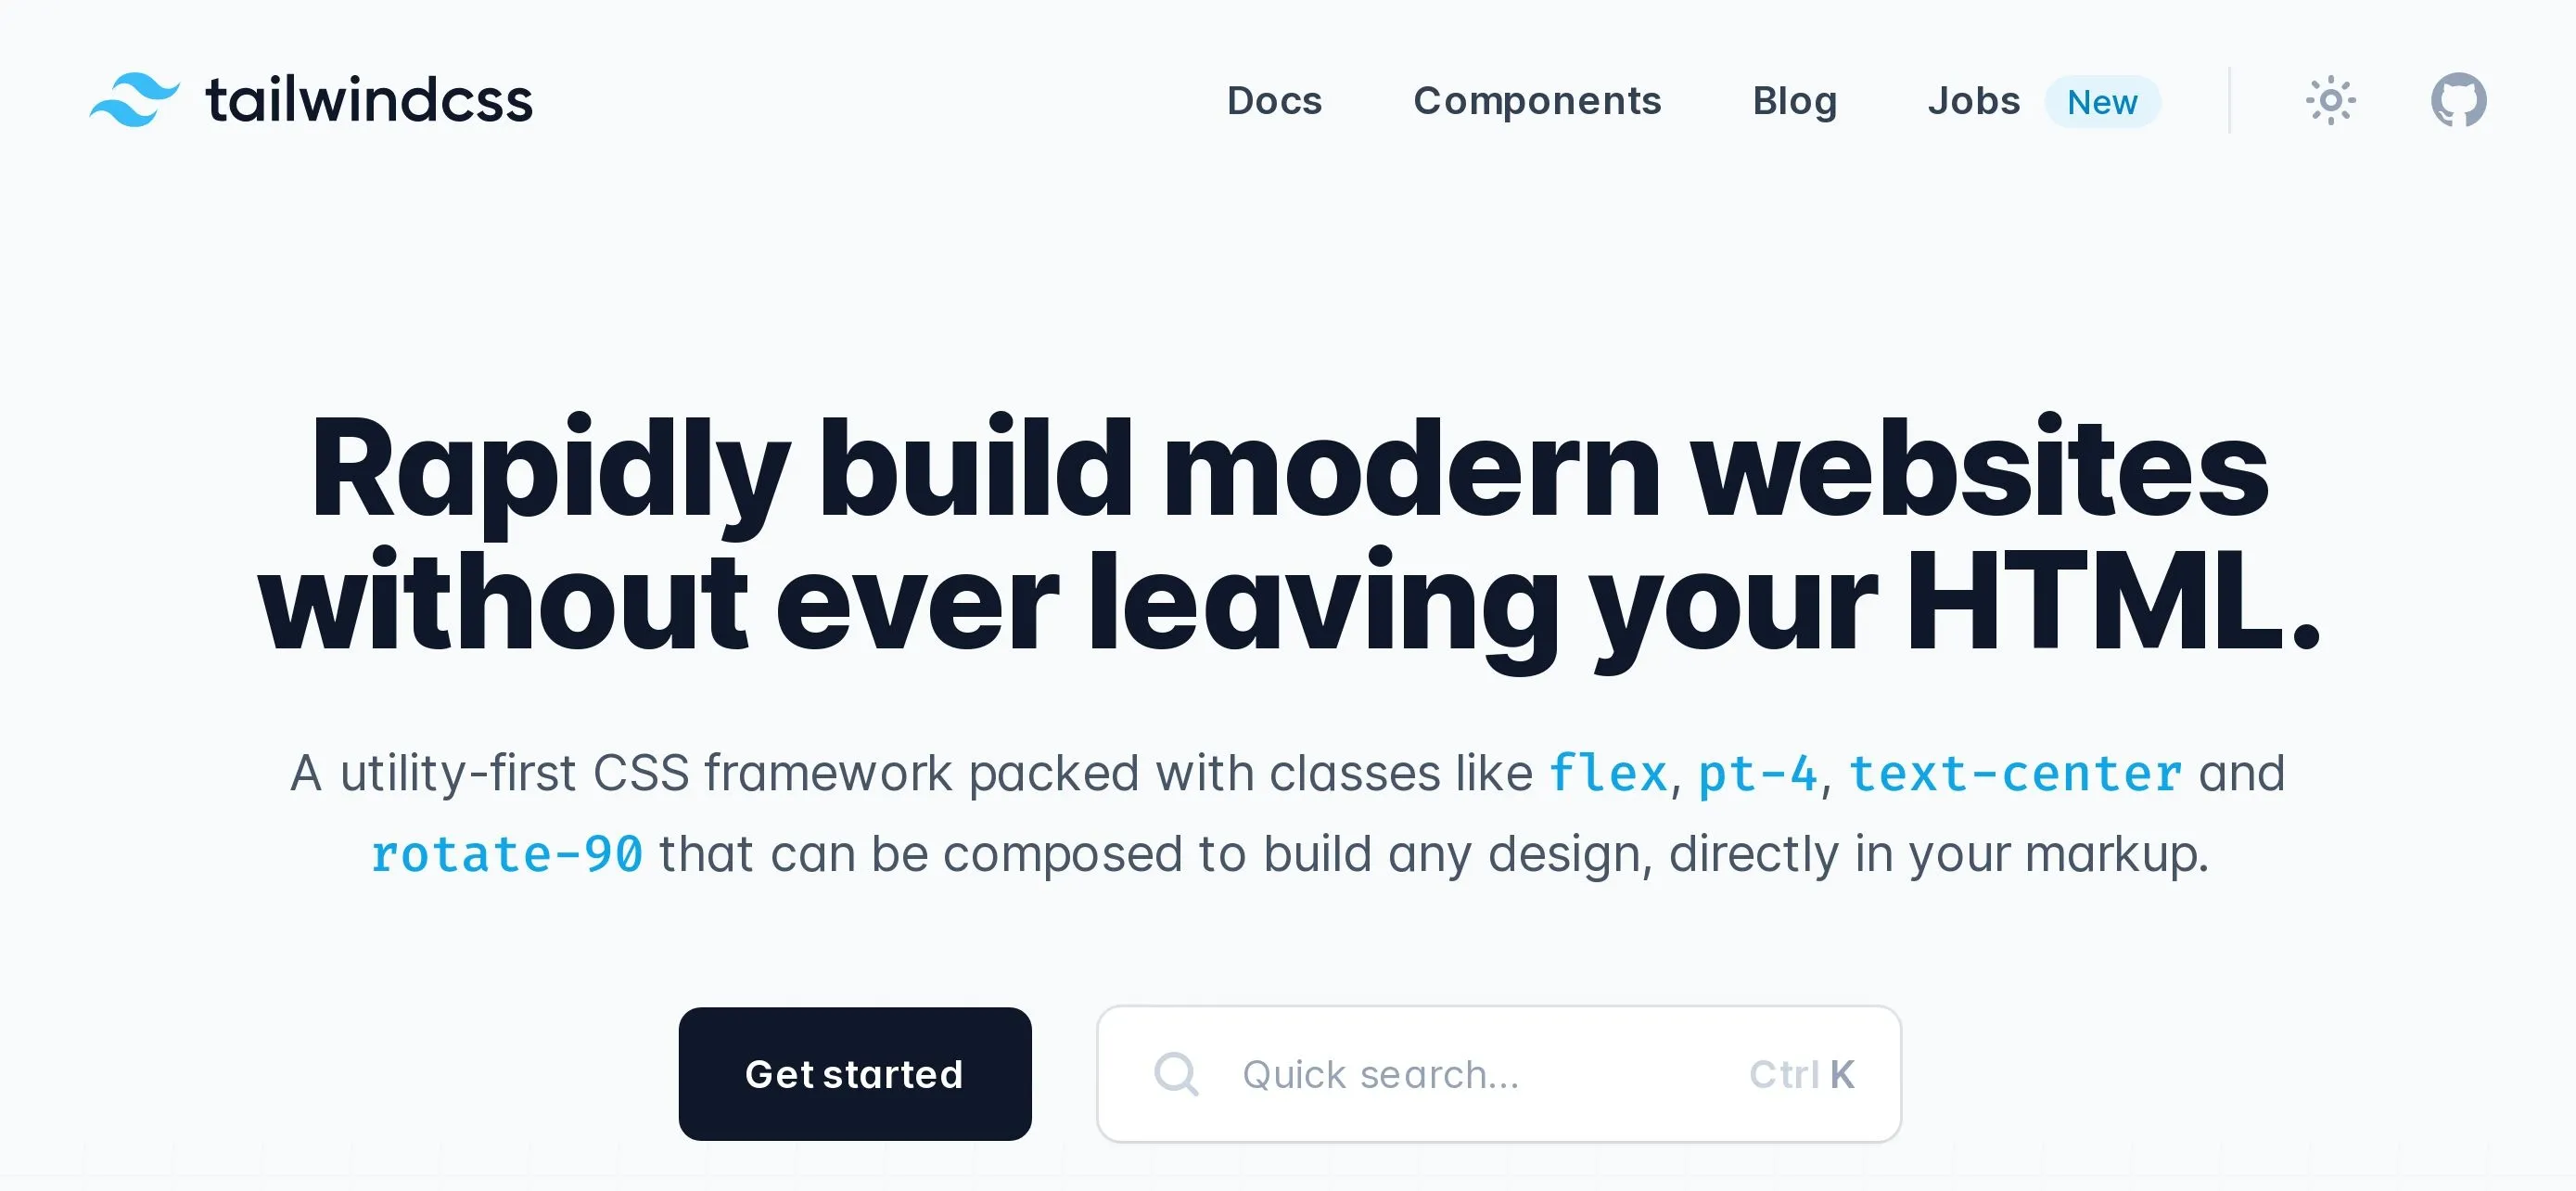
viewport_width
If the viewport_device option is set, the parameter overrides it!
The width of the browser viewport (pixels).
The browser’s viewport is the window area where you can see the web content.
Default value is 1280.
An example of the request URL with viewport_width=1920 and viewport_height=1080:
https://api.screenshotone.com/take?viewport_width=1920&viewport_height=1080&url=https://apple.com&access_key=<your access key>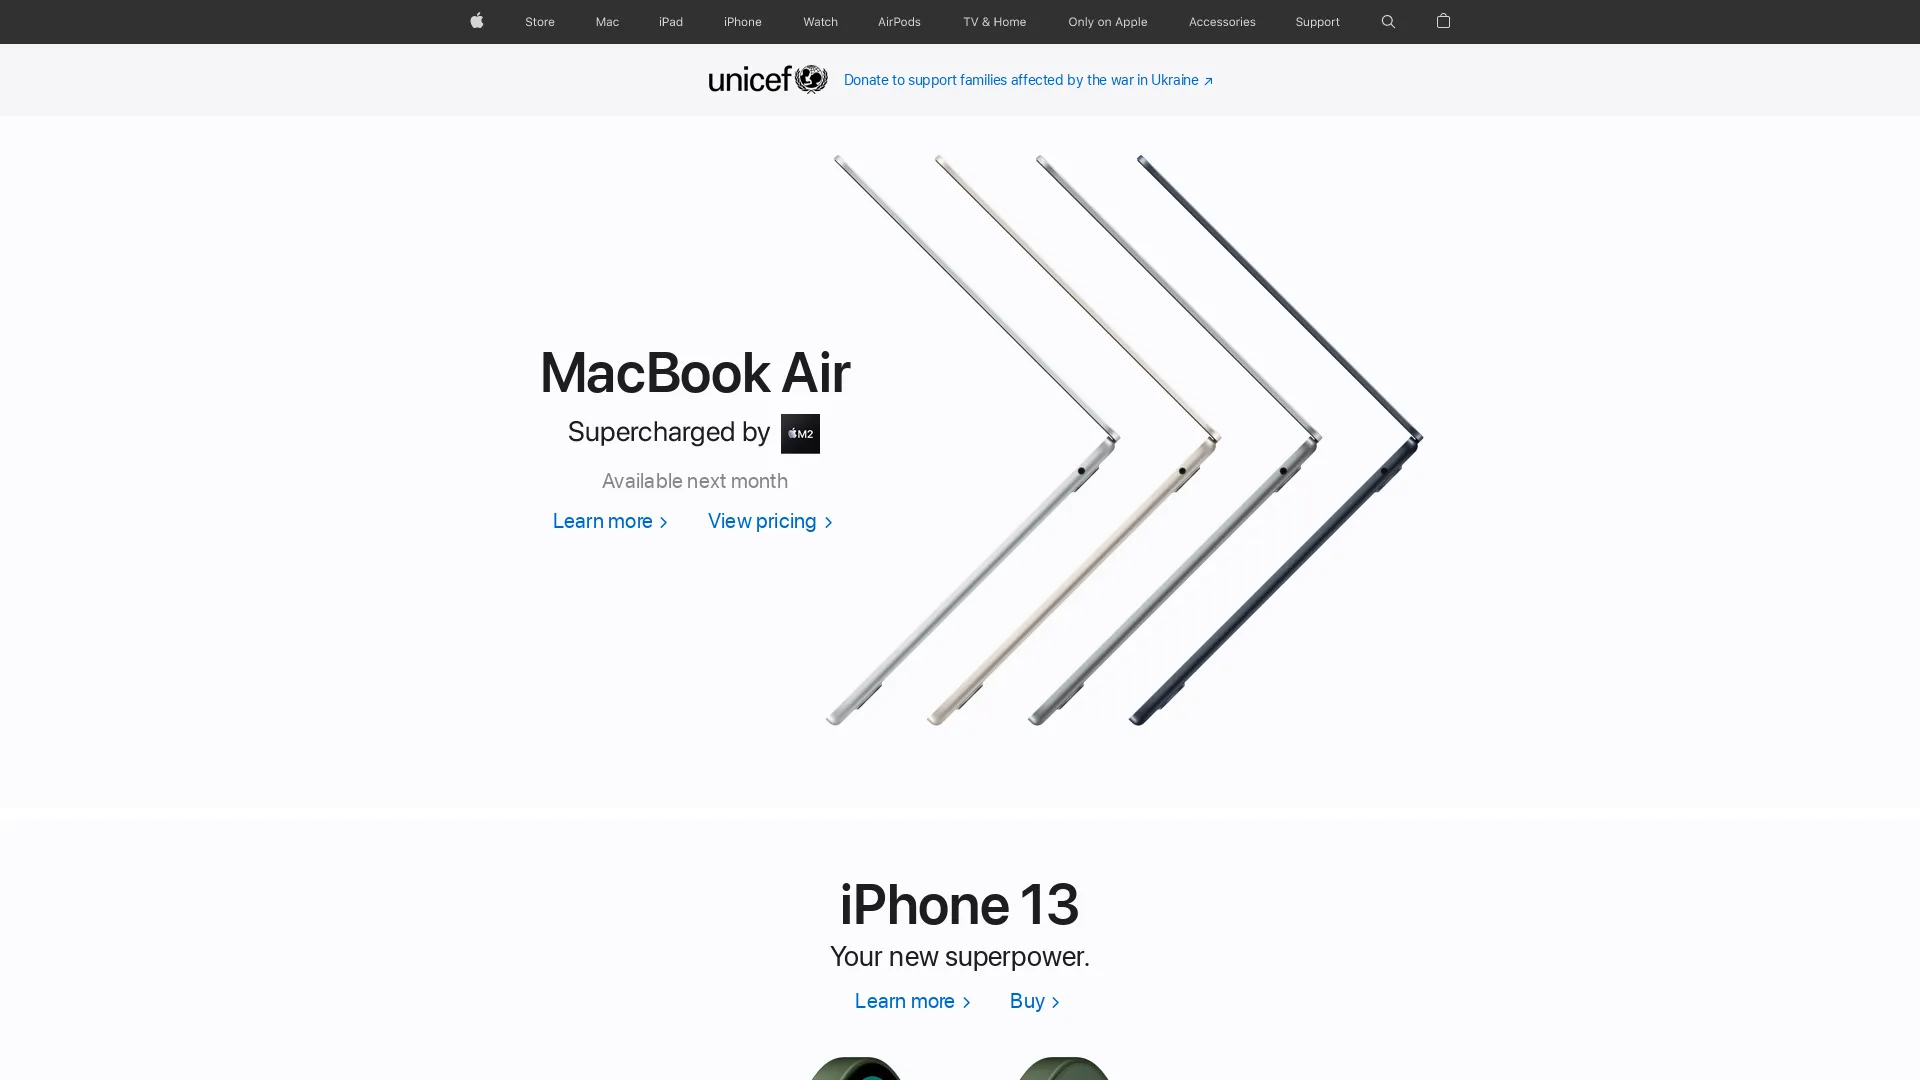
viewport_height
If the viewport_device option is set, the parameter overrides it!
The height of the browser viewport (pixels).
The browser’s viewport is the window area where you can see the web content.
Default value is 1024.
An example of the request URL with viewport_width=1920 and viewport_height=1080:
https://api.screenshotone.com/take?viewport_width=1920&viewport_height=1080&url=https://apple.com&access_key=<your access key>
device_scale_factor
If the viewport_device option is set, the parameter overrides it!
Set the device scale factor, think of it as DPR (Device Pixel Ratio). The acceptable value is between the range of 1 and 5, including real numbers, like 2.25.
Set 2 if you need to render a screenshot with a higher pixel density like Apple’s Retina Display.
The parameter can override the value set by viewport_device option.
An example of the request URL with device_scale_factor=1:
https://api.screenshotone.com/take?device_scale_factor=1&url=https://apple.com&access_key=<your access key>
An example of the request URL with device_scale_factor=2:
https://api.screenshotone.com/take?device_scale_factor=2&url=https://apple.com&access_key=<your access key>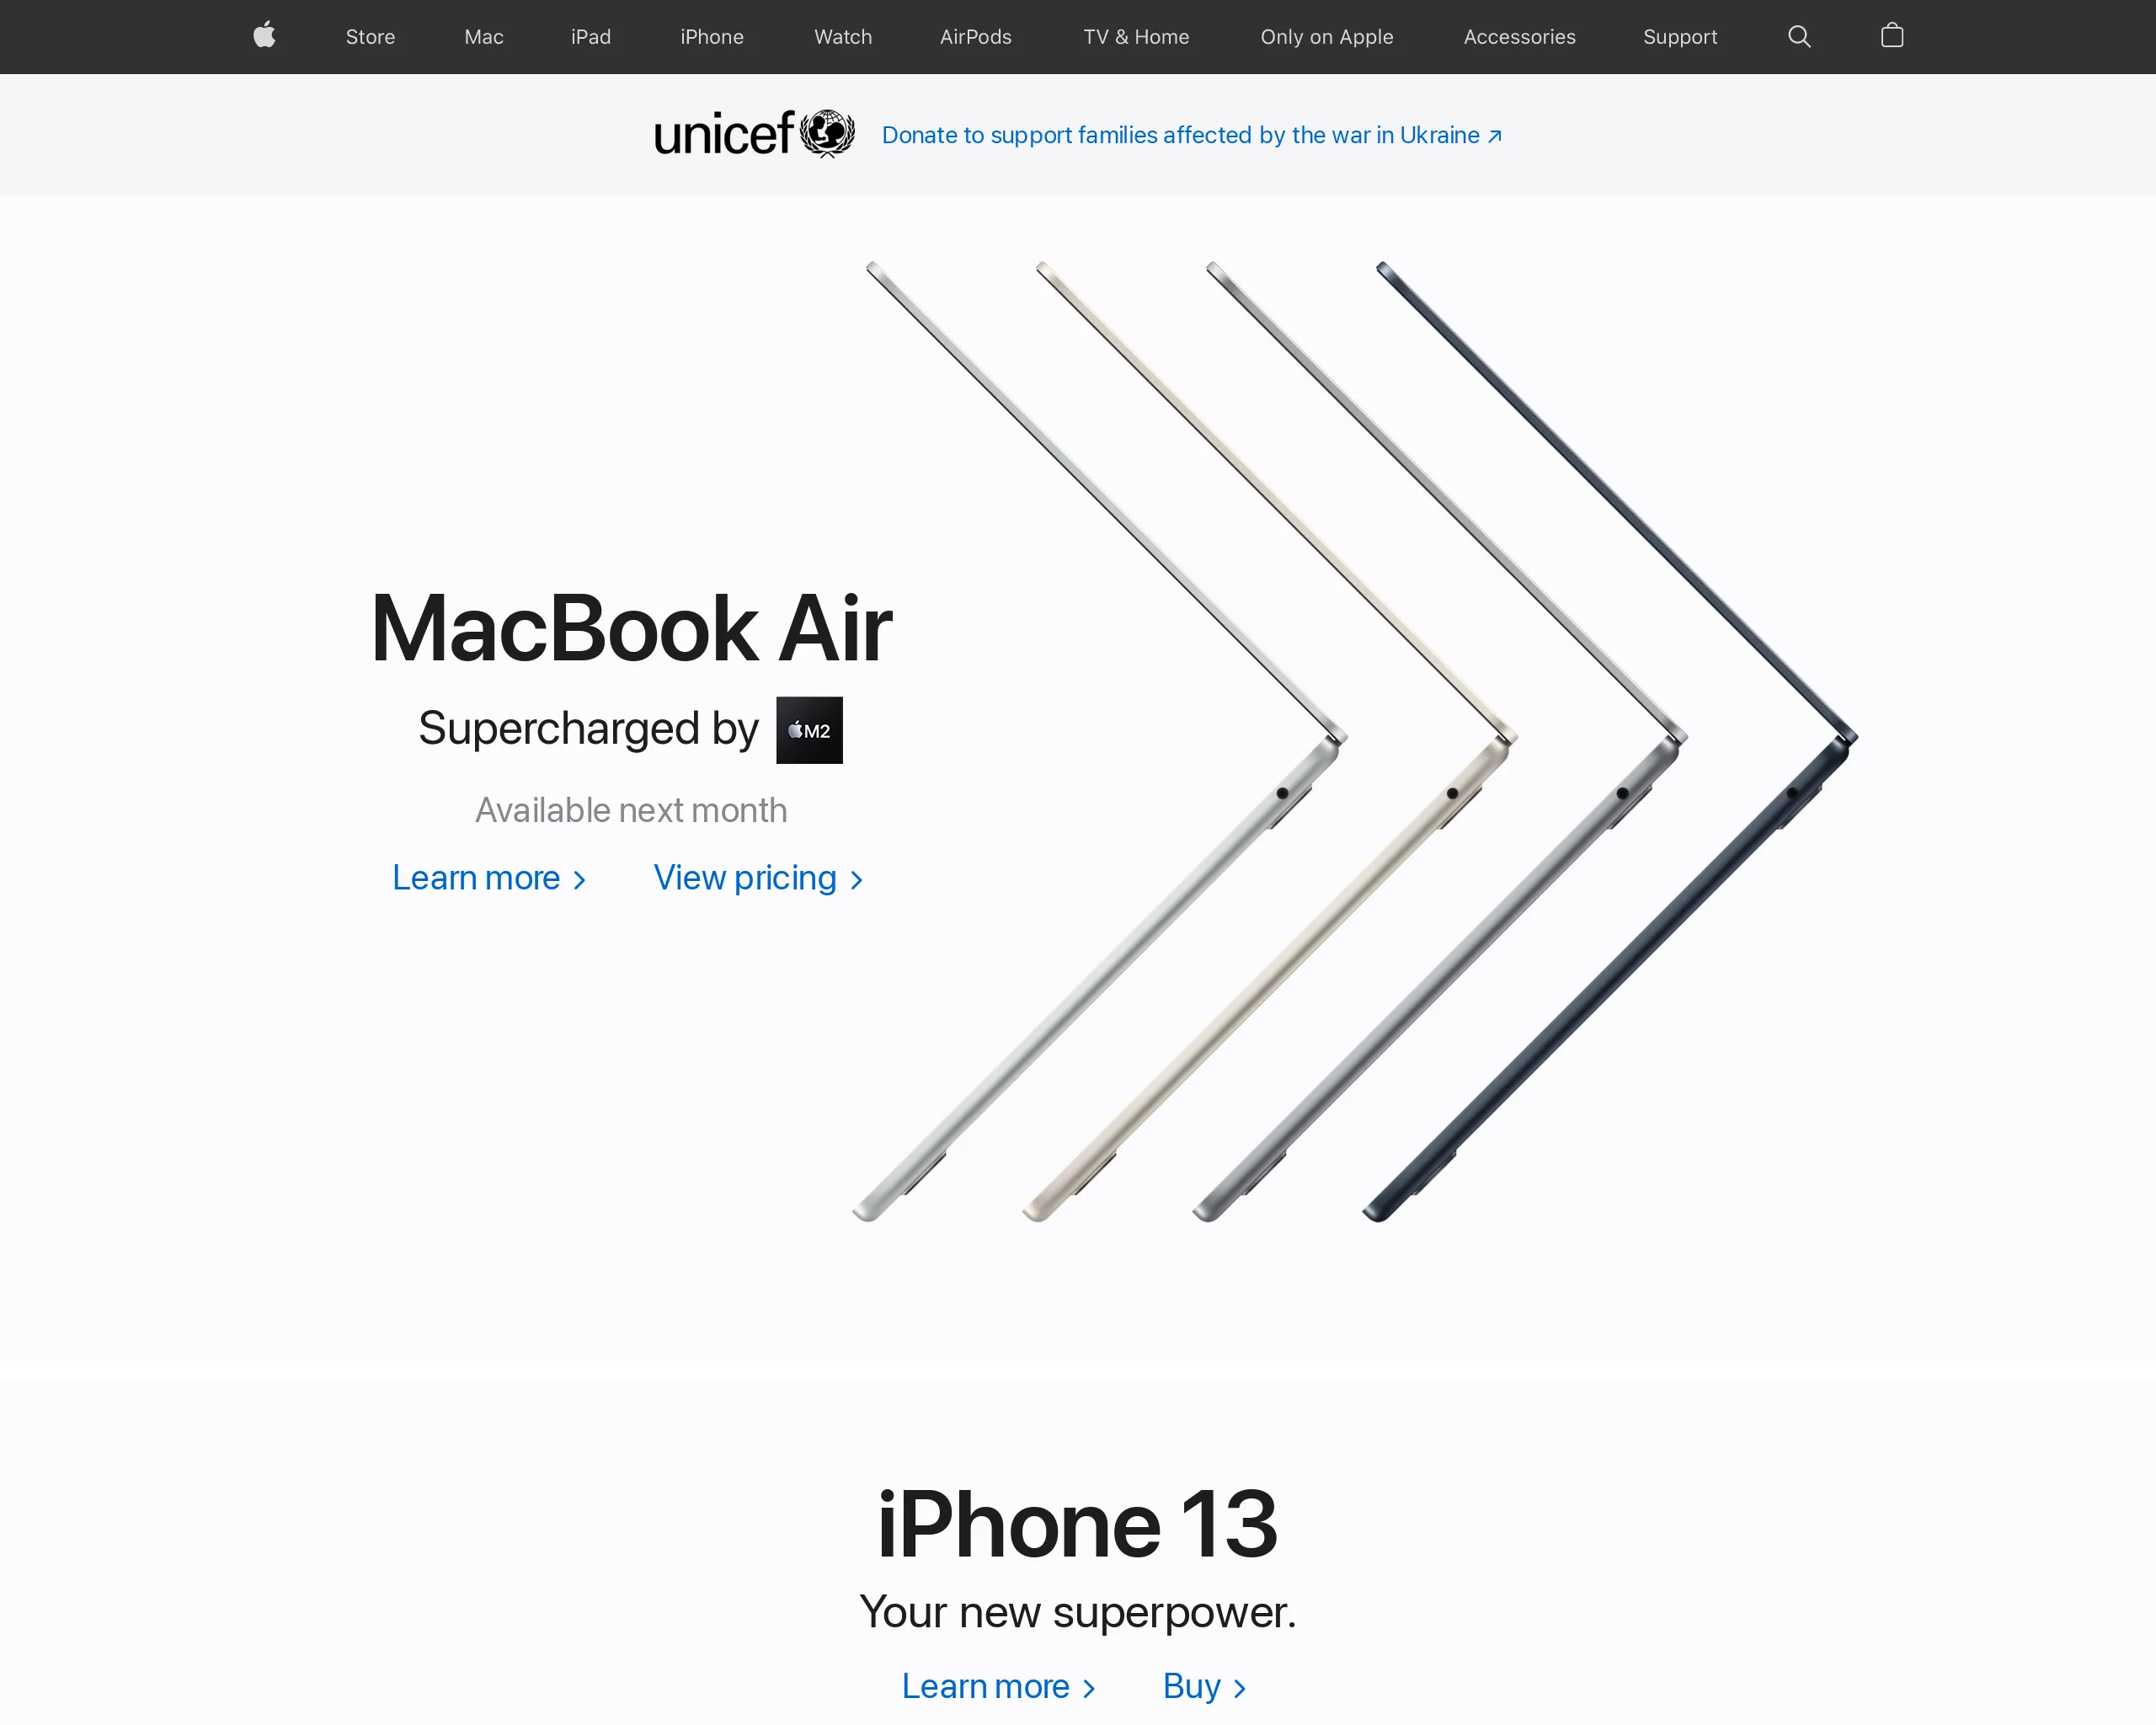
viewport_mobile
If the viewport_device option is set, the parameter overrides it!
Whether the meta viewport tag is taken into account. Defaults to false.
An example of the request URL with viewport_mobile=true:
https://api.screenshotone.com/take?viewport_mobile=true&url=https://example.com&access_key=<your access key>viewport_has_touch
If the viewport_device option is set, the parameter overrides it!
The default value is false. Set to true if the viewport supports touch events.
The parameter can override the value set by viewport_device option.
An example of the request URL with viewport_has_touch=true:
https://api.screenshotone.com/take?viewport_has_touch=true&url=https://example.com&access_key=<your access key>viewport_landscape
If the viewport_device option is set, the parameter overrides it!
The default value is false. Set to true if the viewport is in landscape mode.
The parameter can override the value set by viewport_device option.
An example of the request URL with viewport_landscape=true:
https://api.screenshotone.com/take?viewport_landscape=true&url=https://example.com&access_key=<your access key>Image
image_quality
Render image with specified quality. Available for the next formats:
jpeg(jpg)webppngtiffjp2avifhei
Allowed range is between 0 and 100. Default value is 80.
An example of the request URL with image_quality=10:
https://api.screenshotone.com/take?format=webp&image_quality=10&url=https://apple.com&access_key=<your access key>
image_width
The image_width and image_height parameters allow you to create a thumbnail of the screenshot.
By default image_width = viewport_width and image_height = viewport_height.
If you specify image width and height parameters, the API will resize a screenshot, preserving the aspect ratio. The image will be resized to be as large as possible while ensuring its dimensions are less than or equal to the image width and height specified.
If you omit one of the parameters, the other is computed automatically, preserving the aspect ratio.
An example of the request with image_width=500:
https://api.screenshotone.com/take?image_width=500&url=https://example.com/&access_key=<access key>image_height
The image_width and image_height parameters allow you to create a thumbnail of the screenshot.
By default image_width = viewport_width and image_height = viewport_height.
If you specify image width and height parameters, the API will resize a screenshot, preserving the aspect ratio. The image will be resized to be as large as possible while ensuring its dimensions are less than or equal to the image width and height specified.
If you omit one of the parameters, the other is computed automatically, preserving the aspect ratio.
An example of the request with image_width=500&image_height=400:
https://api.screenshotone.com/take?image_width=500&image_height=400&url=https://example.com/&access_key=<access key>omit_background
Render a transparent background for the image. Works only if the site has not defined background color. Available for the following response formats:
pngwebp
Default value is `false.
Set omit_background=true to take a screenshot with the transparent background.
Emulations
dark_mode
The default value is not set.
Set true to request site rendering, if supported, in the dark mode. Set false to request site rendering in the light mode if supported. If you don’t set the parameter. The site is rendered in the default mode.
An example of the request URL with dark_mode=true:
https://api.screenshotone.com/take?dark_mode=true&url=https://tailwindcss.com/&access_key=<your access key>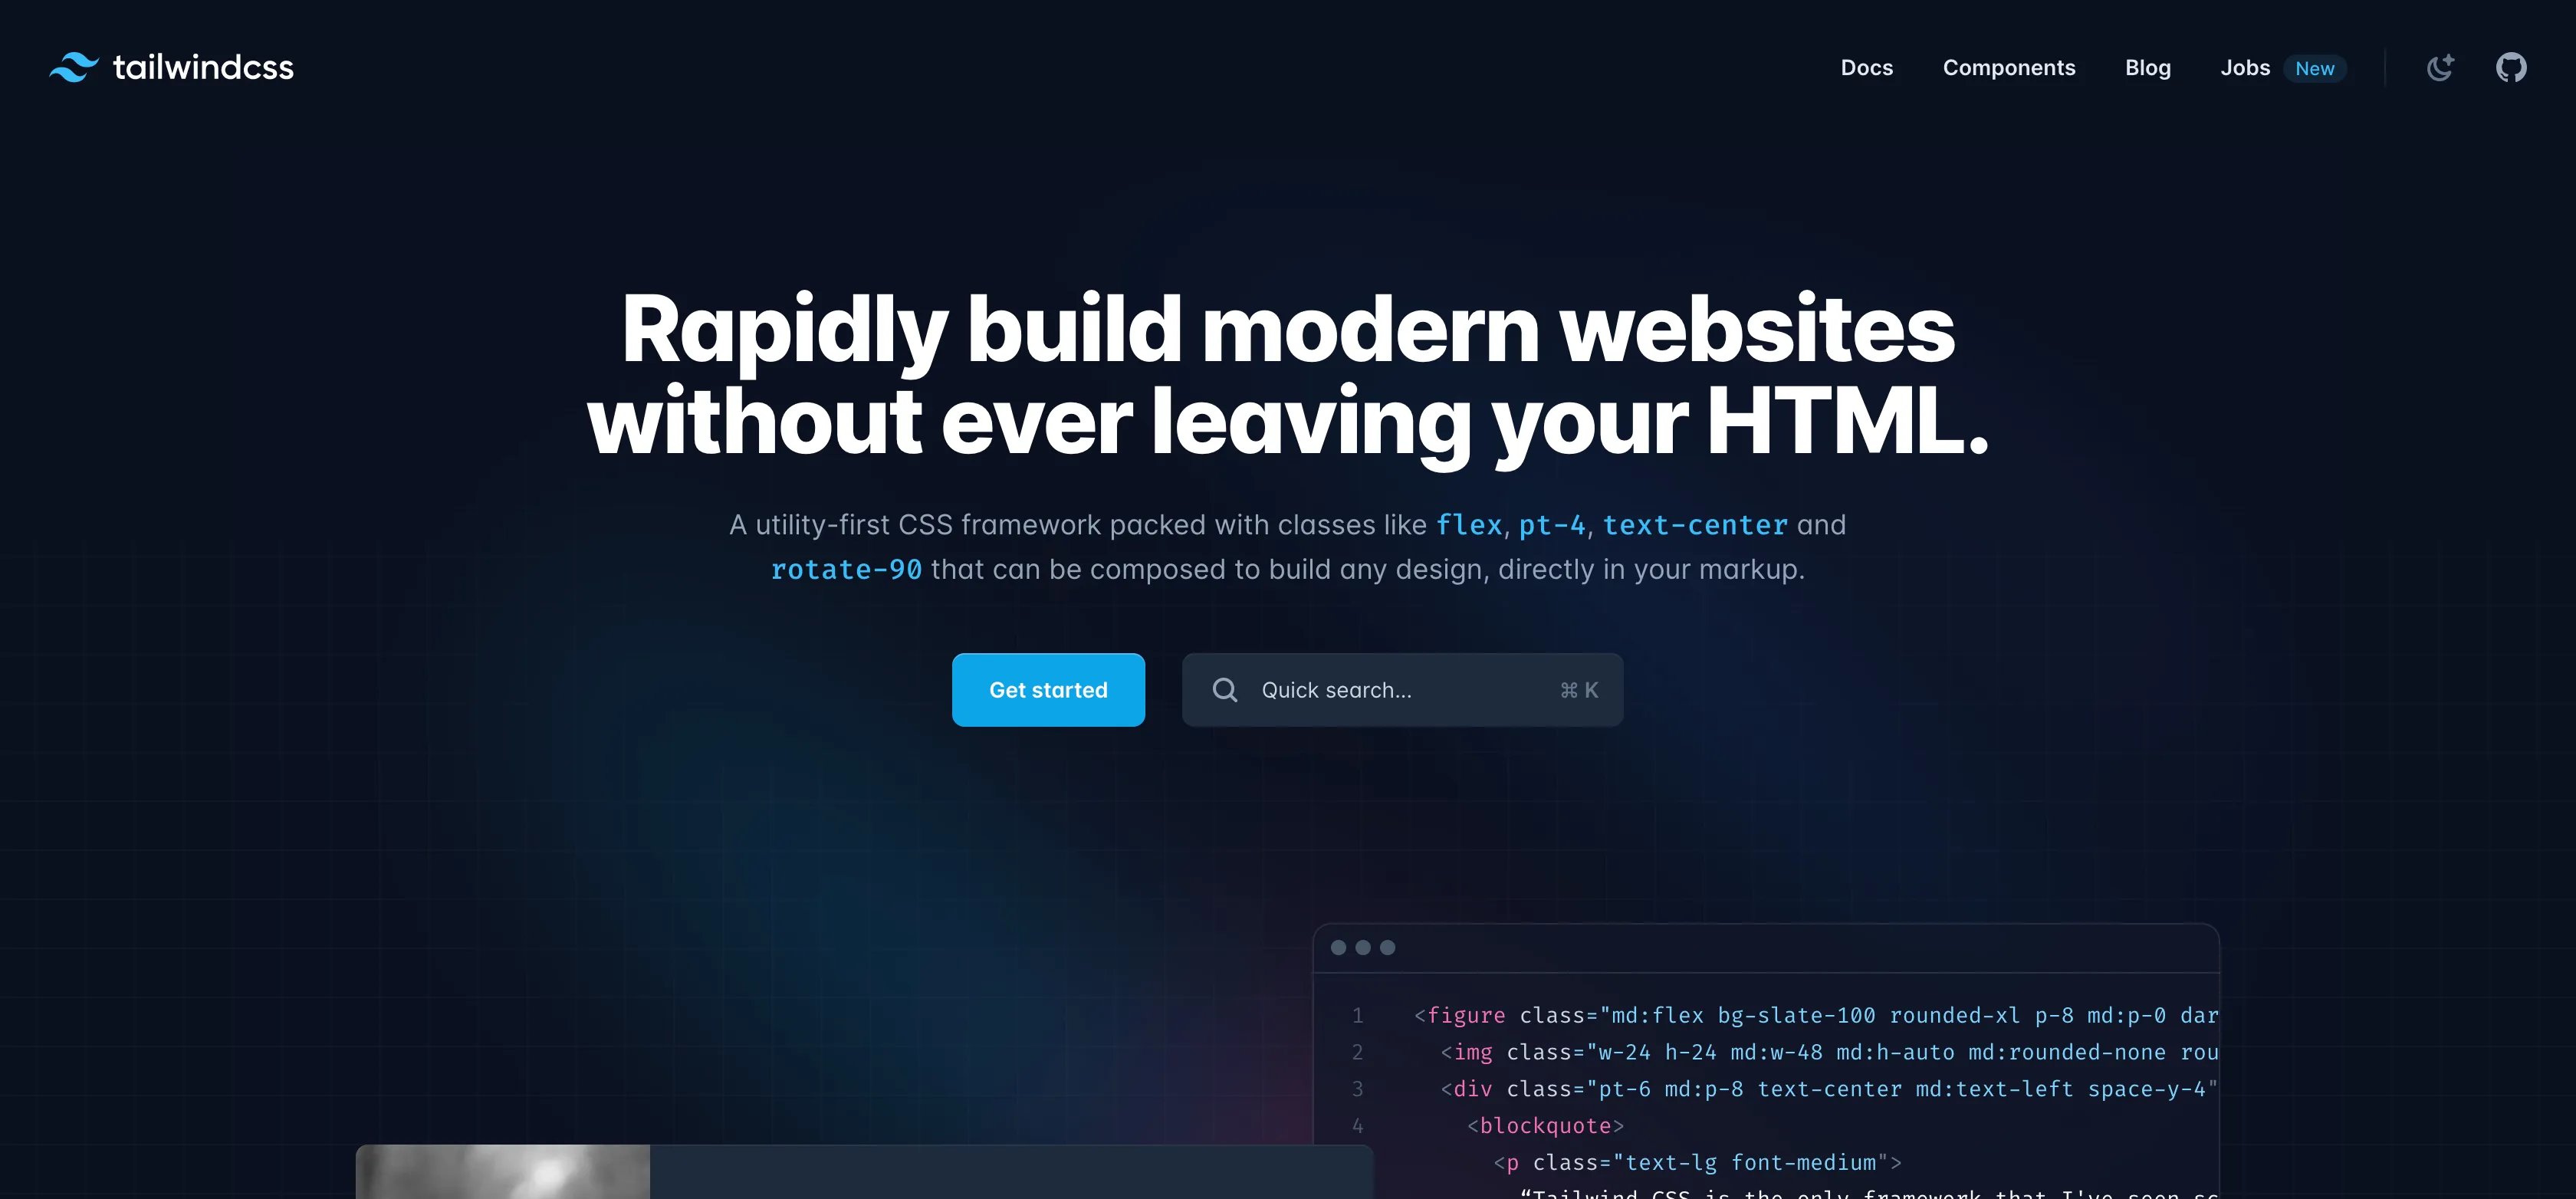
reduced_motion
When reduced_motion set to true, the API will request the site to minimize the amount of non-essential motion it uses. When the site supports it, it should use animations as least as possible.
An example of the request URL with reduced_motion=true:
https://api.screenshotone.com/take?reduced_motion=true&url=https://tailwindcss.com/&access_key=<your access key>media_type
If you want to request the page and it is supported to be rendered for printers, specify print. If the page is by default rendered for printers and you want it to be rendered for screens, use screen.
An example of the request URL with media_type=print:
https://api.screenshotone.com/take?media_type=print&url=https://example.com/&access_key=<your access key>Customization
hide_selectors
The hide_selectors option allows hiding elements before taking a screenshot. You can specify as many selectors as you wish. All elements that match each selector will be hidden by setting the display style property to none !important.
An example of the request URL with hide_selectors=.a&hide_selectors=.b:
https://api.screenshotone.com/take?hide_selectors=.a&hide_selectors=.b&url=https://example.com/&access_key=<your access key>scripts
scripts parameter allows to inject custom JavaScript and customize the page behavior.
An example of the request URL with scripts=document.body.innerHTML="Hello, world!":
If the script might trigger a redirect by using window.location functions or something similar, it is required to set the “scripts_wait_until” option.
https://api.screenshotone.com/take?scripts=document.body.innerHTML="Hello,%20world!"&url=https://example.com/&access_key=<your access key>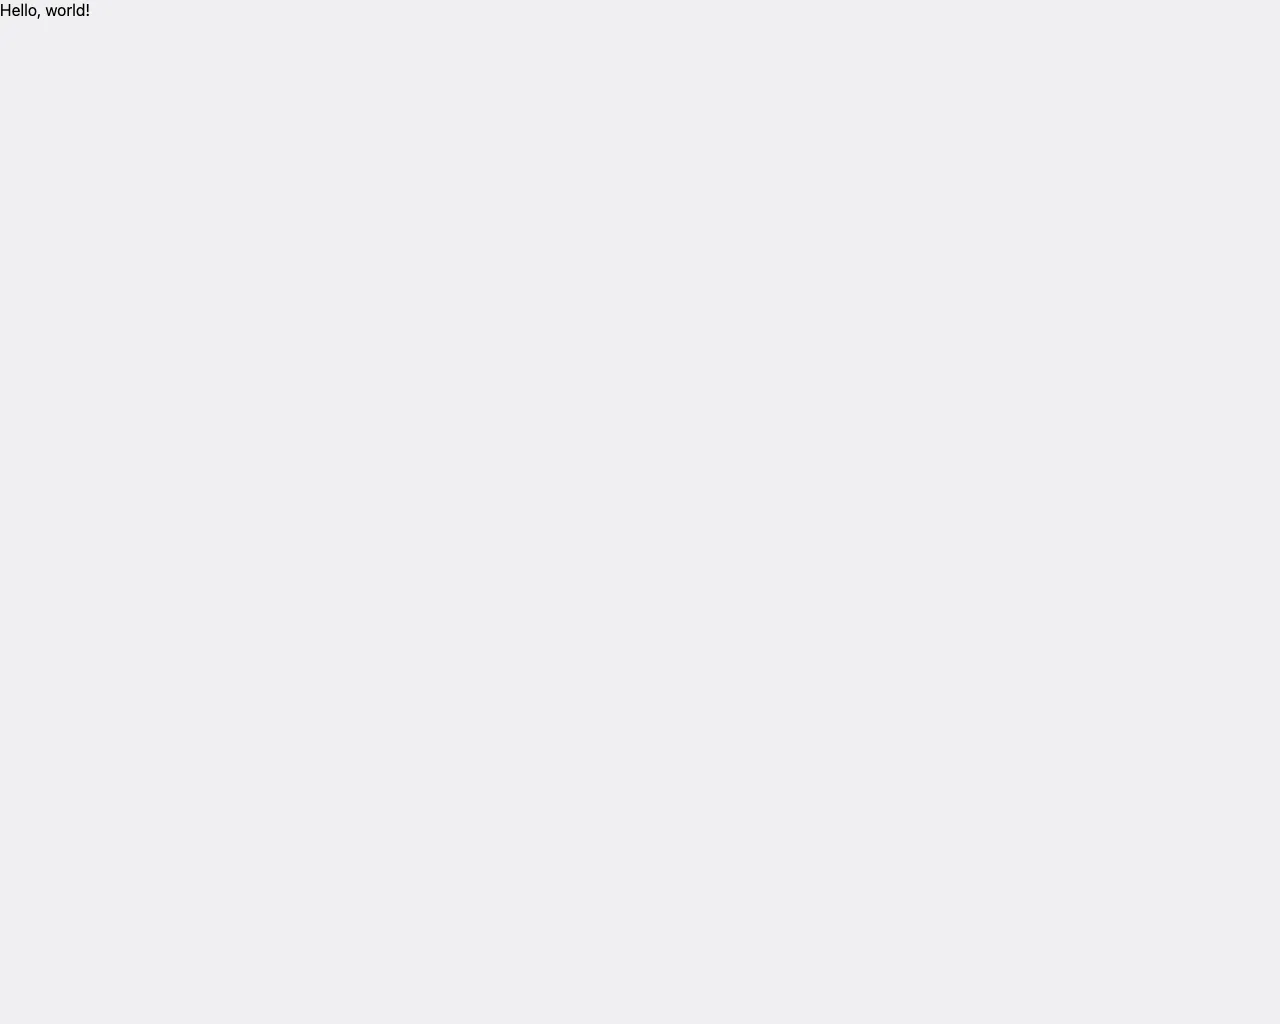
scripts_wait_until
The default value of scripts_wait_until is [] — nothing, no wait at all.
The scripts_wait_until option allows you to wait until a given set of events after the scripts were executed. You need to use in case, if your script might trigger page reloading, like:
window.location = "https://example.com";It accepts the same values as wait_until and can have multiple values:
load: the navigation is successful when the load even is fired;domcontentloaded: the navigation is finished when the DOMContentLoaded even is fired;networkidle0: the navigation is finished when there are no more than 0 network connections for at least 500 ms;networkidle2: consider navigation to be finished when there are no more than 2 network connections for at least 500 ms.
The parameter accepts many values. It means that screenshots will be taken after all events occur altogether.
An example of the request with scripts_wait_until=networkidle2&scripts_wait_until=domcontentloaded:
https://api.screenshotone.com/take?scripts_wait_until=networkidle2&scripts_wait_until=domcontentloaded&url=https://example.com/&access_key=<access key>styles
styles parameter allows to inject custom styles and customize the page. It might help generate beautiful images for the Open Graph protocol.
An example of the request URL with styles=h1{color: red;}:
https://api.screenshotone.com/take?styles=h1{color:%20red;}&url=https://example.com/&access_key=<your access key>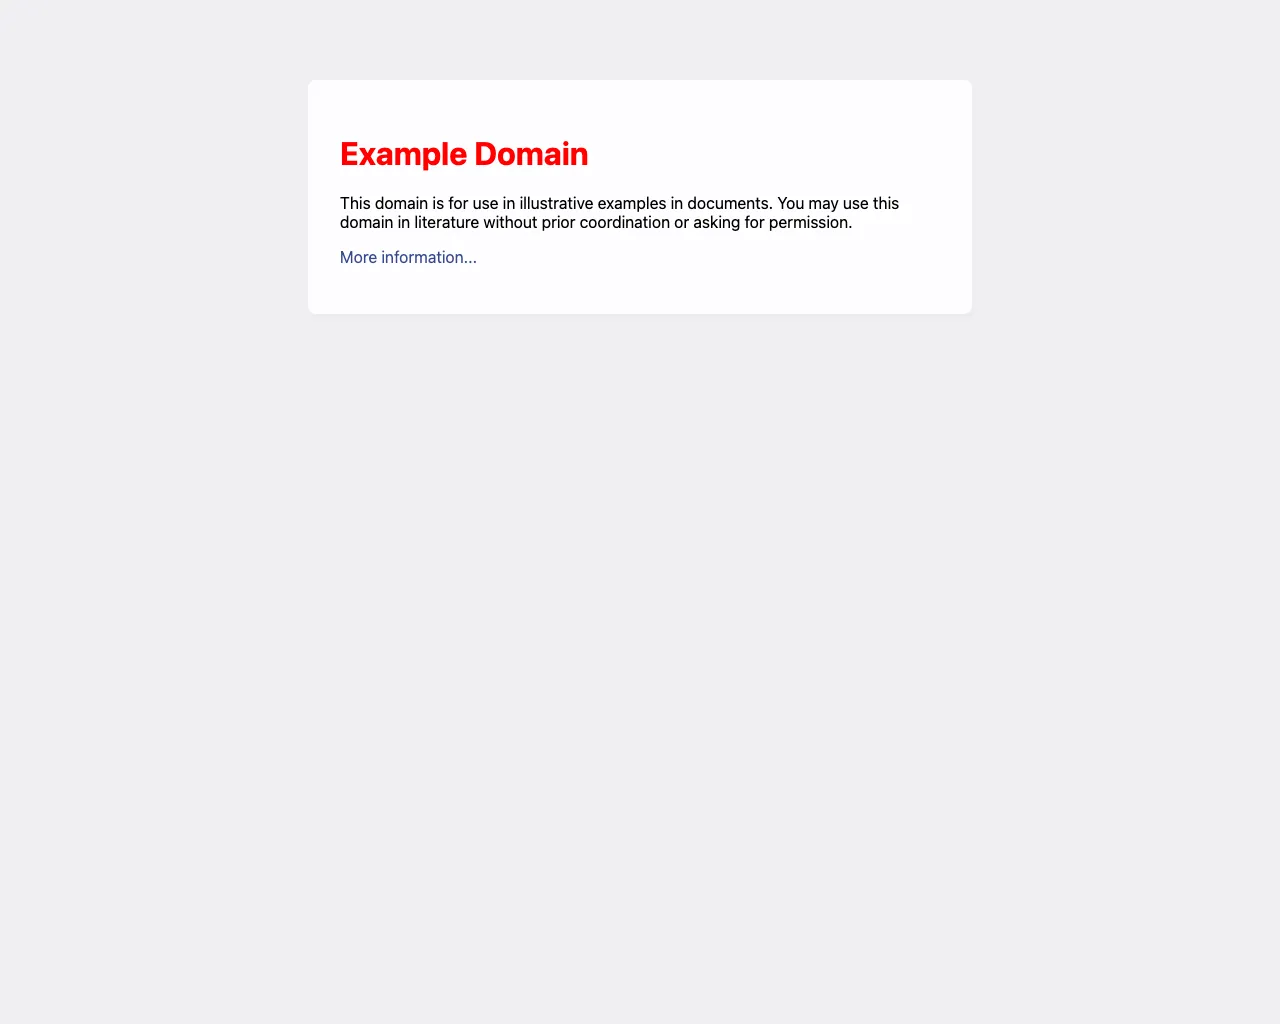
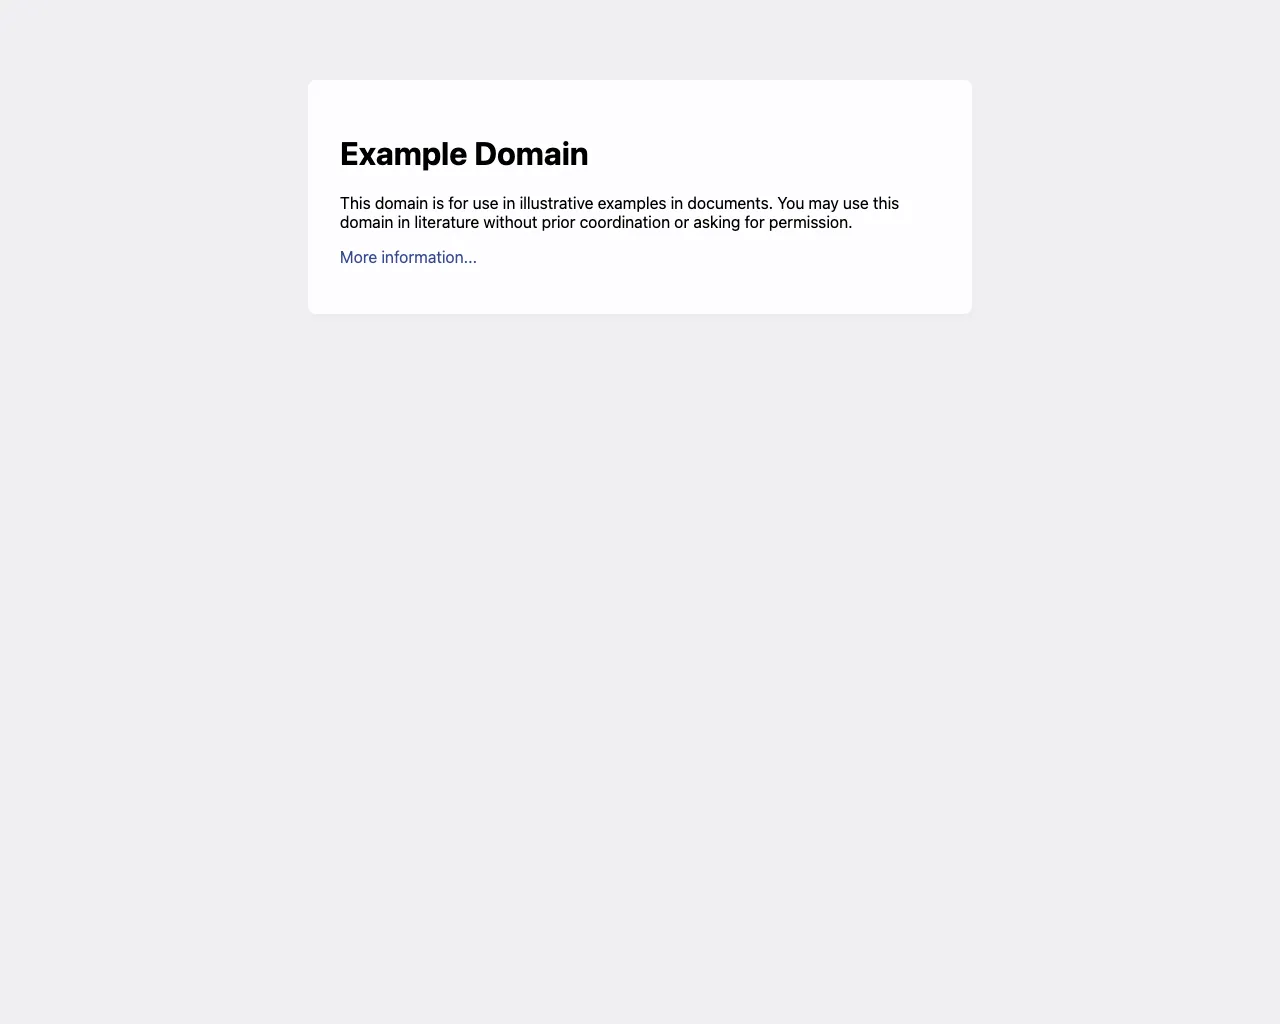
A screenshot without styles for comparison:
click
Specify the CSS selector of an element to click on before taking the screenshot. It could be anything, including a button, link, or even a regular div element.
Supports shadow/ selectors which will traverse the shadow DOM elements. It will be slower, and if many elements have the same selectors, the first one will be chosen.
An example of the request URL with click=.a-some-button-class-selector:
https://api.screenshotone.com/take?click=.a-some-button-class-selector&url=https://example.com&access_key=<your access key>error_on_click_selector_not_found
If the element by selector to click is not visible or it took more than timeout seconds to render it, the error will be returned. Default value is true.
Set error_on_click_selector_not_found=false to do not throw an error if the element by selector is not found.
Blocking
block_cookie_banners
Blocks cookie banners, GDPR overlay windows, and other privacy-related notices. Default value is false when the url option is set.
It is useful when you want to take “clean” screenshots.
An example of the request URL with block_cookie_banners=true:
https://api.screenshotone.com/take?block_cookie_banners=true&url=https://stackoverflow.com&access_key=<your access key>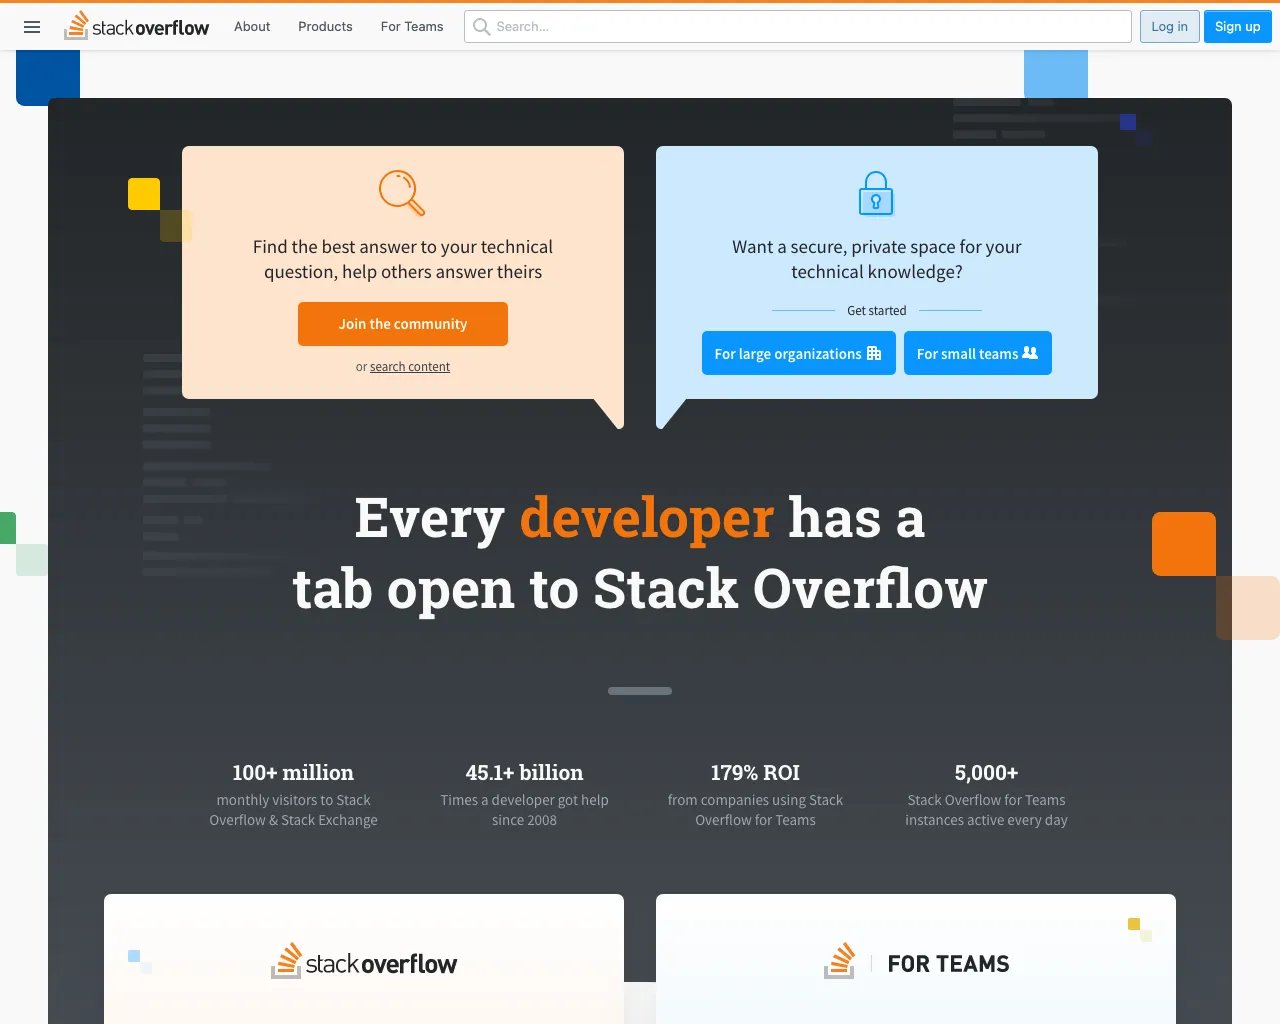
An example of the request URL with block_cookie_banners=false:
https://api.screenshotone.com/take?block_ads=false&url=https://stackoverflow.com&access_key=<your access key>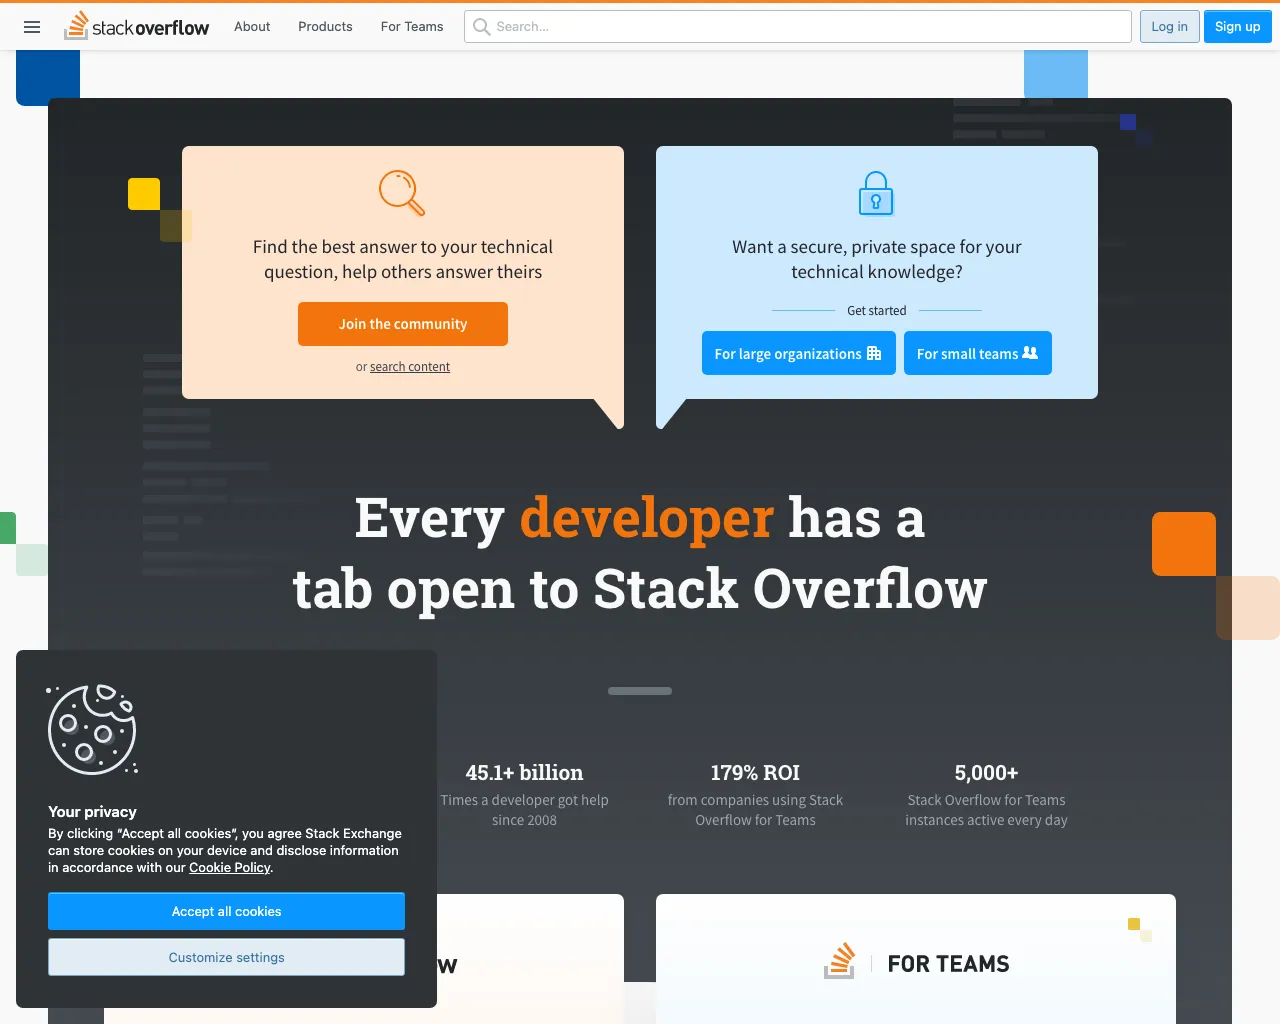
block_banners_by_heuristics
The option might be helpful if the regular block_cookie_banners option doesn’t work. This parameter uses a different set of techniques and heuristics to block banners. But use it at your own risk. The site screenshot might not be precise with it.
Blocks cookie banners, GDPR overlay windows, and other privacy-related notices. Default value is false.
It is useful when you want to take “clean” screenshots, but the block_cookie_banners option doesn’t work.
An example of the request URL with block_banners_by_heuristics=true:
https://api.screenshotone.com/take?block_banners_by_heuristics=true&url=https://example.com&access_key=<your access key>block_chats
Blocks chats like Crisp, Facebook Messenger, Intercom, Drift, Tawk, User.com, Zoho SalesIQ and many others. Default value is false when the url option is set..
It is useful when you want to take “clean” screenshots.
An example of the request URL with block_chats=true:
https://api.screenshotone.com/take?block_chats=true&url=https://screenshotone.com&access_key=<your access key>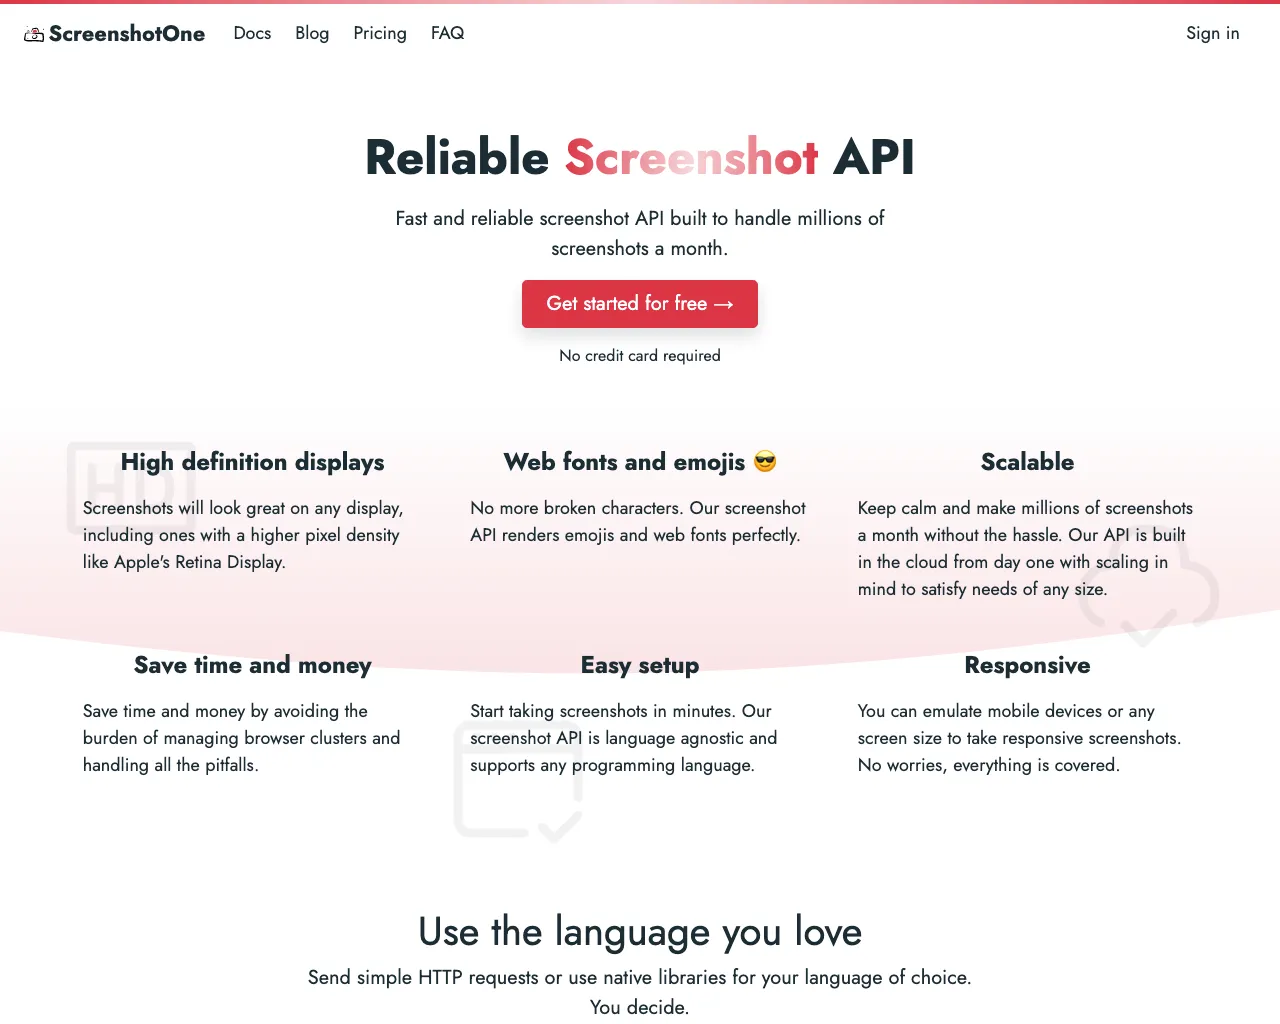
An example of the request URL with block_chats=false:
https://api.screenshotone.com/take?block_chats=false&url=https://screenshotone.com&access_key=<your access key>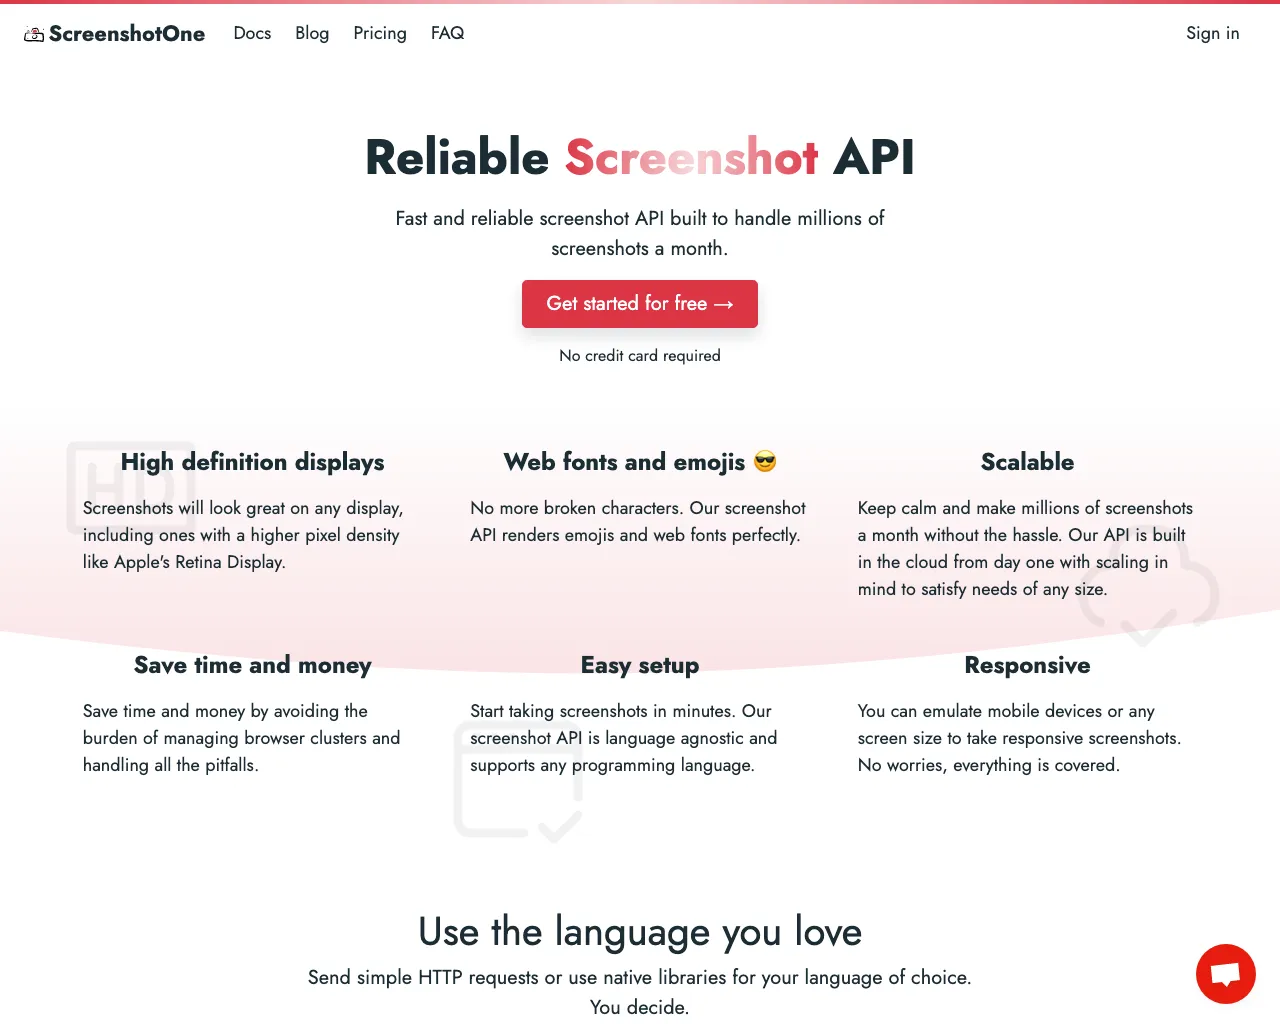
block_ads
Blocks ads. Default value is false when the url option is set..
It is useful when you want to take “clean” screenshots or don’t want to generate a loss for advertisers.
An example of the request URL with block_ads=true:
https://api.screenshotone.com/take?block_ads=true&url=https://scalabledeveloper.com/posts/linux-kernel-coding-style/&access_key=<your access key>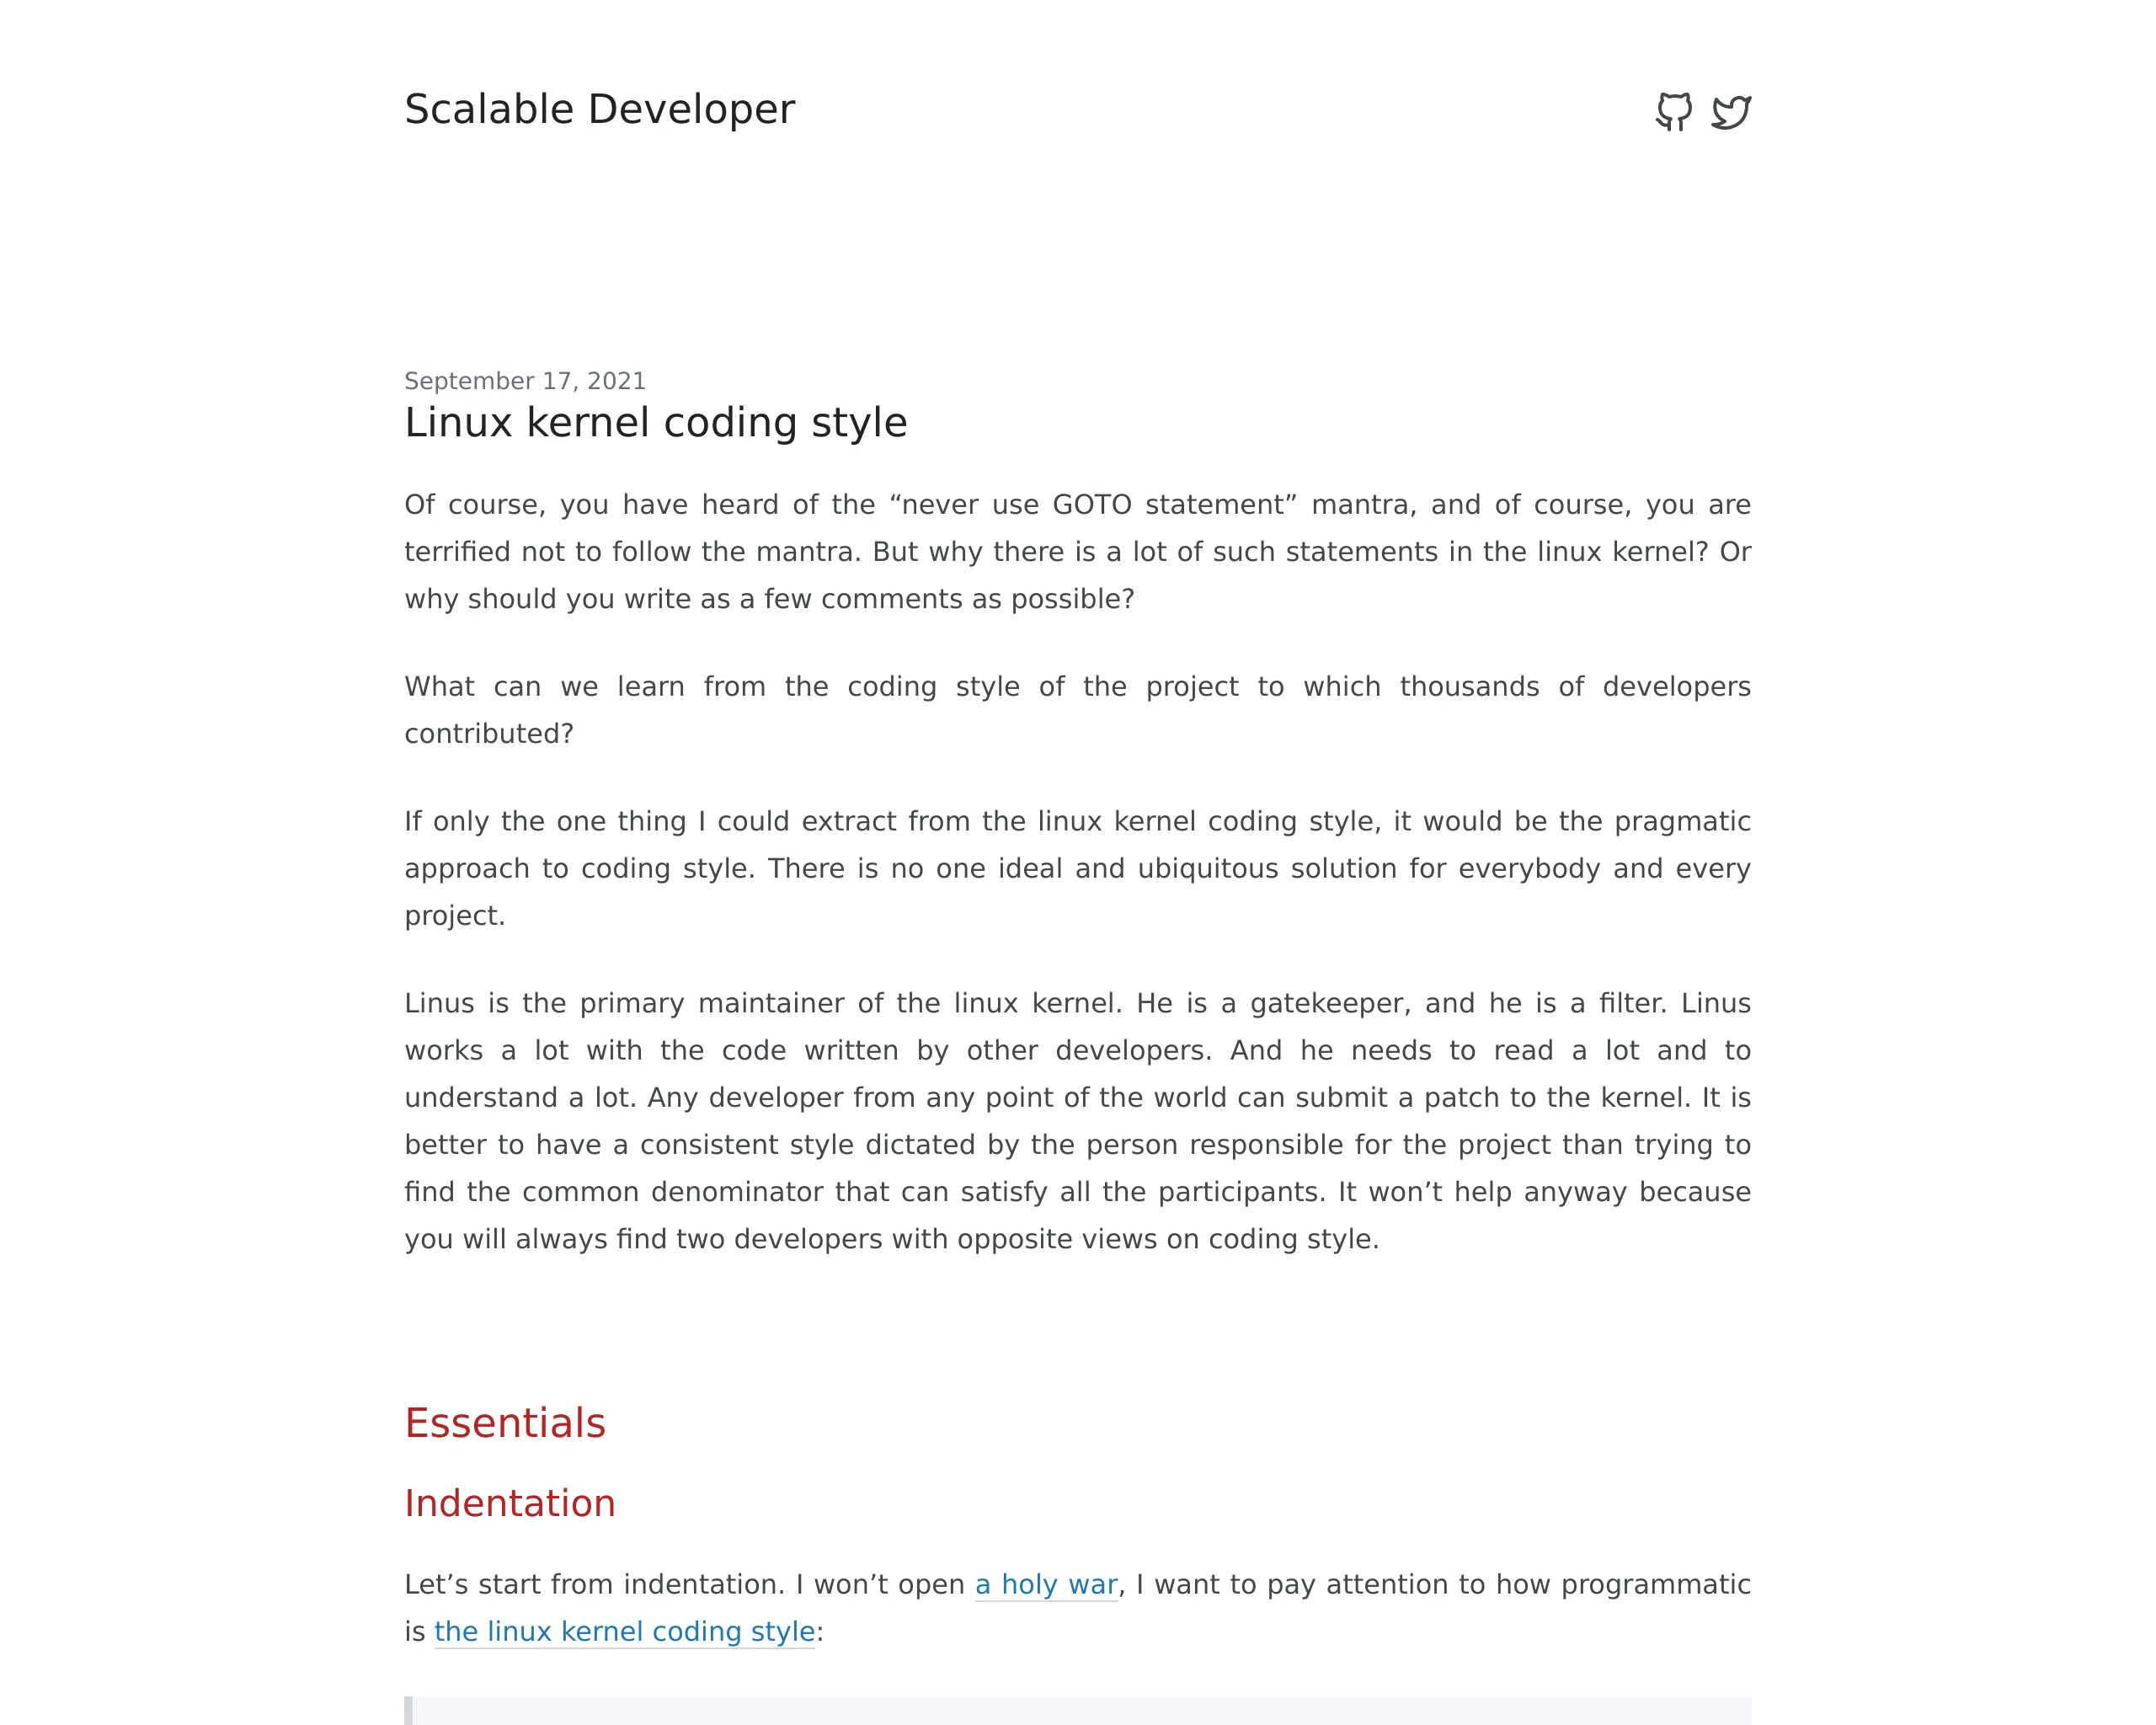
An example of the request URL with block_ads=false:
https://api.screenshotone.com/take?block_ads=false&url=https://scalabledeveloper.com/posts/linux-kernel-coding-style/&access_key=<your access key>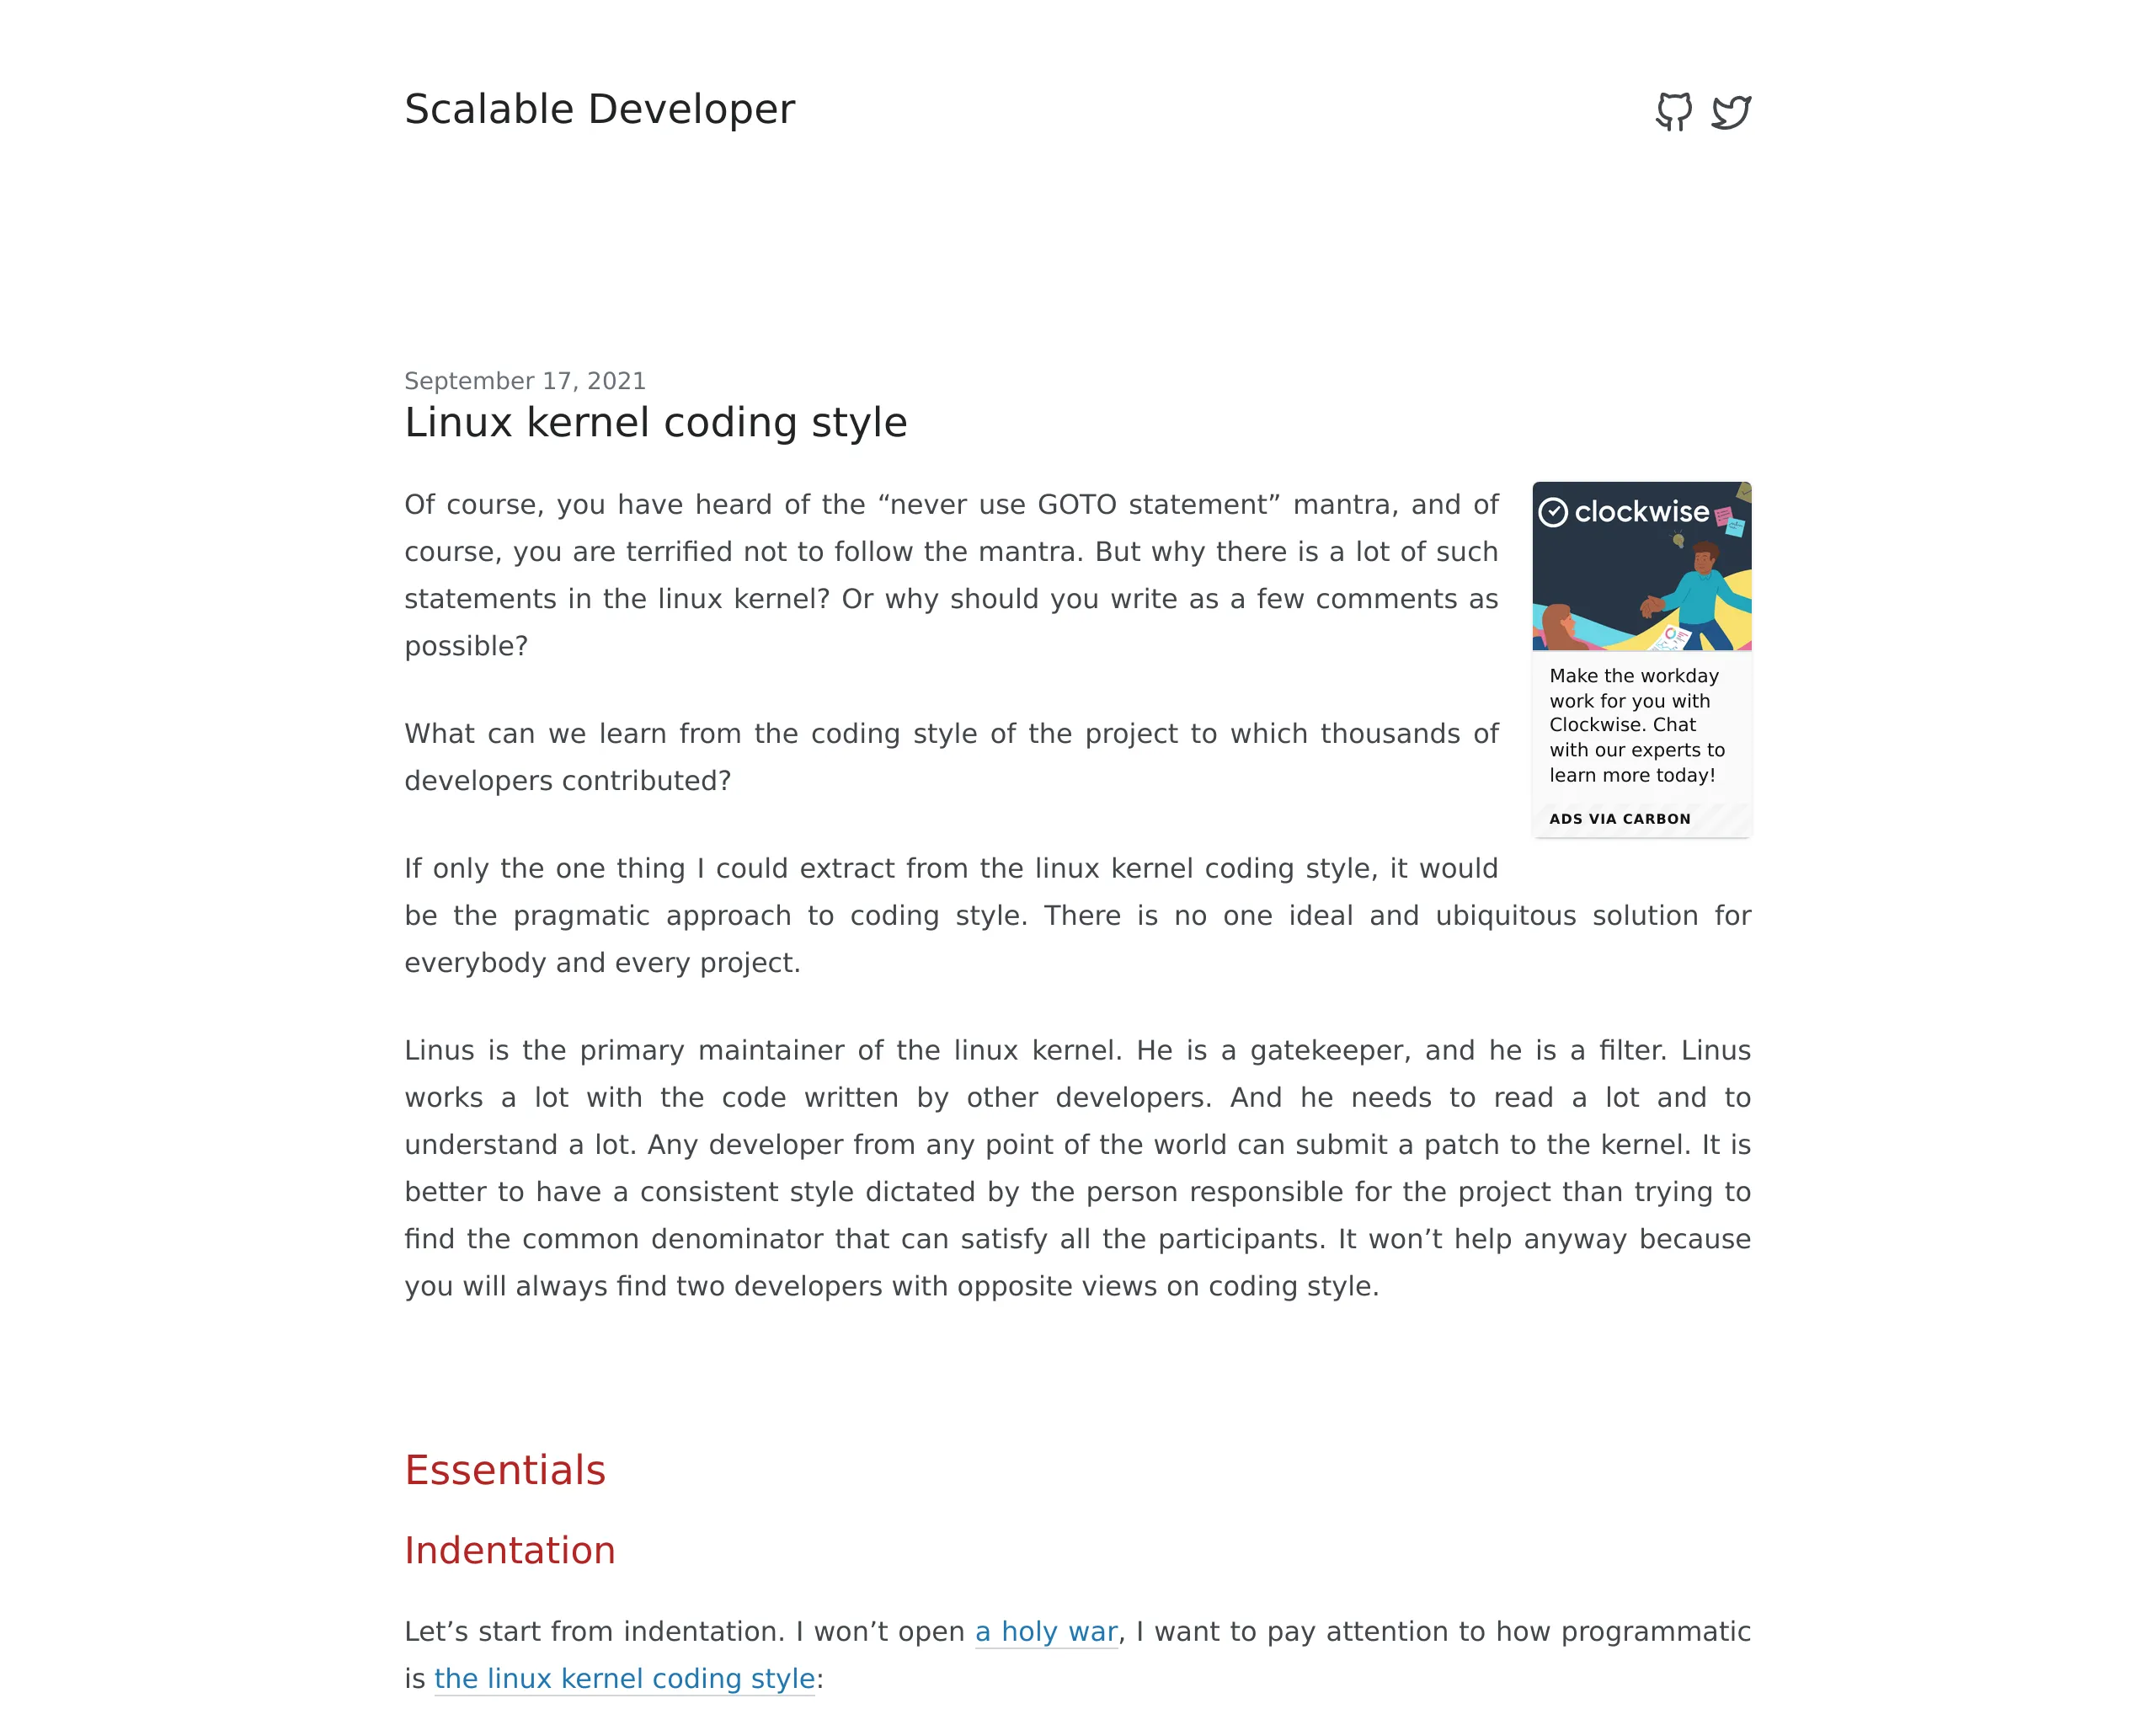
block_trackers
Block trackers. Default value is false when the url option is set.
It is useful when you don’t want to count screenshots as client visits in your analytics app.
Set block_trackers=true to disable all trackers.
block_requests
Block requests by specifying URL, domain, or even a simple pattern like block_requests=*.example.com/*. You can specify the parameter multiple times like block_requests=example.com&block_requests=http://*.
Blocking requests by URL or domain can be used to test how the site responds when resources are not available. Or it might be used to speed up page loading.
Or, as an example, another way of blocking ads and trackers with block_requests=*.carbonads.com&block_requests=*.google-analytics.com:
https://api.screenshotone.com/take?block_requests=*.carbonads.com&url=https://scalabledeveloper.com/posts/linux-kernel-coding-style/&access_key=<access key>
block_resources
Blocks loading resources by type. Available resource types are:
documentstylesheetimagemediafontscripttexttrackxhrfetcheventsourcewebsocketmanifestother
Blocking resources might be helpful when you need to optimize page loading speed before taking a screenshot.
You can specify multiple values as block_resources=stylesheet&block_resources=image:
https://api.screenshotone.com/take?block_resources=stylesheet&block_resources=image&url=https://screenshotone.com&access_key=<access key>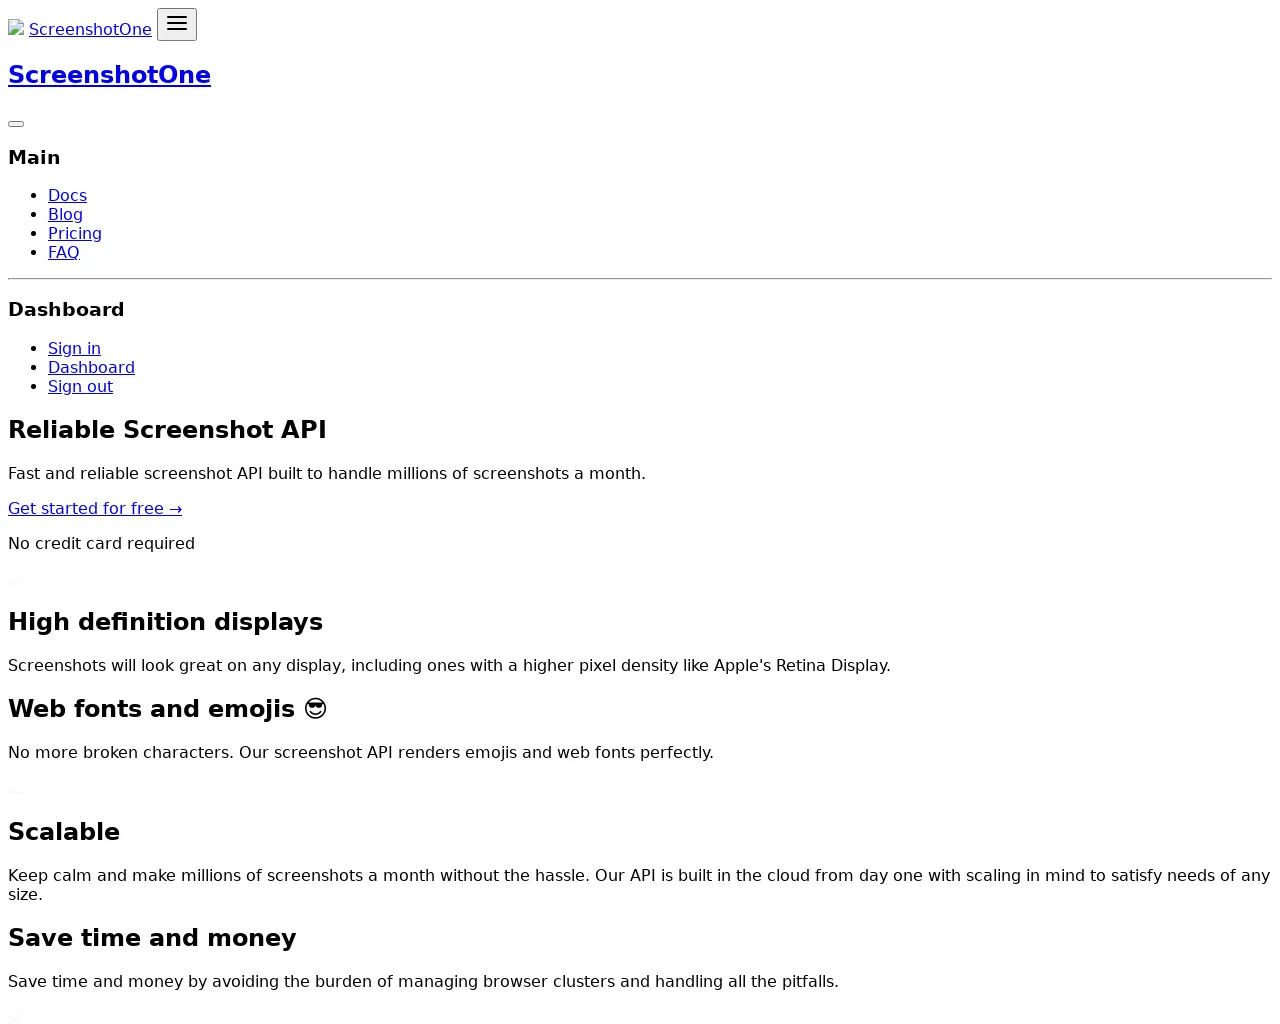
Geolocation
geolocation_latitude
Set geolocation latitude for the request. Both latitude and longitude are required if one of them is set.
Take a screenshot from Eiffel Tower with accuracy in 50 meters geolocation_latitude=48.858184&geolocation_longitude=2.294720&geolocation_accuracy=50:
https://api.screenshotone.com/take?geolocation_latitude=48.858184&geolocation_longitude=2.294720&geolocation_accuracy=50&url=https://www.infobyip.com/browsergeolocation.php&access_key=<access key>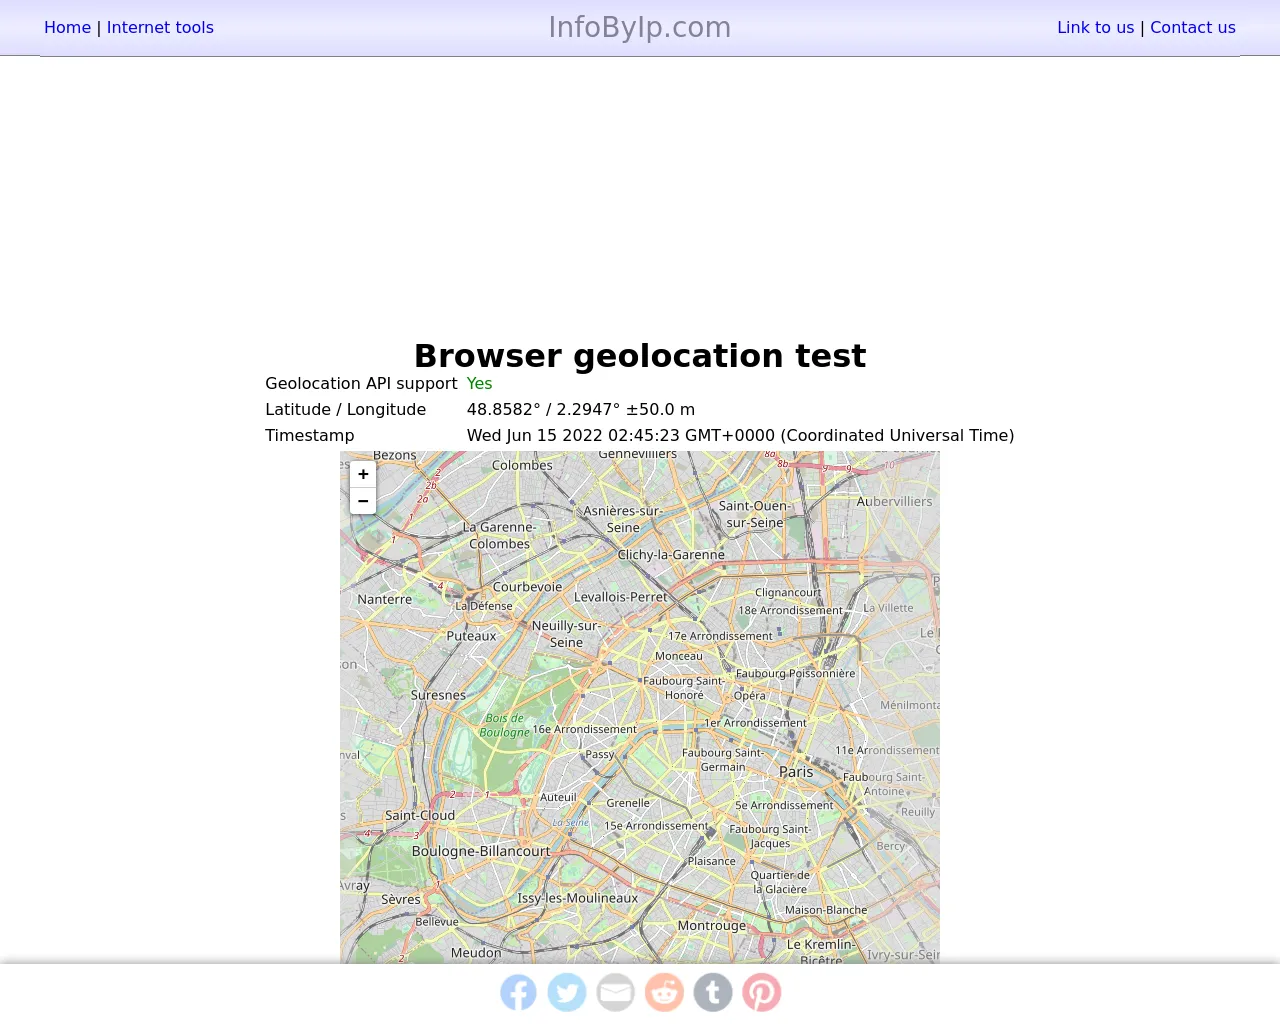
geolocation_longitude
Set geolocation longitude for the request. Both latitude and longitude are required if one of them is set.
Take a screenshot from Eiffel Tower with accuracy in 50 meters geolocation_latitude=48.858184&geolocation_longitude=2.294720&geolocation_accuracy=50:
https://api.screenshotone.com/take?geolocation_latitude=48.858184&geolocation_longitude=2.294720&geolocation_accuracy=50&url=https://www.infobyip.com/browsergeolocation.php&access_key=<access key>
geolocation_accuracy
Set the geolocation accuracy in meters.
Take a screenshot from Eiffel Tower with accuracy in 50 meters geolocation_latitude=48.858184&geolocation_longitude=2.294720&geolocation_accuracy=50:
https://api.screenshotone.com/take?geolocation_latitude=48.858184&geolocation_longitude=2.294720&geolocation_accuracy=50&url=https://www.infobyip.com/browsergeolocation.php&access_key=<access key>
Request
ip_country_code
proxy is set, it overrides the ip_country_code option. You can use data center proxies provided by ScreenshotOne to take screenshots from different countries. Set parameter ip_country_codeto the desired country, and you are ready to go, e.g., ip_country_code=gb.
The parameter is not supposed to be used for stealth screenshots. These are not residential proxies. If you have such a case, please, feel free to send the request to support@screenshotone.com.
While ScreenshotOne uses premium, highly available data center proxies, routing requests through them is slower than without a proxy. Try to avoid using the feature if you don’t need it.
The list of supported countries:
us(United States) defaultgb(Great Britain)de(Germany)it(Italy)fr(France)cn(China)ca(Canada)es(Spain)jp(Japan)kr(South Korea)in(India)au(Australia)br(Brazil)mx(Mexico)nz(New Zealand)pe(Peru)is(Iceland)ie(Ireland).
Feel free to request any additional country at support@screenshotone.com.
proxy
proxy is set, it overrides the ip_country_code option. You can use your custom proxy to take screenshots or render HTML with the proxy option.
It is suitable in many cases. For example, you might want to render a screenshot from the given location and check how the site renders for this location.
Only the HTTP proxies are supported.
If you need to specify username and password, use the usual URL format like: http://myuser:mypassword@example.com/.
Example of the request:
https://api.screenshotone.com/take?proxy=http://127.0.0.1:1080&url=https://example.com/&access_key=<access key>user_agent
ScreenshotOne takes care of the browser user agent, if you change the user agent, you might break stealth mode capabilities. Change the user agent only when you absolutely need that and know what you are doing.
If the viewport_device option is set, the parameter overrides it!
A user agent for the request. The default value is the latest version of the browser that Puppeteer uses.
An example with default user agent:
https://api.screenshotone.com/take?url=https://www.whatsmyua.info/&access_key=<access key>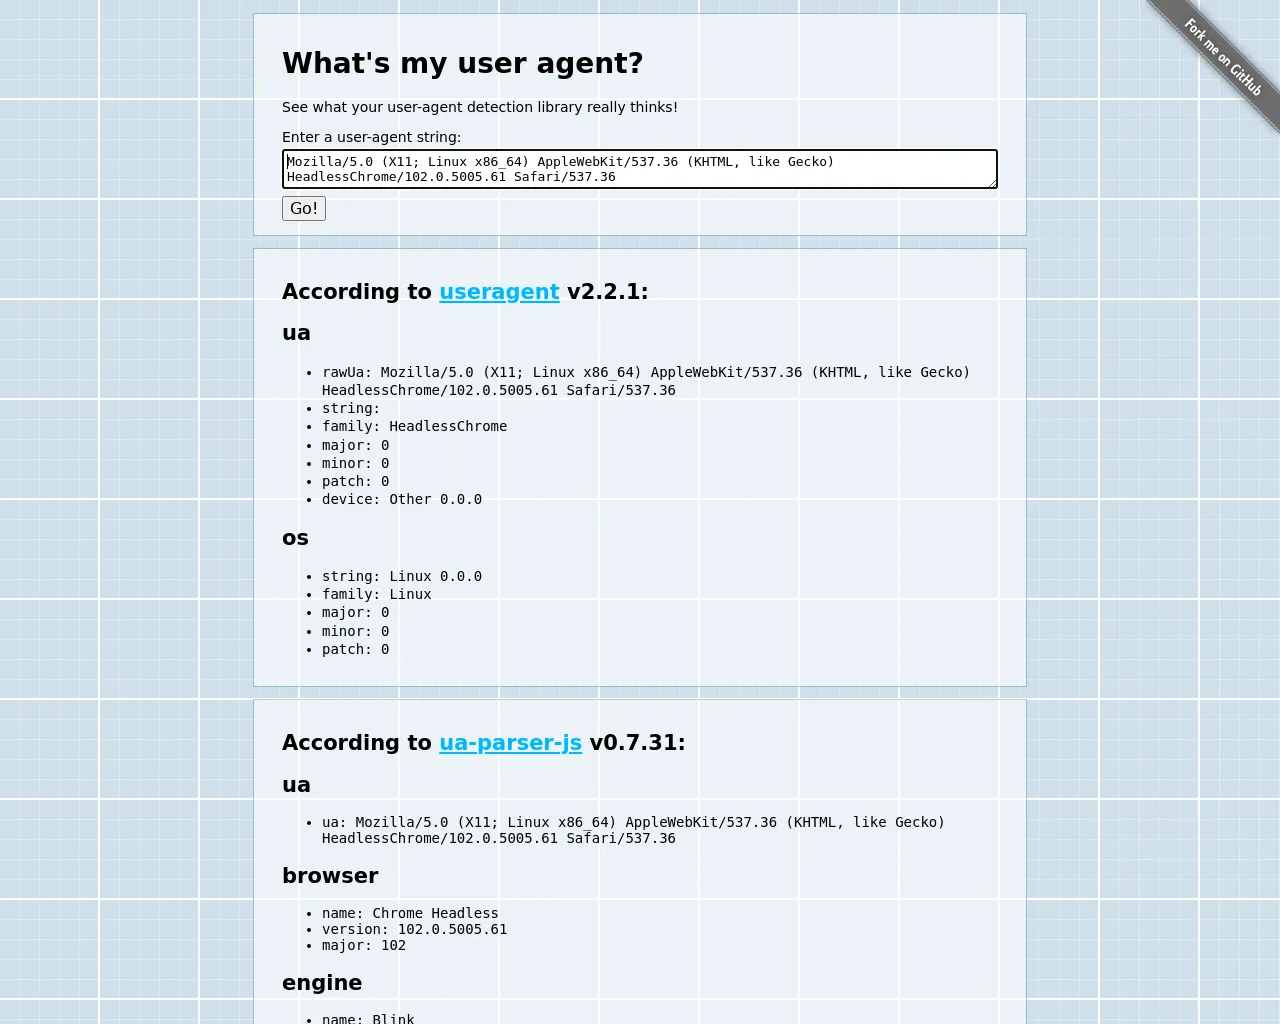
An example with specified user agent user_agent=screenshoter:
https://api.screenshotone.com/take?user_agent=screenshoter&url=https://www.whatsmyua.info/&access_key=<access key>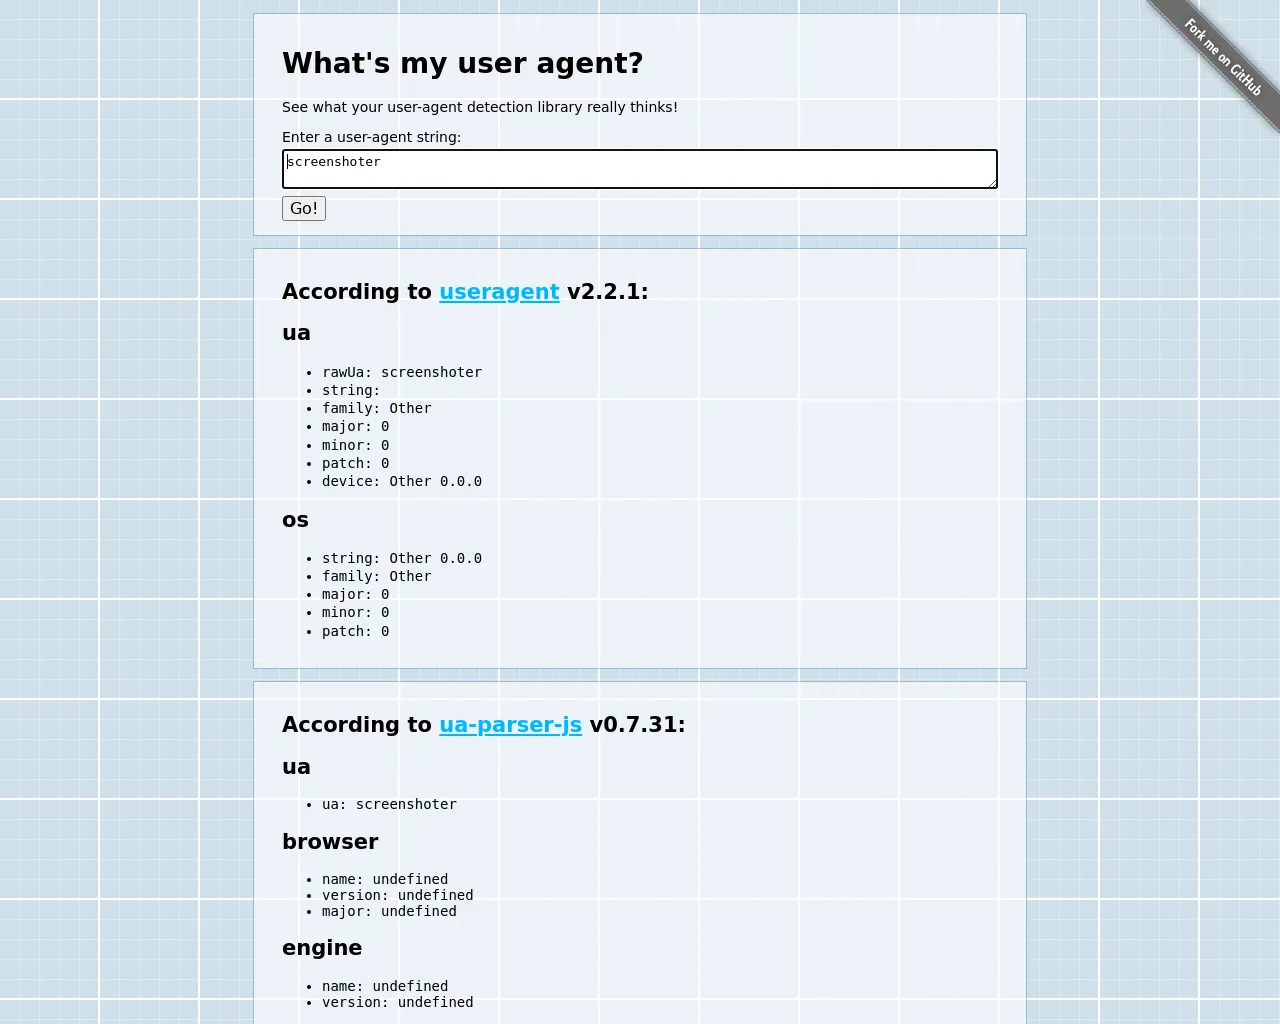
authorization
Set the Authorization header for the request.
Setting the authorization header is proper when you want to take a screenshot of the protected page by basic authentication or token.
For example, if use basic authentication with credentials like username:password, encode it to Base64 format dXNlcm5hbWU6cGFzc3dvcmQ= and then use set the value of the authorization header like authorization=Basic+dXNlcm5hbWU6cGFzc3dvcmQ=.
Also, check our guide about how to screenshot authenticated pages.
cookies
Set cookies for the request in format <cookie-name>=<cookie-value>; Domain=<domain-value>; Secure; HttpOnly. You can specify multiple cookies.
An escaped query string might look like:
cookies=name1=val1;+Domain=example.com;+Secure;+HttpOnly&cookies=name2=val2;+Domain=example.com;+Secure;+HttpOnly
headers
Set extra headers for the request in the format of Header-Name:Header-Value
Headers can override all other previously implicitly set headers by options like cookies or authorization.
You can specify multiple headers at once headers=X-Header-1:Value-1&headers=X-Header-2:Value-2:
https://api.screenshotone.com/take?headers=X-Header-1:Value-1&headers=X-Header-2:Value-2&url=http://myhttpheader.com/&access_key=<access key>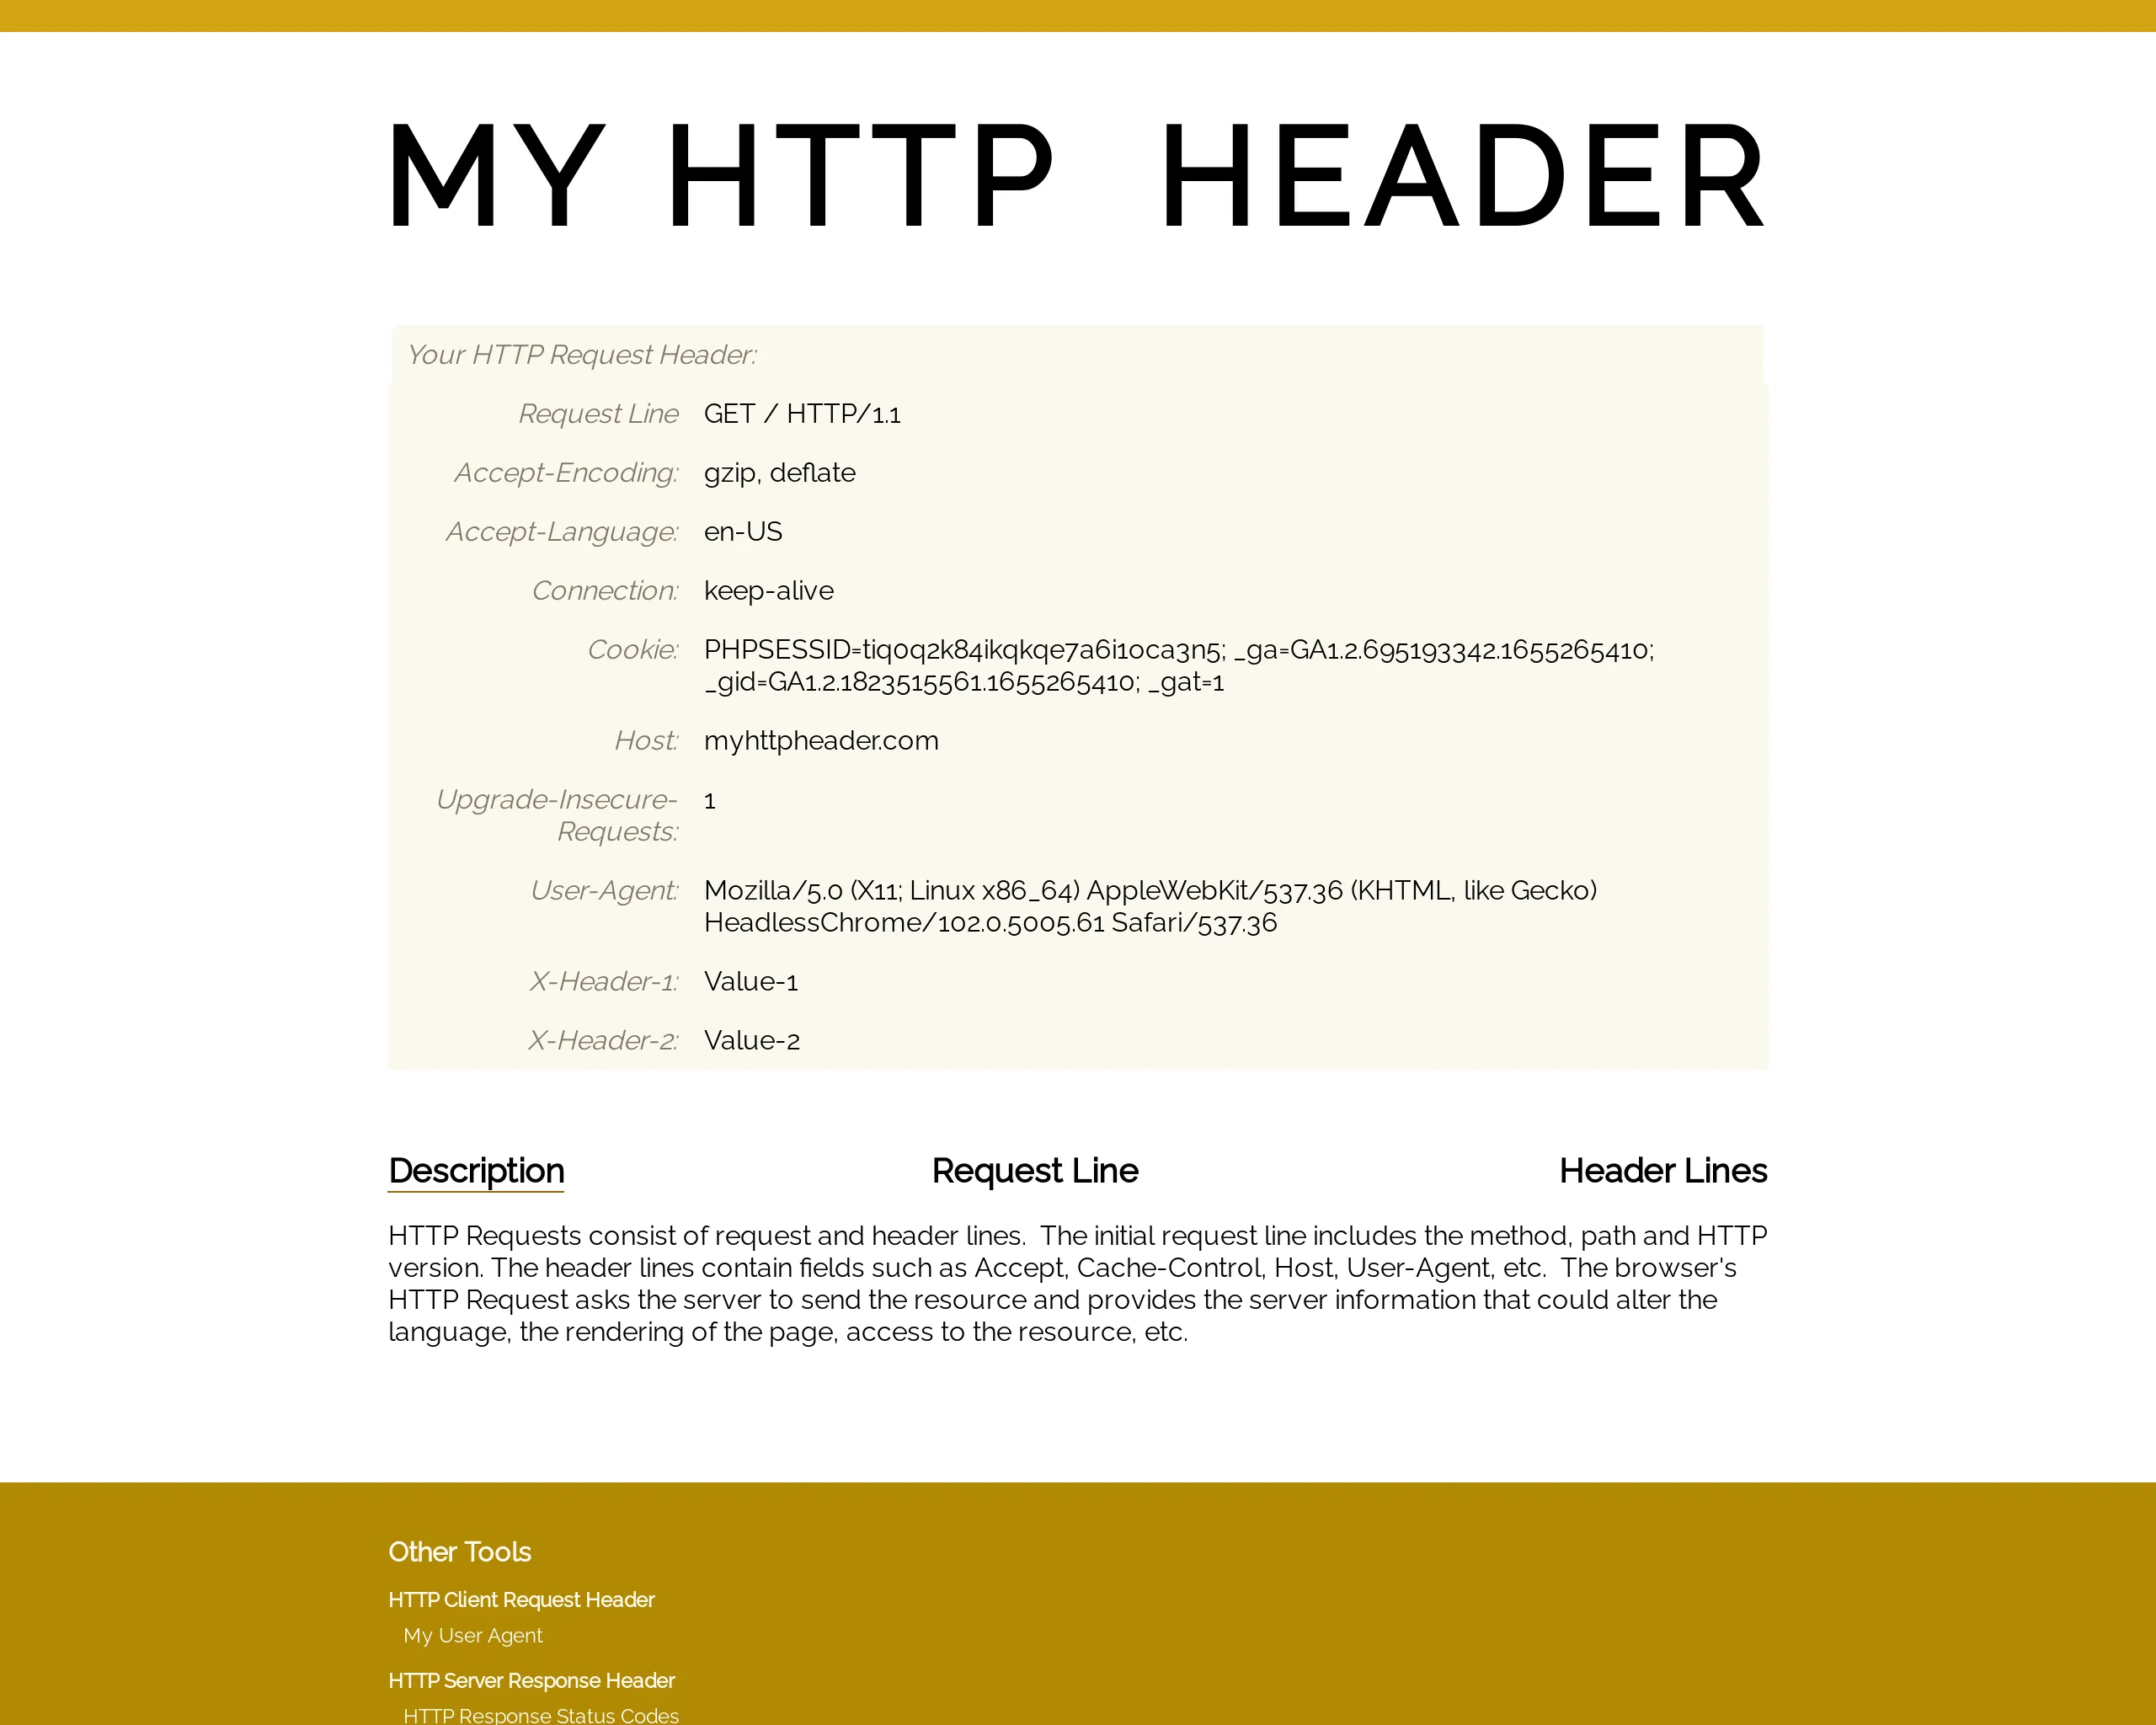
time_zone
Sets time zone for the request. Available time zones are:
America/BelizeAmerica/CaymanAmerica/ChicagoAmerica/Costa_RicaAmerica/DenverAmerica/EdmontonAmerica/El_SalvadorAmerica/GuatemalaAmerica/GuayaquilAmerica/HermosilloAmerica/JamaicaAmerica/Los_AngelesAmerica/Mexico_CityAmerica/NassauAmerica/New_YorkAmerica/PanamaAmerica/Port-au-PrinceAmerica/SantiagoAmerica/TegucigalpaAmerica/TijuanaAmerica/TorontoAmerica/VancouverAmerica/WinnipegAsia/Kuala_LumpurAsia/ShanghaiAsia/TashkentEurope/BerlinEurope/KievEurope/LisbonEurope/LondonEurope/MadridPacific/AucklandPacific/Majuro
Default time zone is GMT +/- 00:00.
An example with time_zone=Europe/Madrid:
https://api.screenshotone.com/take?time_zone=Europe/Madrid&url=https://whatismytimezone.com/&access_key=<access key>
bypass_csp
In rare cases, especially when you trying to add [custom scripts] to a website, you need to bypass the content security policies of the website. You need to simplify the set bypass_csp to true, by default it is false.
Wait
These are one of the most tricky parameters when rendering screenshots of a site. Read on how to wait until the page is ready if you are curious. Or use these wait options directly.
wait_until
Use wait_until to wait until an event occurred before taking a screenshot or rendering HTML or PDF.
The default value of wait_until is ['load']. Allowed values are:
load: the navigation is successful when the load even is fired;domcontentloaded: the navigation is finished when the DOMContentLoaded even is fired;networkidle0: the navigation is finished when there are no more than 0 network connections for at least 500 ms;networkidle2: consider navigation to be finished when there are no more than 2 network connections for at least 500 ms.
The parameter accepts many values. It means that screenshots will be taken after all events occur altogether.
An example of the request with wait_until=networkidle2&wait_until=domcontentloaded:
https://api.screenshotone.com/take?wait_until=networkidle2&wait_until=domcontentloaded&url=https://example.com/&access_key=<access key>delay
Specify the delay option in seconds to wait before taking a screenshot or rendering HTML or PDF.
It is suitable when the wait_until option does not work well for you, and you want to ensure that everything is ready.
The default value is 0.
The delay value can be more than 30 seconds, only if the timeout option is larger than 300 seconds which is only allowed for asynchronous requests.
An example of the request with delay=5:
https://api.screenshotone.com/take?delay=5&url=https://example.com/&access_key=<access key>timeout
Specify timeout (in seconds) of when to abort the request if screenshot or rendering is still impossible. The default value is 60 seconds and the max value is 90.
An example of the request with timeout=20:
https://api.screenshotone.com/take?timeout=20&url=https://example.com/&access_key=<access key>navigation_timeout
Specify navigation_timeout (in seconds) of when to abort the request if the target site doesn’t respond. The default and max value is 30.
An example of the request with navigation_timeout=20:
https://api.screenshotone.com/take?navigation_timeout=20&url=https://example.com/&access_key=<access key>wait_for_selector
If you are already screenshotting an element by the same selector, waiting for a selector is not effective and won’t be used.
Specify wait_for_selector to wait until the element appears in DOM, which is not necessarily visible.
If you specify a few selectors separated by commas, it will be enough to wait for only one. To change the behavior and wait for all selectors, check out the wait_for_selector_algorithm option.
An example of the request with wait_for_selector=.dynamically-loaded-element:
https://api.screenshotone.com/take?wait_for_selector=.dynamically-loaded-element&url=https://example.com/&access_key=<access key>wait_for_selector_algorithm
The default value is at_least_one that means to wait for at least one selector matched.
You can set it to at_least_by_count to wait for all selectors matched at least. But it doesn’t mean all elements matched.
E.g. if you specify ‘.class1,.class2’ and there are 2 elements in the DOM that match this selector, it will be enough to stop waiting.
It can also mean that there are 2 elements of .class1.
Caching
There is a dedicated page about caching and how to use it.
Screenshots are cached by the combination of all specified request options. And the cache_key option allows having different cached versions of the same screenshot.
Cached screenshots are not counted by quota and are not logged anywhere. They are served directly from the cache. Screenshots are cached in a combination of Cloudflare CDN and R2 storage (like Amazon S3).
There is a header x-screenshotone-cache-url that provides a direct link to the cached image, PDF or video. The file exist as long as it was defined in the cache_ttl parameter when API request was performed with cache=true.
And if the response_type option is specified as json, you can find a cache URL in the JSON response too:
{ "cache_url": "https://cache.screenshotone.com/..."}What is the benefits of using the cache URL?
- You don’t share API keys and don’t complicate your code with signed links.
- You control when to regenerate the cache, but a user with a link to the screenshot can’t regenerate it. Because if you shared a link to an API request, once the cache is expired, it would be regenerated.
cache
The cache option enables or disables caching of a screenshot, rendering HTML, or PDF. The default value is false.
The false option forces disabling caching and always generate a free screenshot or render HTML or PDF without caching.
An example of the request with cache=false:
https://api.screenshotone.com/take?cache=false&url=https://example.com/&access_key=<access key>cache_ttl
The cache option must be set to true to use the cache_ttl parameter.
The cache_ttl option (in seconds) hints at how long the cached screenshot should be stored. The minimum value is 14400 seconds (4 hours), and the maximum value is 2592000 seconds (one month).
An example of the request with cache_ttl=20000:
https://api.screenshotone.com/take?cache=true&cache_ttl=20000&url=https://example.com/&access_key=<access key>cache_key
The cache option must be set to true to use the cache_key parameter.
Screenshots are cached by the combination of all specified request options. The cache_key option allows having different cached versions of the same screenshot.
An example of the request with cache_key=abc123:
https://api.screenshotone.com/take?cache=true&cache_key=abc123&url=https://example.com/&access_key=<access key>Storing
When the cache option is set to true, the upload will be triggered only on the cache miss. It means that if you want to upload screenshots anytime, you take them, please set the cache option to false.
You can use any S3-compatible storage to store screenshots, rendered HTML or PDF to the configured S3 bucket.
In case you don’t care about getting the actual but only want to upload the rendering result to storage, specify response_type=empty.
An example of the request with response_type=empty:
https://api.screenshotone.com/take?response_type=empty&url=https://example.com/&access_key=<access key>store
Default value is false. Use store=true to trigger upload of the taken screenshot, rendered HTML or
PDF to the configured S3 bucket. Make sure you configured access to S3.
An example of the request with store=true:
https://api.screenshotone.com/take?store=true&url=https://example.com/&access_key=<access key>storage_path
The parameter is required if you set store=true. You must specify the key for the file, but don’t
specify an extension, it will be added automatically based on the format you specified.
You can also specify “subdirectories” in the path part.
An example of the request with storage_path=latest/example:
https://api.screenshotone.com/take?store=true&storage_path=latest/example&url=https://example.com/&access_key=<access key>storage_endpoint
Leave empty for Amazon S3, specify only when needed. Any S3-compatible storage is supported, e.g. "https://<accountId>.r2.cloudflarestorage.com" for Cloudlfare R2 storage.
storage_access_key_id
Access key ID. It overrides the one specified in the dashboard configuration.
storage_secret_access_key
Secret access key. It overrides the one specified in the dashboard configuration.
storage_bucket
You can override the default bucket you configured with storage_bucket=<bucket name>.
An example of the request with storage_bucket=temporary:
https://api.screenshotone.com/take?storage_bucket=temporary&store=true&storage_path=latest/example&url=https://example.com/&access_key=<access key>storage_class
The default value is standard.
Storage class allows you to specify the object storage class.
Allowed values:
standard;reduced_redundancy;standard_ia;onezone_ia;intelligent_tiering;glacier;deep_archive;outposts;glacier_ir.
An example of the request with storage_class=glacier_ir:
https://api.screenshotone.com/take?storage_class=glacier_ir&store=true&storage_path=latest/example&url=https://example.com/&access_key=<access key>storage_acl
The default value is not set.
Specify the ACL value when uploading the file.
Allowed values:
- (not set) (default);
public-read.
An example of the request with storage_acl=public-read:
https://api.screenshotone.com/take?storage_acl=public-read&store=true&storage_path=latest/example&url=https://example.com/&access_key=<access key>storage_return_location
You can require to return the file location returned by S3.
An example of the request with storage_return_location=true:
https://api.screenshotone.com/take?storage_return_location=true&store=true&storage_path=latest/example&url=https://example.com/&access_key=<access key>You will receive the location as a header X-ScreenshotOne-Store-Location or if you set response_type=json as a property of JSON store.location.
Metadata
You can extract different properties of the site or a screenshot on demand. They might impact performance, and that’s why they are disabled by default.
metadata_image_size
The default value is false.
Set to true to get the screenshot’s actual image width and height. If response_type is set to json, you can get it from metadata.image_size{width,height} property. Otherwise, read from response headers such as X-ScreenshotOne-Image-Width and X-ScreenshotOne-Image-Height.
metadata_fonts
The default value is false.
Get the fonts used by a website.
Check out our guide on how to detect website fonts for more details.
metadata_icon
Get the favicon used by a website.
The default value is false.
https://api.screenshotone.com/take?metadata_icon=true&url=https://screenshotone.com/&access_key=<access key>As headers:
X-ScreenshotOne-Icon: {"url":"https://screenshotone.com/favicon-32x32.png","type":"image/png"}As JSON:
{ "metadata": { "icon": { "url": "https://screenshotone.com/favicon-32x32.png", "type": "image/png" } }}metadata_open_graph
The default value is false.
If you set it to true, you can get the parsed Open Graph metadata either in the x-screenshotone-open-graph header, or in the JSON as the metadata.open_graph property.
{ "metadata": { "open_graph": { "title": "The Screenshot API for developers", "description": "ScreenshotOne is the best screenshot rendering platform for developers.", "image": "https://screenshotone.com/og.png" } }}metadata_page_title
The default value is false.
Get the title of the page.
Either in the x-screenshotone-page-title header, or in the JSON as the metadata.page_title property.
metadata_content
You can request the content (HTML) of the page in addition to the screenshot. It will be uploaded to the ScreenshotOne CDN/public storage and you will receive the URL of the content and the date when it expires and is not available anymore.
If you don’t use caching, then the API will use the minimum available cache TTL. Don’t expect content URLs to be permanent and download the content as early and as fast as you can.
If the content is successfully extracted and uploaded, you will get the URL of the file in the header as X-ScreenshotOne-Content-URL. Also X-ScreenshotOne-Content-Expires header with the value when the content won’t be available. The format of the expires header is the same as for the regular Expires HTTP header.
If you use JSON response type, then you will get it as:
{ // ... "content": { "url": "https://example.com/...", "expires": "Wed, 21 Oct 2015 07:28:00 GMT" } // ...}On rare occasions if there is an error or some problem of fetching HTML content of the page, you won’t get that data, then it is recommended to perform one more request but use an HTML format instead.
The default value is false.
Consider including the shadow DOM elements with the include_shadow_dom option.
metadata_content_format
You can specify the format of the page content when using the metadata_content option.
Available formats:
html- returns the HTML content of the page (default);markdown- returns the page content converted toMarkdownformat.
https://api.screenshotone.com/take?response_type=json&metadata_content=true&metadata_content_format=markdown&url=https://example.com/&access_key=<your access key>If you use JSON response type, you will get:
{ "content": { "url": "https://example.com/...", "expires": "Wed, 21 Oct 2015 07:28:00 GMT", "format": "markdown" }}The default value is html.
metadata_http_response_status_code
Set to true to get the host HTTP response headers.
If you render a binary screenshot, not JSON, you can get that data from the API response headers as X-ScreenshotOne-HTTP-Response-Status-Code.
In JSON, it will look like:
https://api.screenshotone.com/take?&url=https://example.com/...&metadata_http_response_headers=true&metadata_http_response_status_code=true
{ ... "http_response": { "status_code": 200, "headers": { "accept-ranges": "bytes", "age": "56658", "cache-control": "max-age=604800", "content-encoding": "gzip", "content-length": "648", "content-type": "text/html; charset=UTF-8", "date": "Fri, 02 Aug 2024 10:26:35 GMT", "etag": "\"3147526947\"", "expires": "Fri, 09 Aug 2024 10:26:35 GMT", "last-modified": "Thu, 17 Oct 2019 07:18:26 GMT", "server": "ECAcc (nyd/D13E)", "vary": "Accept-Encoding", "x-cache": "HIT" } } ...}metadata_http_response_status_headers
Set to true to get the host HTTP response status code.
If you render a binary screenshot, not JSON, you can get that data from the API response headers as X-ScreenshotOne-HTTP-Response-Headers.
In JSON, it will look like:
https://api.screenshotone.com/take?&url=https://example.com/...&metadata_http_response_headers=true&metadata_http_response_status_code=true
{ ... "http_response": { "status_code": 200, "headers": { "accept-ranges": "bytes", "age": "56658", "cache-control": "max-age=604800", "content-encoding": "gzip", "content-length": "648", "content-type": "text/html; charset=UTF-8", "date": "Fri, 02 Aug 2024 10:26:35 GMT", "etag": "\"3147526947\"", "expires": "Fri, 09 Aug 2024 10:26:35 GMT", "last-modified": "Thu, 17 Oct 2019 07:18:26 GMT", "server": "ECAcc (nyd/D13E)", "vary": "Accept-Encoding", "x-cache": "HIT" } } ...}Async and Webhooks
There is a complete guide about asynchronous requests and webhooks.
async
You can execute any request asynchronously by setting the async option to true. The API will return an empty response immediately. It is false by default.
Usually, it is in combination with webhooks to upload rendered screenshots or PDFs to S3.
webhook_url
You can receive the result of the screenshot execution at your desired URL. To do it, specify the webhook_url parameter. E.g. webhook_url=https://example.com.
Usually, it is in combination with async to upload rendered screenshots or PDFs to S3.
webhook_sign
Signing webhook request body takes time. If you are sure that your webhooks are unique and secret, you might want to disable signing to improve performance by using webhook_sign=false.
It is true by default.
webhook_errors
Set to true to get the error details in the webhook request body (if JSON response type is used) or headers.
It is false by default.
Error options
ignore_host_errors
When the site responds within the range of 200-299 status code, you can ignore errors and take a screenshot of the error page anyway. To do that, set the option ignore_host_errors to true. It is false by default.
It is helpful when you want to create a gallery of error pages or, for some reason, you need to render error pages.
error_on_selector_not_found
If a selector or a scroll_into_view option is specified and error_on_selector_not_found=true, the error will be returned if the element by selector is not visible or it took more than timeout seconds to render it, but not more than 30 seconds.
Default value is false.
fail_if_request_failed
The option forces the request to fail if any network request fails during page loading. By default, it is not specified, which means the screenshot will be taken even if some resources (like images, scripts, or stylesheets) fail to load.
Setting fail_if_request_failed is useful when you need to ensure that all resources are properly loaded before taking a screenshot. This can help identify issues with missing assets or network problems.
An example of the API request that will fail if any request URL that matches example.com fails:
https://api.screenshotone.com/take?access_key=<access key>&fail_if_request_failed=*example.com*&url=https://example.com/Failed requests are not counted against your rendering quota.
fail_if_content_missing
The option forces the request to fail if the specified text is missing on the page content. Case insensitive.
It can be specified multiple times. And the request will fail if any of the specified strings is missing on the page content.
Failed requests are not counted against your rendering quota.
fail_if_content_contains
The option forces the request to fail if the specified text is matched on the page content. Case insensitive.
It can be specified multiple times. And the request will fail if any of the specified strings is matched on the page content.
Check out the guide on how to fail rendering if the content contains a string for more details.
Failed requests are not counted against your rendering quota.
fail_if_gpu_rendering_fails
The options forces the request to fail if GPU rendering fails. Otherwise, the request will be retried. Or sent to the CPU-based rendering services.